


Create An Editable Grid View In PowerApps

 Like
Like Share
Share
 Report
Introduction:
In this blog, we will learn how we can create an editable Grid View in PowerApps.
Steps:
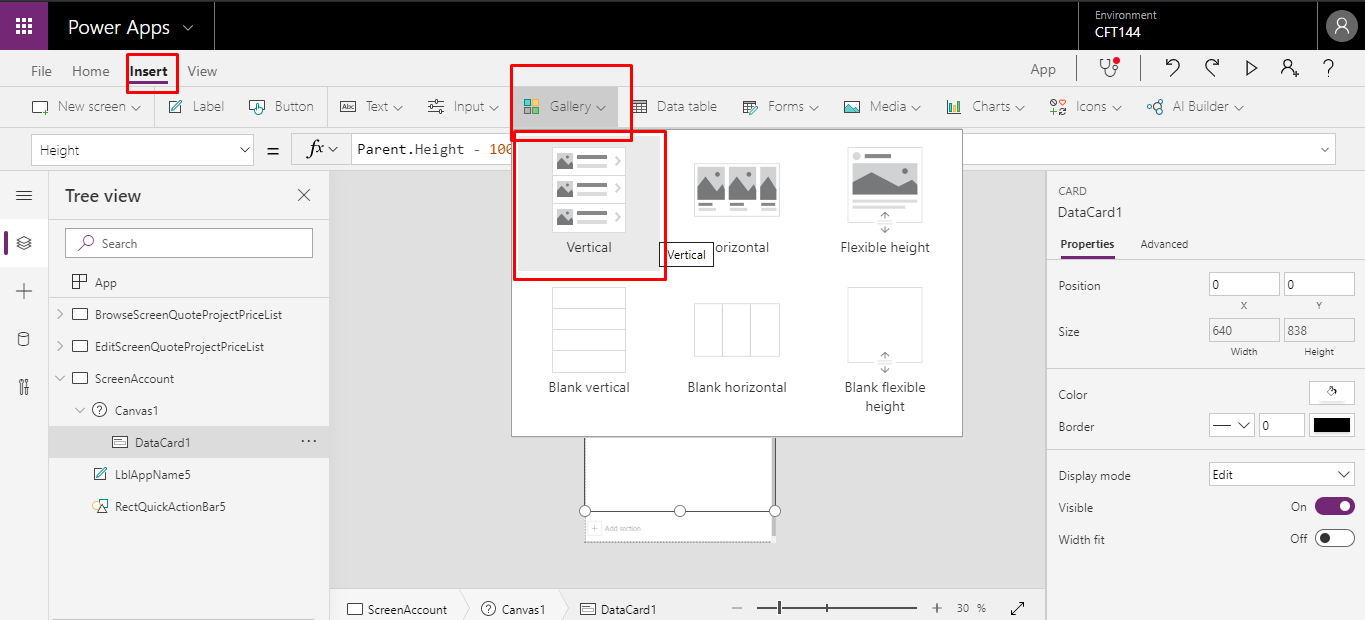
1.Set up a gallery in your Powerapps.
Insert a new gallery – Insert > Gallery > Vertical
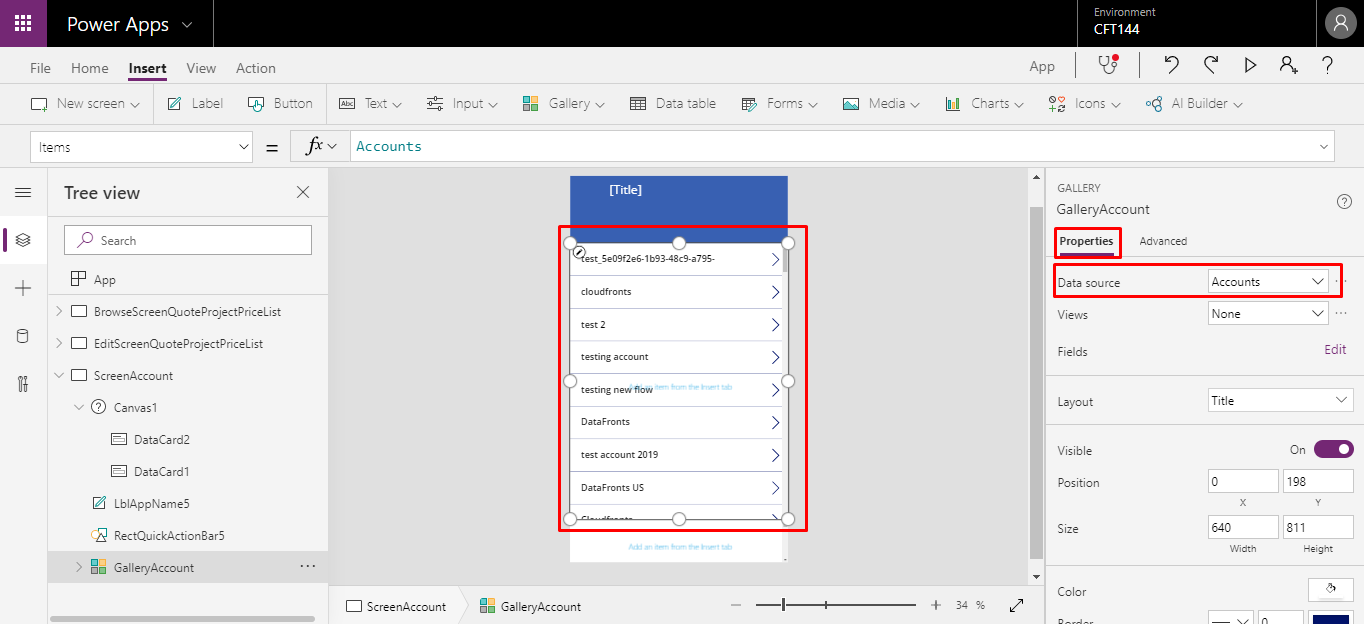
2.Add Data Source to the Gallery you added.
Go to Properties > Click Data Source you want.
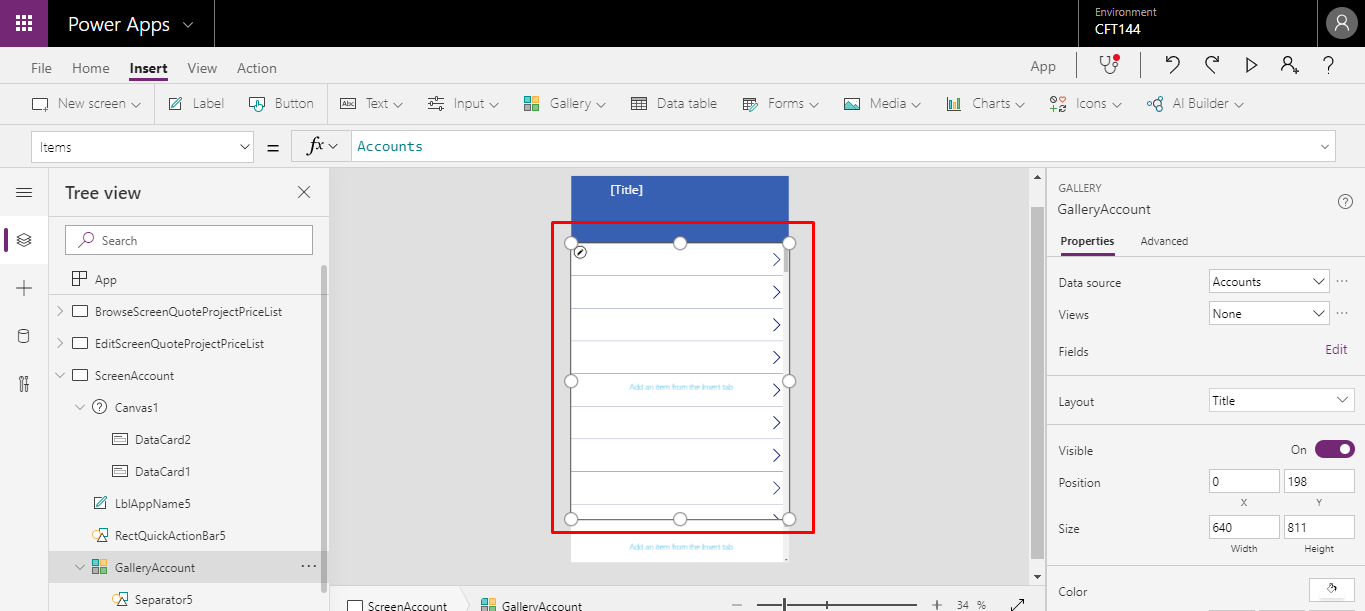
3.Delete the Label from the Gallery.
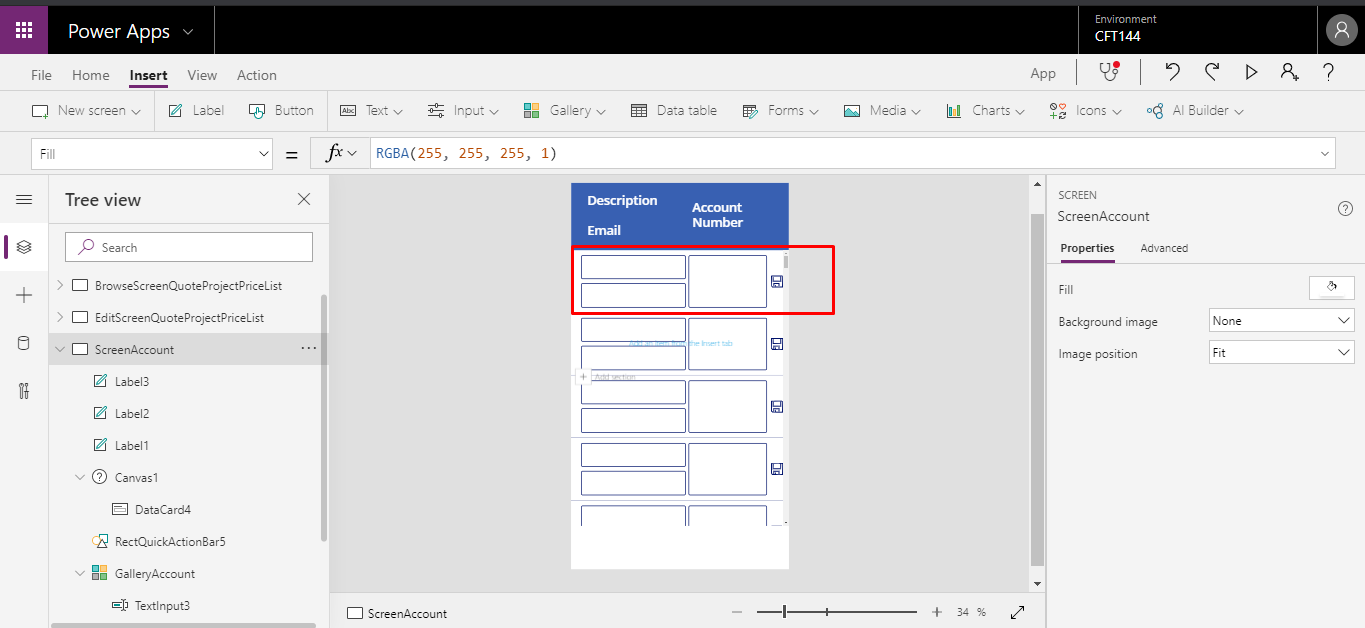
4.Add Text input control in the PowerApps Grid.
I have added 3 Text input control inside the Grid.
5. For each text input box:
Set TextInput.Default = ThisItem.<fieldName>
For eg: TextInput1.Default = ThisItem.Description
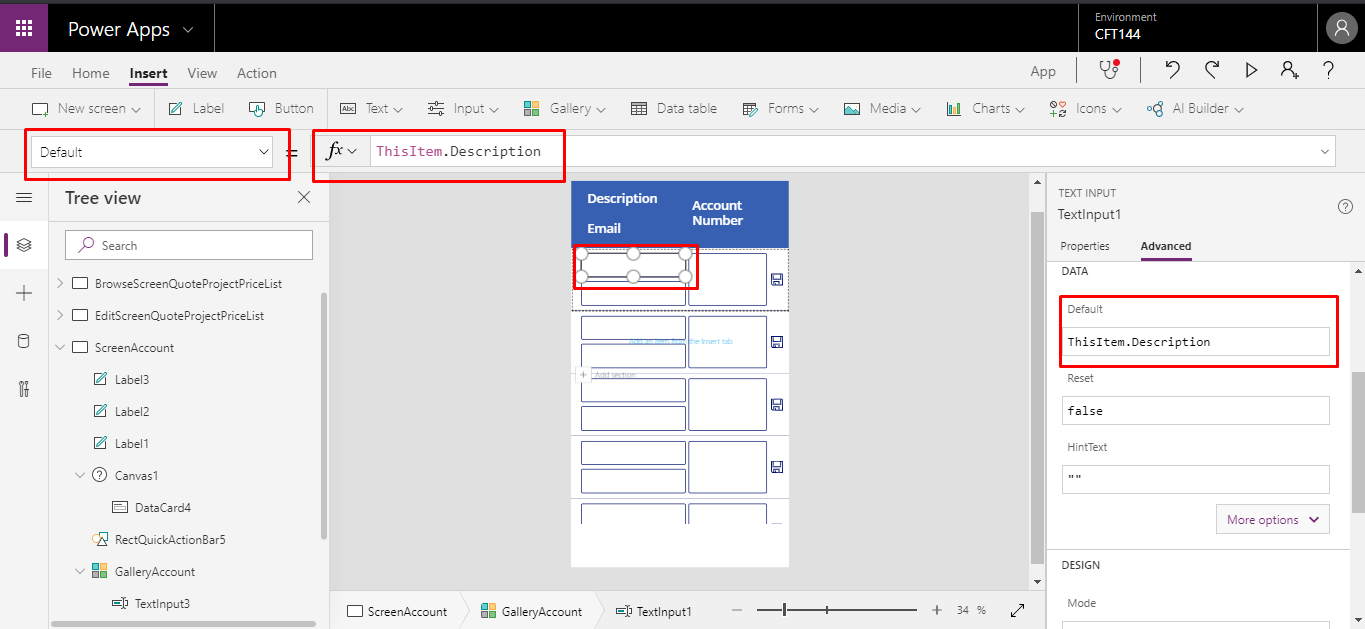
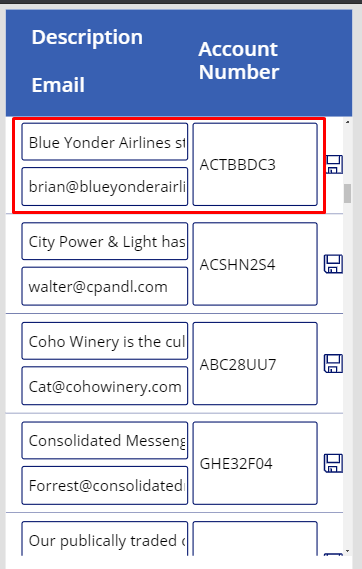
6.The output screen after adding the Default property.
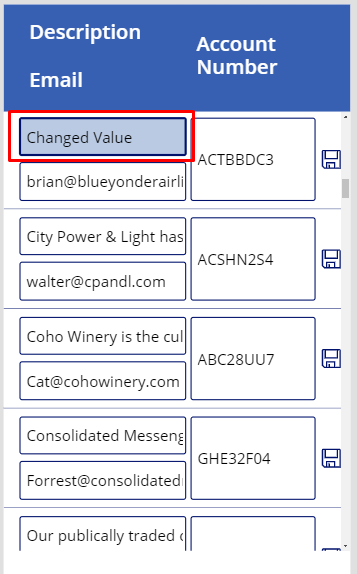
7. You can change the field here.
8. To Save the changed value into the Data source, set the following:
Set TextInput.OnChange = Patch(Products, ThisItem, { <fieldName>: TextInput.Text })

This will change and save the value into the CRM.
The post Create An Editable Grid View In PowerApps appeared first on .
*This post is locked for comments