


 4,009
4,009 Like
Like Share
Share
 Report
Introduction:
In my previous blog on How to Setup NavUserPassword with SSL for Microsoft Dynamics Business Central, I have performed all the steps in such a way that it would perfectly fit with this blog to give you Single Sign-On(SSO) based access to Microsoft Dynamics 365 Business Central.Pre-requisites:
- How to setup NAVUserPassword Authentication
- Understand how AzureAD Authentication works
- Microsoft Dynamics 365 Business Central On-Premise
Books & References:
https://docs.microsoft.com/en-us/dynamics365/business-central/dev-itpro/administration/authenticating-users-with-azure-active-directoryDemonstration:
1. Preparation for SSO:Perform all the steps for NAVUserPassword based authentication.
Refer here How to Setup NavUserPassword with SSL for Microsoft Dynamics Business Central
2. Connect your device to AzureAD:
Install Azure AD Module
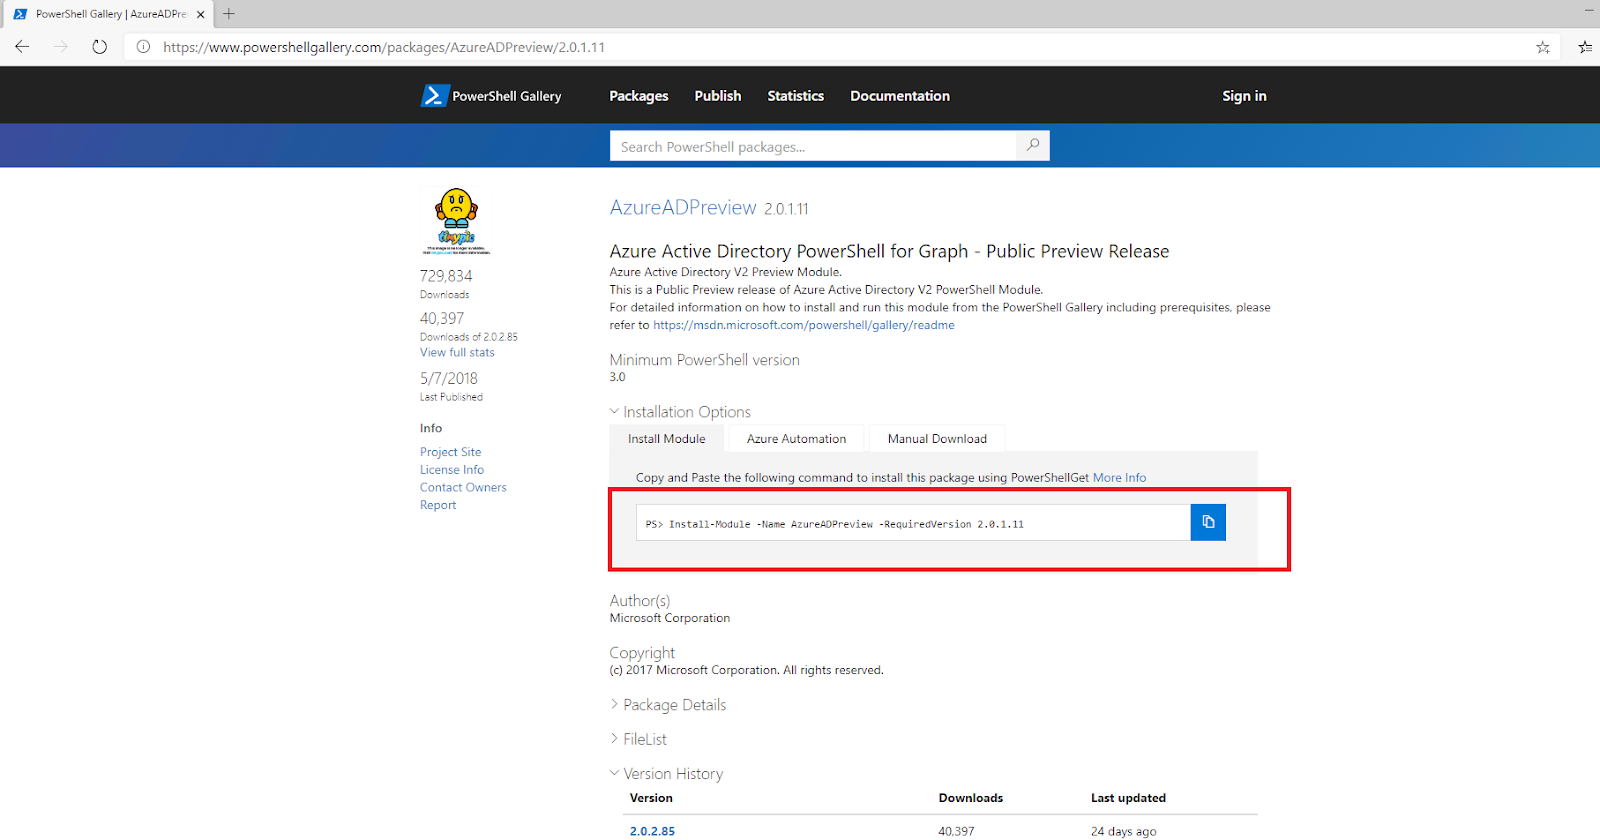 |
| Install Azure AD Module by running the command highlighted |
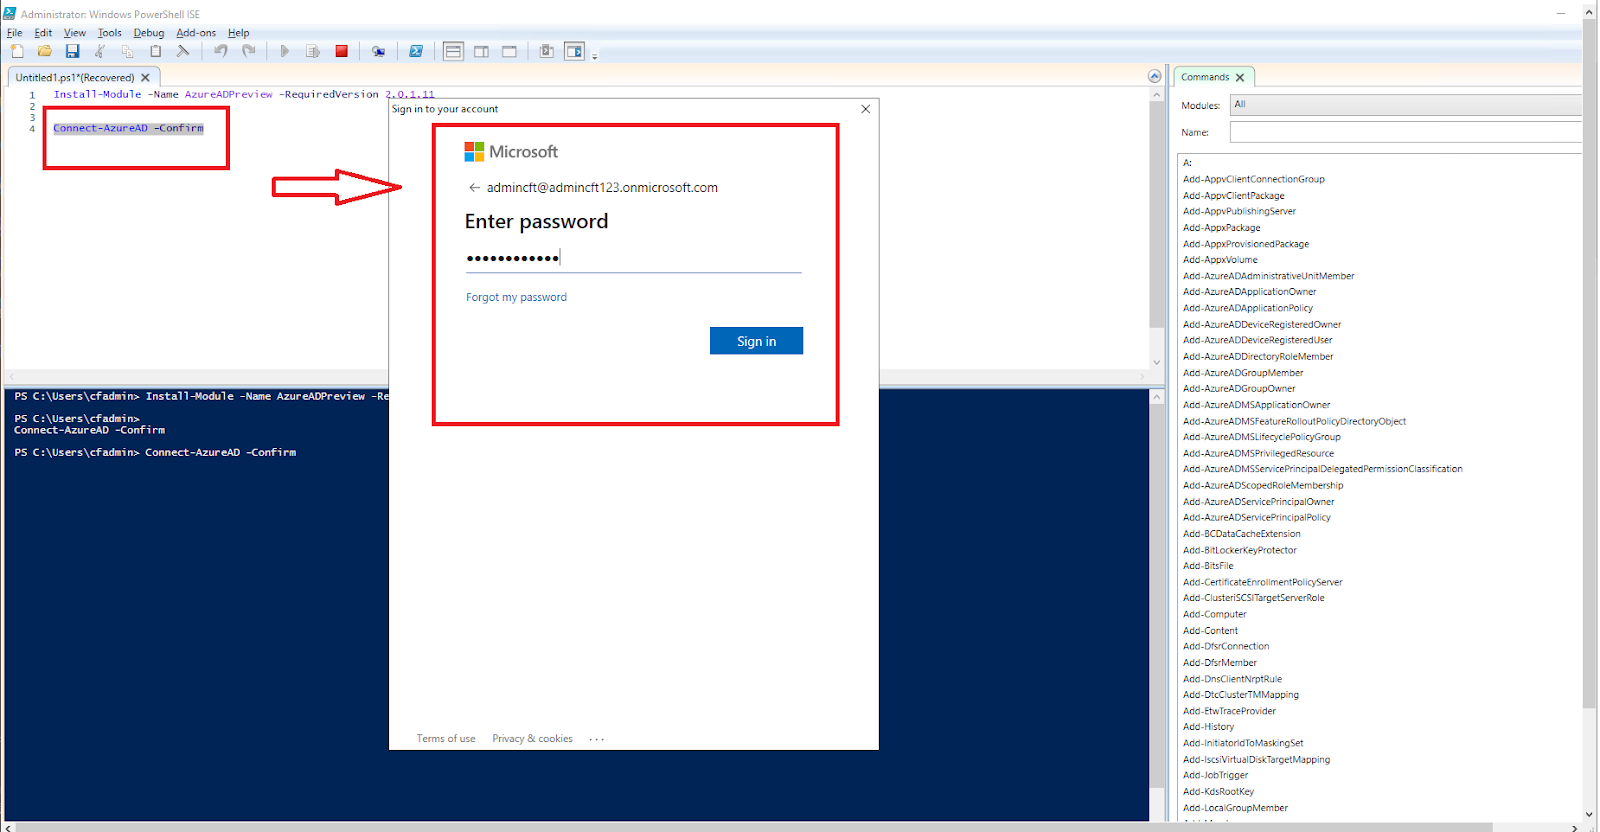 |
| Connect-AzureAD -Confirm |
Your Azure AD and VM are connected and you will get your AzureAD TenantID.
 |
| Azure AD Tenant ID after connecting |
Goto App Registration > put your App Name,
Configure your Redirect URI: <HOST>/WebServerInstanceName/SignIn
 |
| Business Central App Registration with Redirect URI |
Copy your Application ID URI.
 |
| App Registration App ID URI |
- Application URI : <Your App ID URI from App Registration>
- Redirect URI: <HOST>/WebServerInstanceName/SignIn
- Azure AD Federation Metadata URL: https://login.microsoftonline.com/<Azure AD TENANT ID>/FederationMetadata/2007-06/FederationMetadata.xml
- WS-Federation Login Endpoint: https://login.microsoftonline.com/<AAD TENANT ID>/wsfed?wa=wsignin1.0%26wtrealm=<Application ID URI>%26wreply=<Redirect URL>
 |
| SSO Parameters |
4. Modify the parameters in Business Central Administration:
Under the AzureAD section of Business Central Administration, copy the
Application ID URI, Redirect URI, WS Federation Login Endpoint, AzureAD Federation Metadata URL.In Business Central Administration, change the Credentials Type to AccessControlService
 |
| Business Central Administration AzureAD parameters and Credential Type change |
Goto C:\inetpub\wwwroot\WebServerInstanceName\navusersettings.json
Modify the CredentialType to AccessControlService
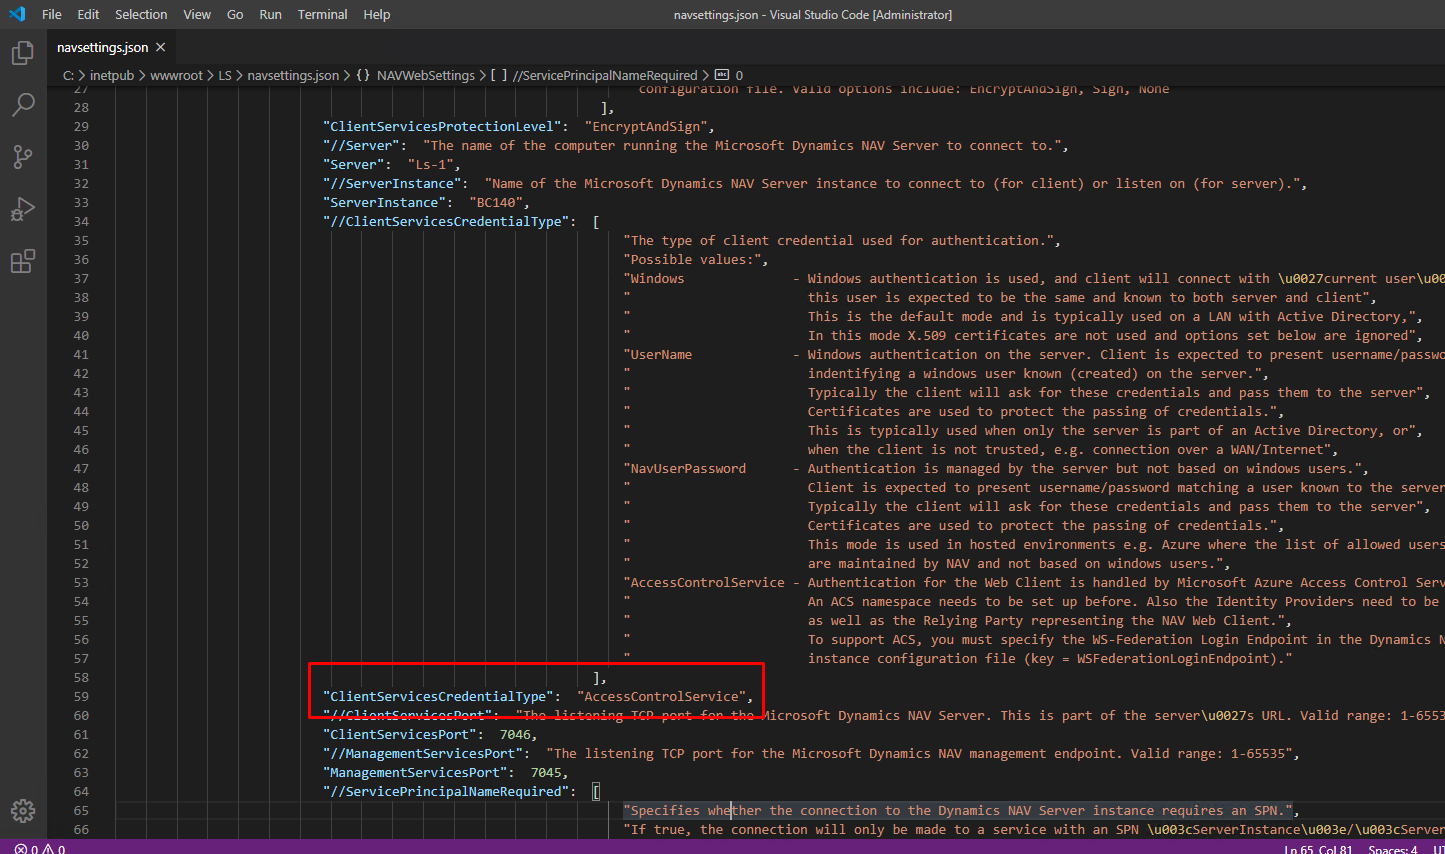 |
| Change CredentialType to AccessControlService |
5. Add the Office 365 to Users in Business Central:
 |
| Add Office365 Email to Users in Business Central |
Output:
After going to the URL for Business Central WebClient, you will be asked for your Office 365 Login.
 |
| After Logging into Business Central using Office 365 Credentials |
Conclusion:
Thus, this blog explained, how to connect AzureAD to VM, how to register your App(Business Central) in AzureAD and then use the parameters in Business Central for Login Setup and redirections. Overall, the process is complicated and confusing, I have tried my best to put it as cleanly as possible.
This concludes my Authentication Setup blog for Business Central.
Hope this helps!
This concludes my Authentication Setup blog for Business Central.
Hope this helps!
*This post is locked for comments