


 190
190 Like
Like Share
Share
 Report
In my last post, you learned how to use the Solution Checker in an Azure DevOps pipeline. Lars Martin asked a question regarding using the results of this step on LinkedIn. This inspired me to write this article. Thanks to Lars.
Result
The Solution Checker will evaluate a solutions zip file against certain criteria. If a violation or issue is found it will be marked and shown in the result. Those violations will have one of the following severities:
- Critical
- High
- Medium
- Low
- Informational
When you use the Solution Checker in your pipeline it will create an artifact that includes the result of the check. Be aware that the result looks different when you execute the Solution Checker manually via the Power Apps maker portal.
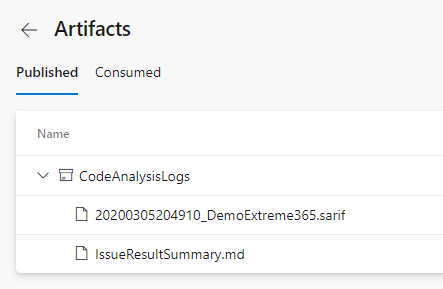
It will include a “.sarif”- and a “.md”-file. The “.md”-file includes some kind of summary. It will include one row per checked file. This row includes the number of violations per level.

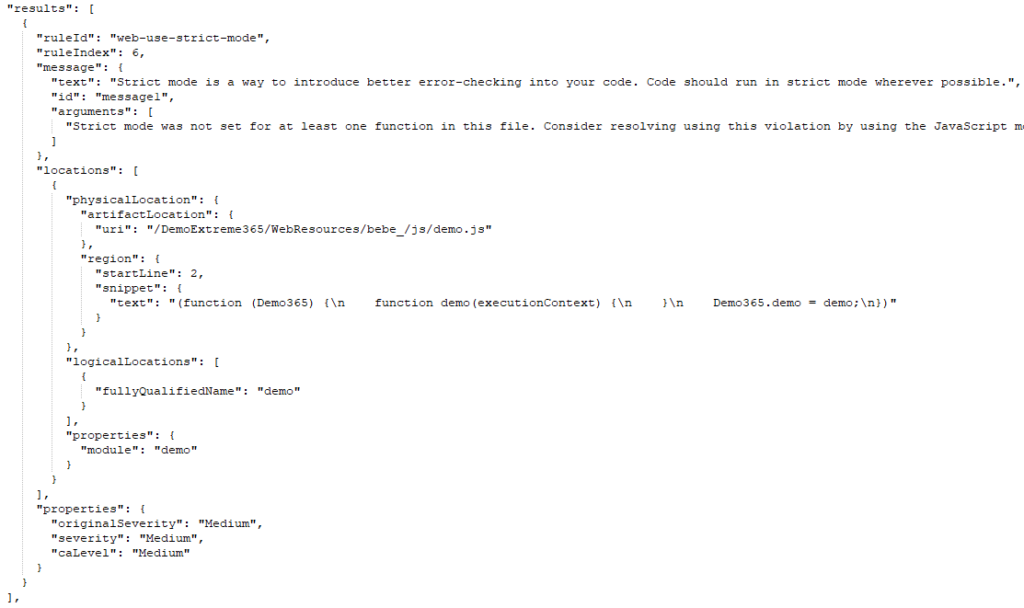
The “.sarif”-file will include detailed information about every violation. Including the row of code that is causing the violation.
Use the result
Like I mentioned in my response to the comment of Lars are there two different ways of using the result created by the Solution Checker in the pipeline.
Manual use
One way is to use the result manually. That means analyzing the Sarif-file, identifying issues in your solution and fixing those.
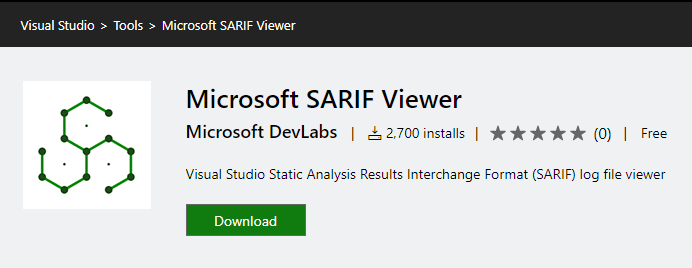
You can open the Sarif-File in Visual Studio after installing the “Microsoft SARIF viewer” tool.
If you then open the file, either via File -> Open -> File… or Tool -> Import Static Analysis Log File to Error List -> Import SARIF file…, Visual Studio will show the errors in the Error List.

Since a SARIF-File basically is a JSON you could open it with any text editor and view the issues there if you feel comfortable with JSON.
Use in the pipeline
Another way, how I think a lot more interesting, would be to use the result directly in your pipeline.
When you open the advanced settings of your Power Apps Checker step in your pipeline you do have some configuration to use the result of the checker to effect the further processing of the pipeline.

With the “Error level” field you can configure which violation severity should be handled as an error. The “Error threshold” lets you define a number of violations that still are acceptable and should not break the build. The last checkbox hasn’t had any effect on my tests (which does not have to mean that it does not not have any at all).
With those configurations you could, for example, configure that medium or higher violations should be considered as an error but until a certain number of errors the check should still be considered as a success.
Example
I have deployed a not strict JS-file to my solution. The result of a manual run of the Solution Checker looked like this.

Like you can see I do have one violation with medium severity.
I do configure my Power apps Checker step to handle “medium” as the lowest error severity.

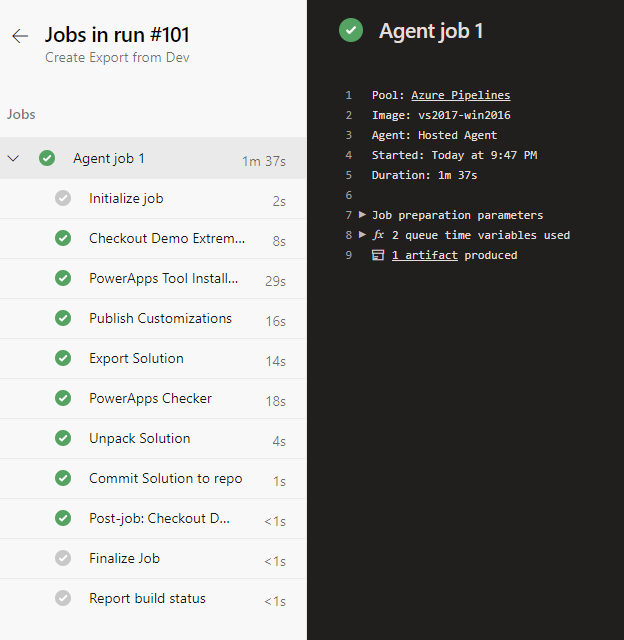
After running the pipeline it will break since the Solution Checker gets a violation it handles as an error.

Here is the console output of the Power Apps Checker step.

If I then configure the step slightly different, introduce a threshold of 1, the pipeline will work again, since the Checker step will succeed.

The post ALM – Use Results of Solution Checker appeared first on Benedikt's Power Platform Blog.
*This post is locked for comments