


 646
646 Like
Like Share
Share
 Report
In my previous post, I took a look at how to build a model to interpret vendor invoices using AI Builder in the Power Platform. In this blog post, I take it a step further and build a model that analyses the invoice (line) description and match it to a general ledger account. This is, potentially, a way to fully automate the AP automation process end-to-end.
Before I can create the AI model I need some data to train it on. This data needs to reside in the Common Data Service (CDS). Therefore, I have created a new entity in CDS called “Text to Account” as shown below.

The entity is very simple and only contains two important fields:
- Text.
- Account.
When you look at the data I have populated the entity with:
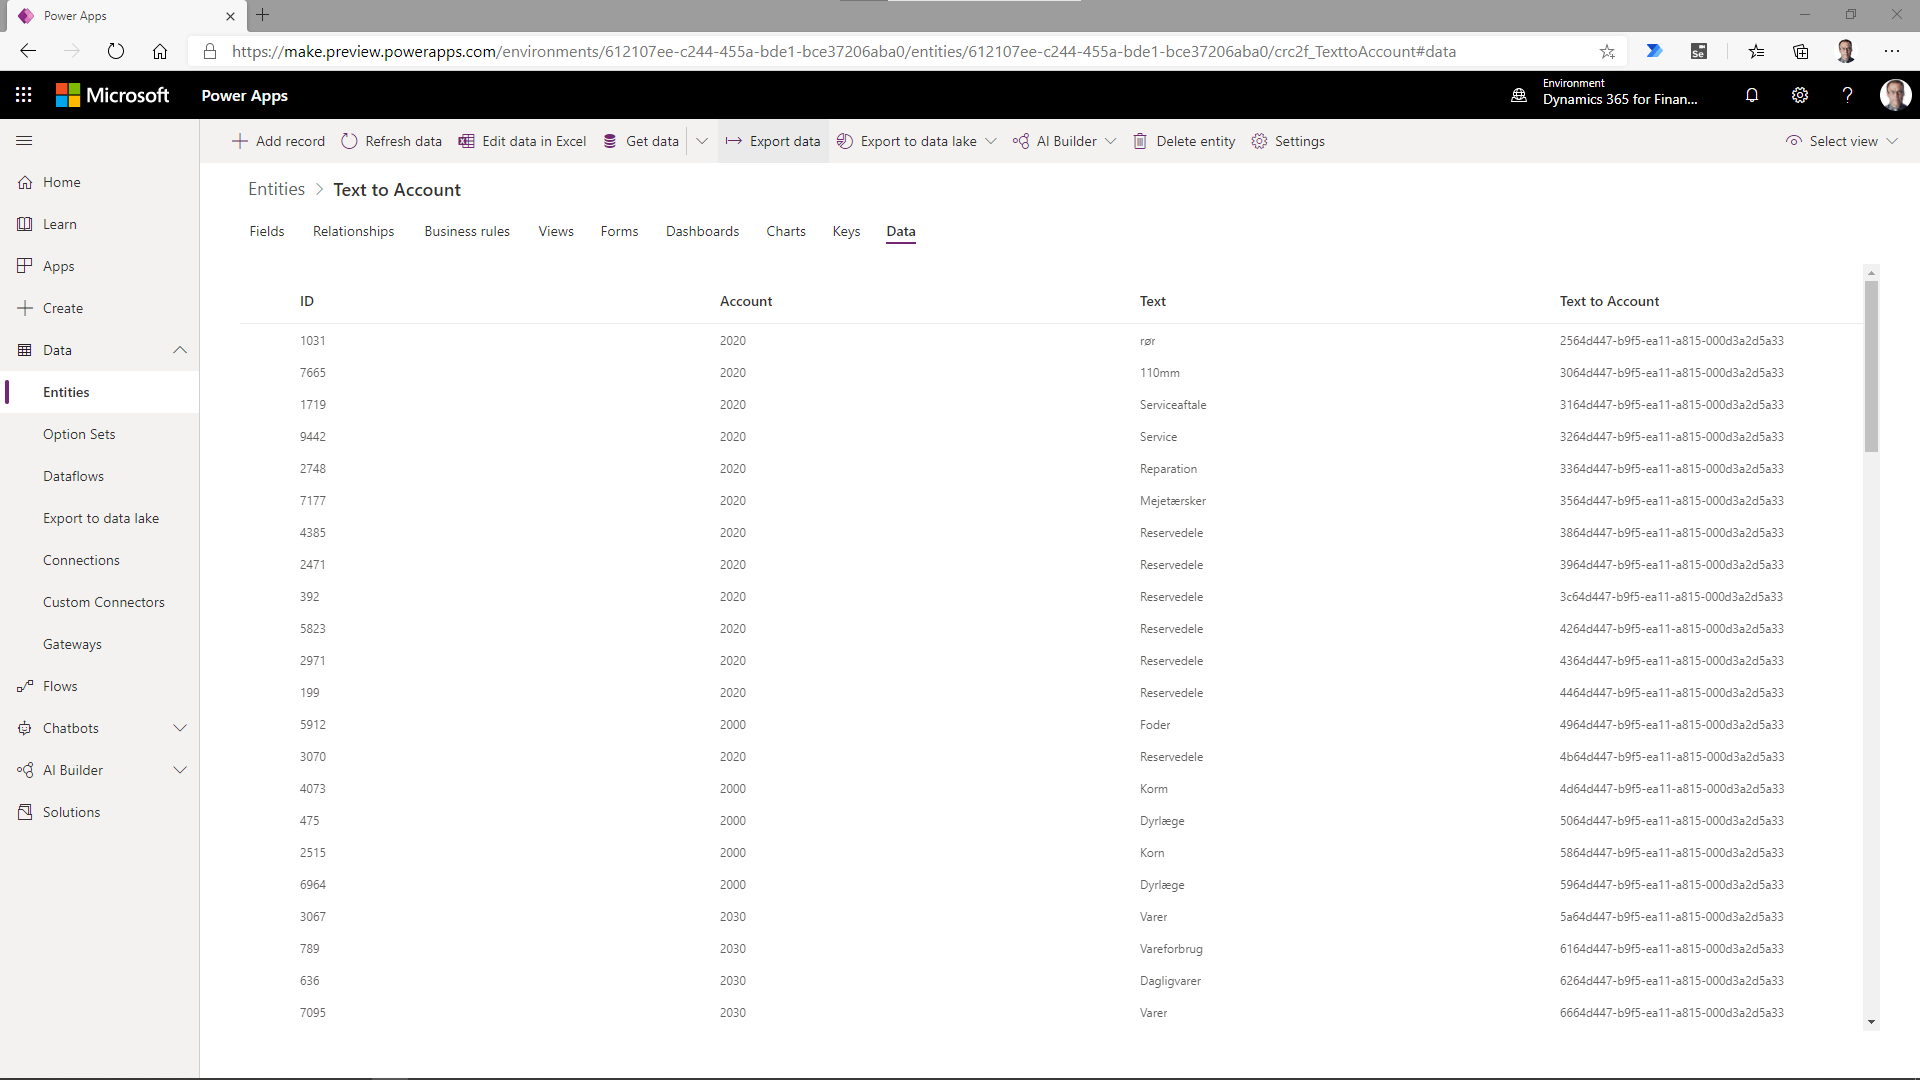
you can see that for each text example, the Account field contains the corresponding general ledger account. This way, the model can learn the relationship between a text and the account. Obviously, the more data you feed into the model (entity), the more accurate it becomes.
Now it is time to create the AI Builder model. To do this, you must go to Power Apps and open the Build sub menu.

From here, select the Category Classification tile and give the new model a name as shown below.

When you click Create, a wizard takes you through the five model creation steps.

First, you must select the data entity (see above) where the text data is stored and within the data entity the exact field that contains the text phrases.

Next, you must select the field that contains the corresponding tag. In this case the tag is the Account field.
As the following screenshot shows, the AI Builder analyses the data and proposes a separator scheme. As you can see, this is mainly meant to deal with scenarios where data is stored in a delimited format. In my case there is no delimiter.

The next step is to review how the model has matched text phrases with tags (accounts).

As you can see from the above example, each text phrase has been matched with a tag. This is what we want.

The last step is to select the language used for the model. For more information on geographical availability, please see this link.
That is it. All I need to do now, is to click on the Train button on the summary screen to train my model.

Once the model has been trained, all you need to do is publish it to make it available for use in Power Apps.
In the next blog post in the series, we will take a look at how we can use the two models in a Power App to add a layer of intelligence to the experience. This is where it all comes together.
*This post is locked for comments