


 61,200
 Like
Like Share
Share
 Report
We finished step 1, step2, step3and step4of creating a sample extension using new visual studio code.


Create file which looks like below
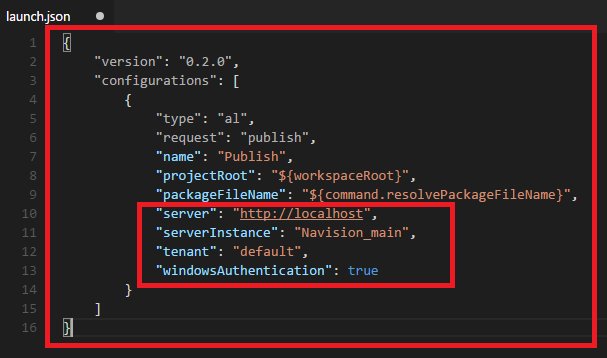
Settings in the launch.json file:

Let’s start with step 5 – Building the package and Publishing the extension.
To Recap:
When we want to start creating our own project, we need to create a new project to contain it. Visual Studio Code manages projects by including all files from a directory. Whatever files exist in that directory are then part of our project. In addition there are two other configuration files; app.json and launch.json. We can define these ourselves, possibly by copying the files from sample code or we can have the system autogenerate them for us. Building the solution (Ctrl+Shift+B) will create the app.json file and publishing (F5) will generate the launch.json file.
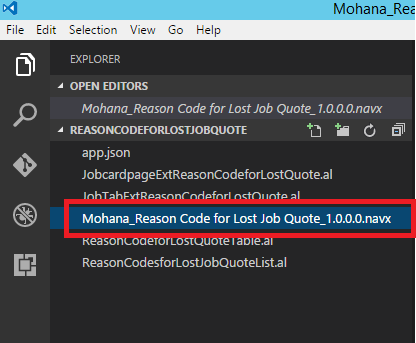
Open the Visual studio code and Folder ReasonCodeforLostJobQuote which we created before if it is not open.
Building the solution (Ctrl+Shift+B)

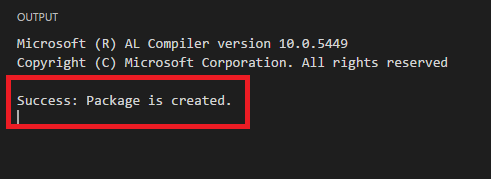
Package is created (navx file)
We can create launch.json file manually or Publishing (F5) will also generate file automatically.
Let’s create manually which should be under vscode folder.
Click on New Folder
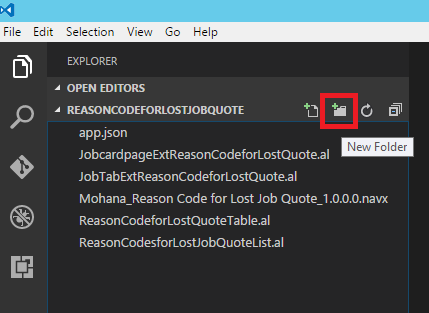
Name it as .vscode
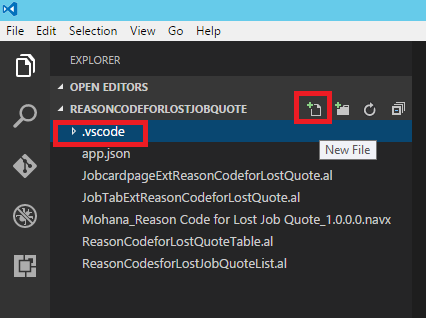
Click on New file selecting .vscode folder.
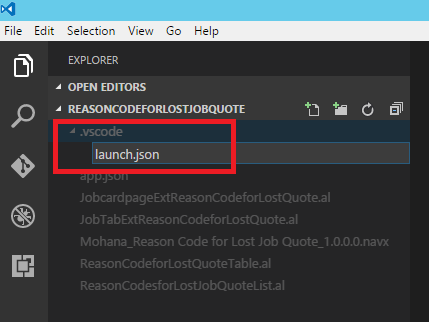
Name it as launch.json
Create file which looks like below

Settings in the launch.json file:
Setting | Mandatory | Value |
server | Yes, if connecting to an on-premises server | The HTTP URL of your server, for example: http://localhost |
serverInstance | Yes, if connecting to an on-premises server | The instance name of your server, for example: NAV |
port | No | The port on which the development endpoint is running on the server, default value: 7049 |
tenant | No | The tenant ID in case the server is configured for multitenancy. |
windowsAuthentication | No | Specifies whether Windows or Azure authentication should be used for publishing the extension. Currently only Windows authentication is supported. |
startupObjectId | No | The ID of the startup object to launch when you press F5. Currently only objects of type Page are supported. |
Now Press F5 to publish the extension to servicetier “Navision_main”
It publishes and Install extension.

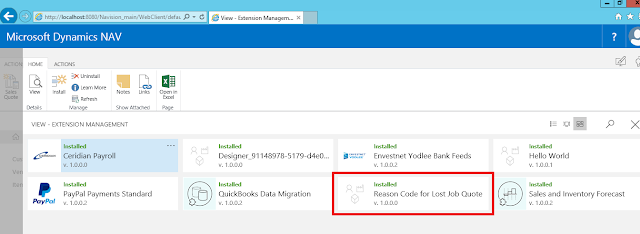
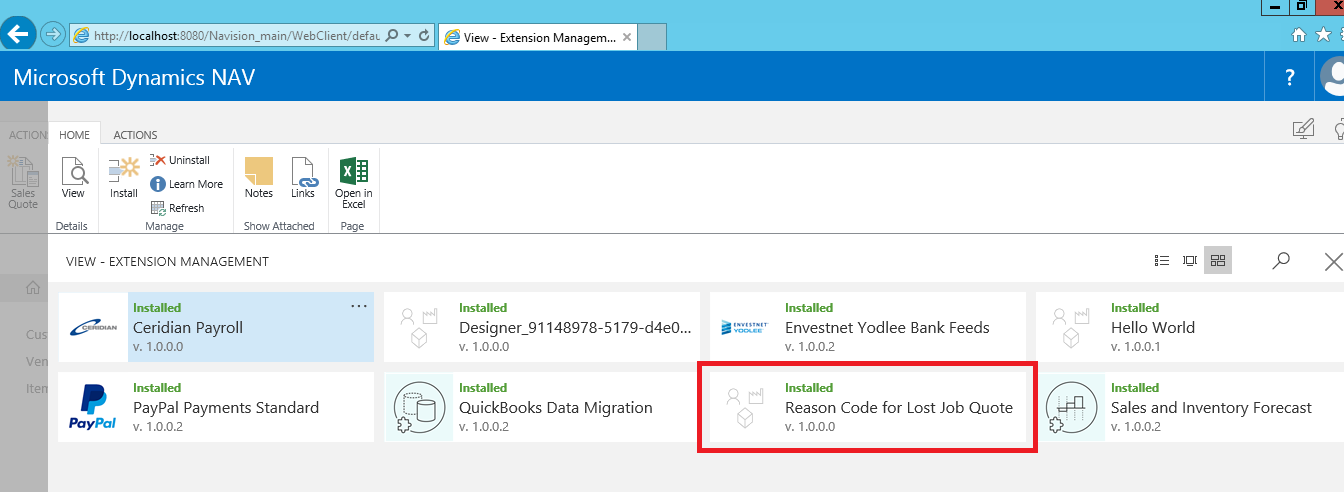
Go to RTC/Web Client.
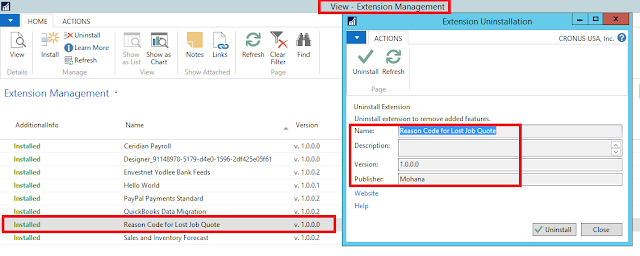
Check extension management page.
Reason Code for Lost Job Quote extension is installed.


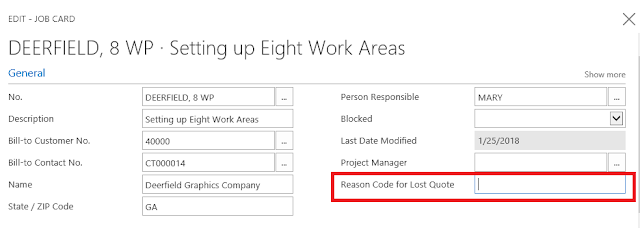
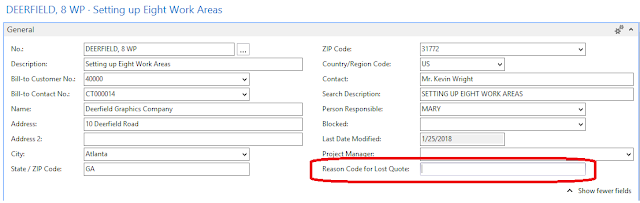
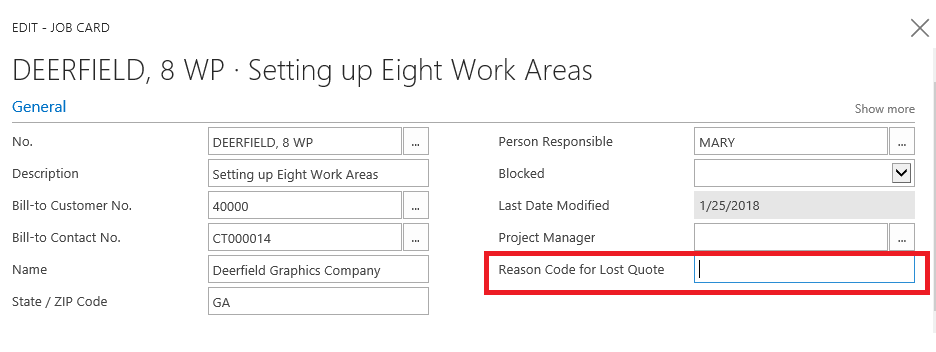
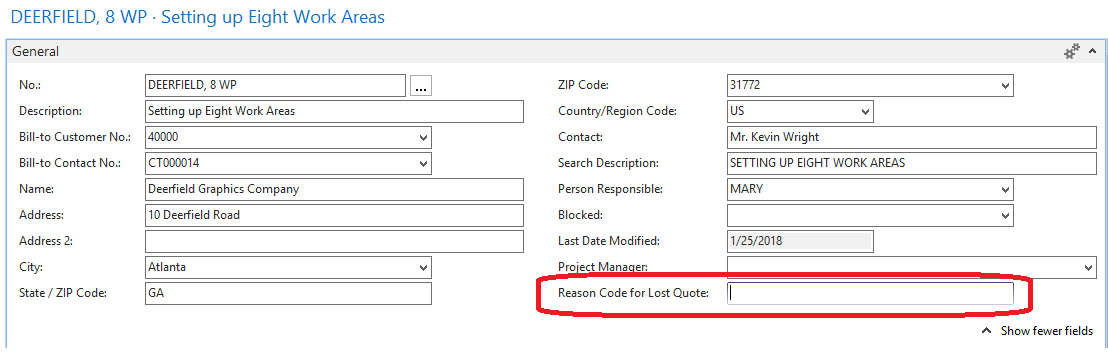
Go to Job Card to check the functionality.
Reason Code for Lost Quote field is added (I couldn’t see dropdown option. Need to investigate.)
Stay tuned.
*This post is locked for comments