Angel,
Josh is correct. In v18, which comes out this month, the Dimension Correction function is available for General Ledger entries only. In the meantime, you could create an entry reversing the transaction, with the original posting date, and reenter correctly. If you are curious how the v18 Dimension Correction tool works, here is a snip-it:
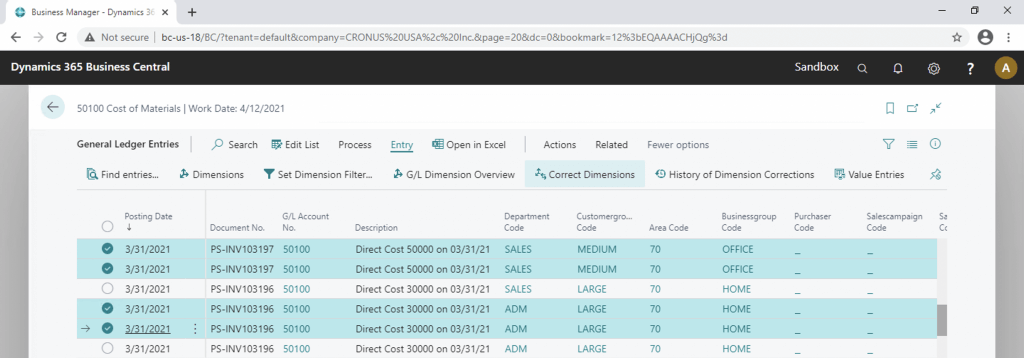
Correct via General Ledger Entries.
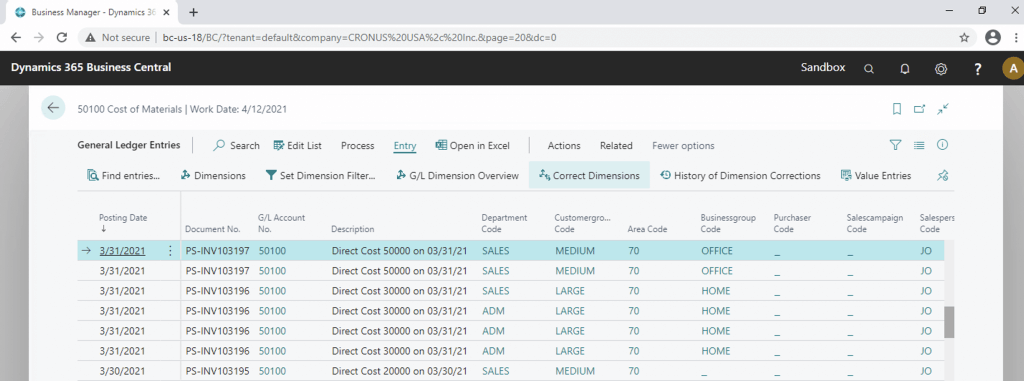
You can change dimensions for 1 entry or for a set of entries, just by selecting them
Correct via G/L Registers:
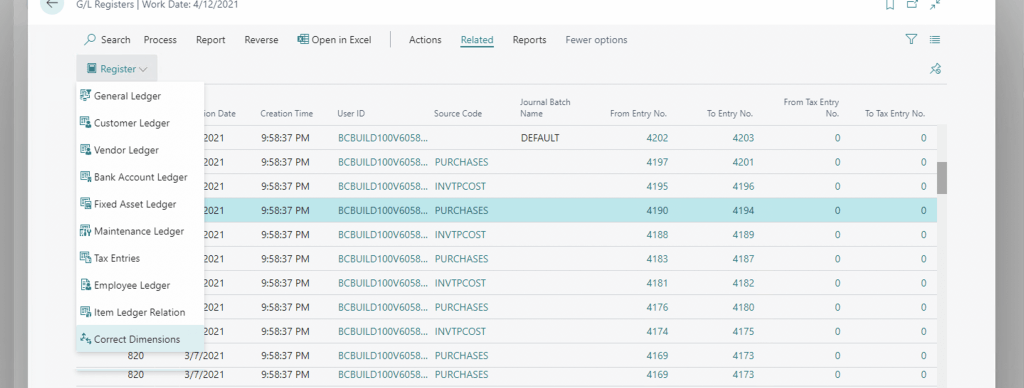
But only for 1 entry. It will use “From Entry No.”, “To Entry No.” as a filter for General Ledger Entries.
Correct via Posted General Journal

Also, for 1 entry. It will use “Document No.” and “Posting Date” as filters for General Ledger Entries.
Correct via Search

In this case, the Dimension Correction tool will not “know” for which G/L Entries you want to change dimensions. You need to select them manually.
The Dimension Corrections screen
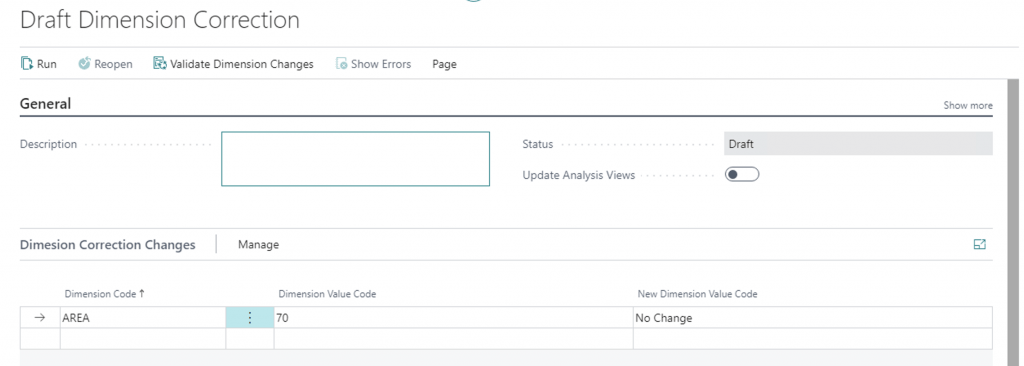
When you click on “Correct Dimensions” or run “Dimension Corrections” manually you see this screen “Draft Dimension Correction” –
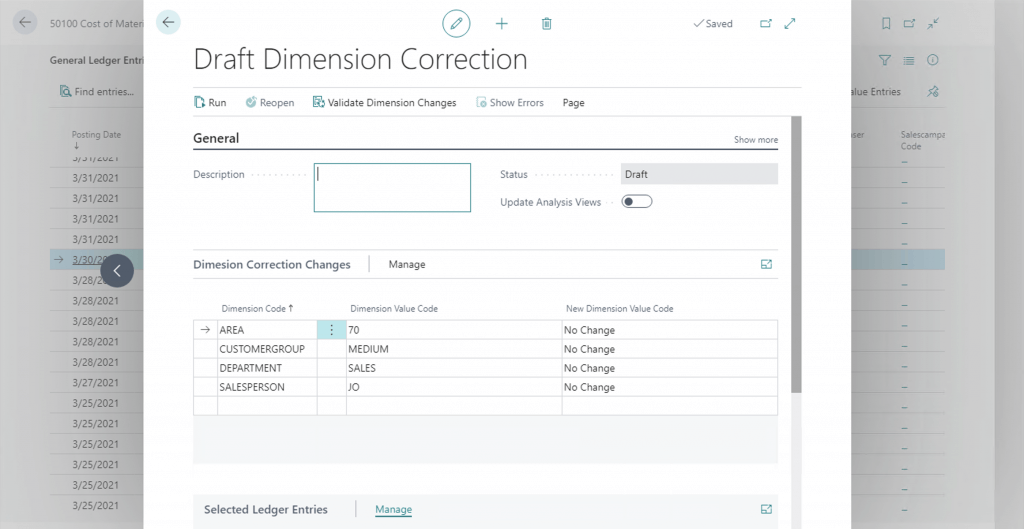
If you run this from Way 1 – Way 3, it will come already prefilled with the Dimensions from the General Ledger Entry or set of entries, like this:
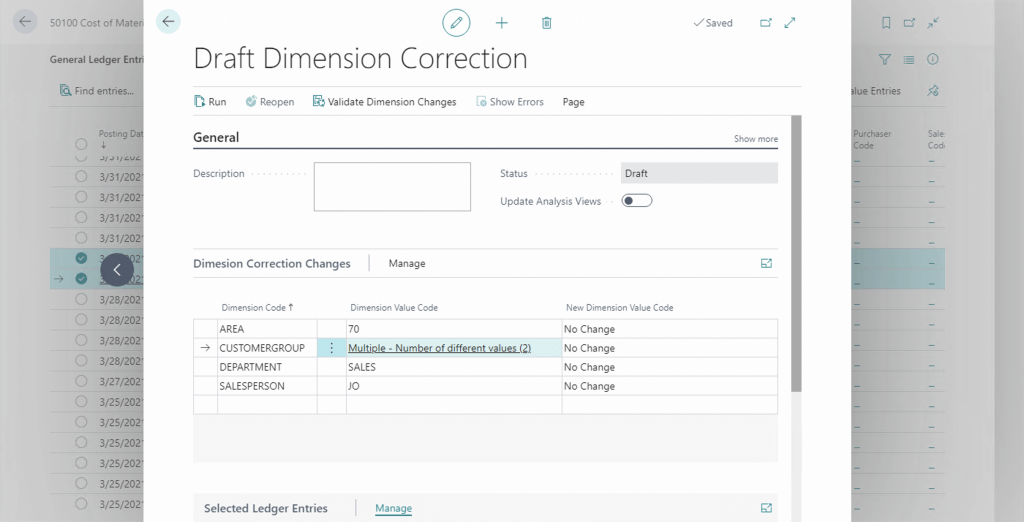
So, it’s possible to make one-to-one or many-to-one changes.
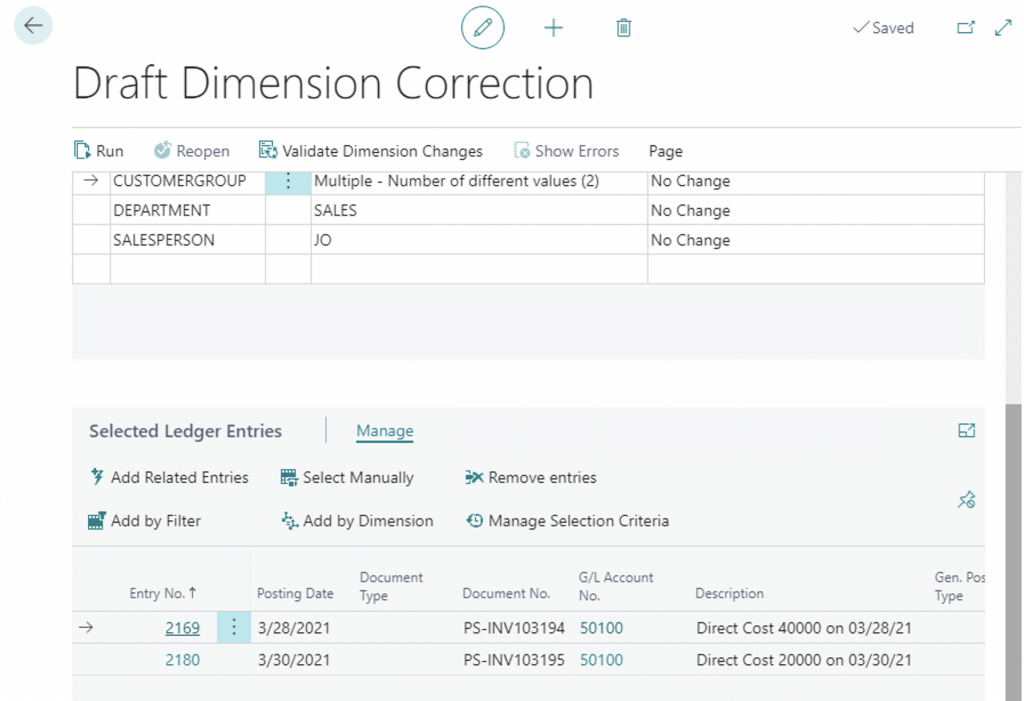
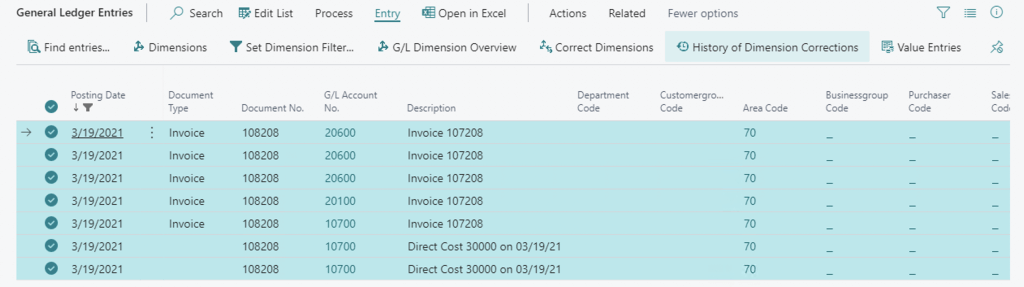
The G/L Entries for dimensions corrections. At the bottom, you see the selected G/L Entries for the dimension changes –
If you run Dimension Correction using Dimension Correction Page, you will see a blank “Draft Dimension Correction”. In this case, you have several options how to get G/L Entries:
- Manual selection,
- Using filters.
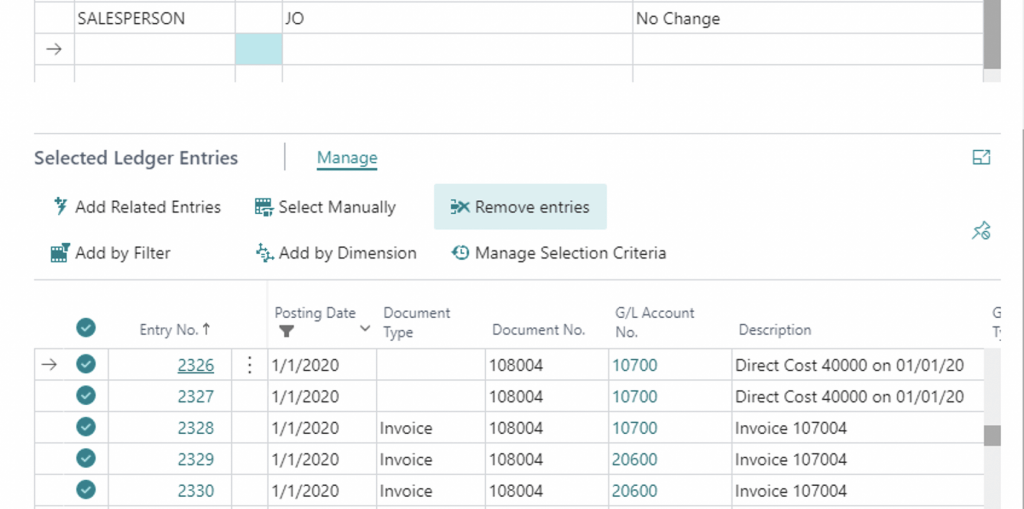
Manual selection

Interesting that with using “Manual selection” you can not select more than 1000 entries. You can remove selected entries from the “Draft Dimensions Correction”, in case you need that –

What’s more interesting, you cannot remove more than 5000 entries. Also, there is a limit on the number of G/L Entries displayed here – 20,000.
Filter based selection
There are several options for how you can select G/L entries using filters. And I would say, they are impressive:
- By Dimension Values,
- By Custom Filters.

This can be useful if you want to change the dimension value A to B for all G/L entries. So you find all G/L Entries with the Dimension Value A

and then can change it (or other related dimensions) for all G/L entries –

By Custom Filters

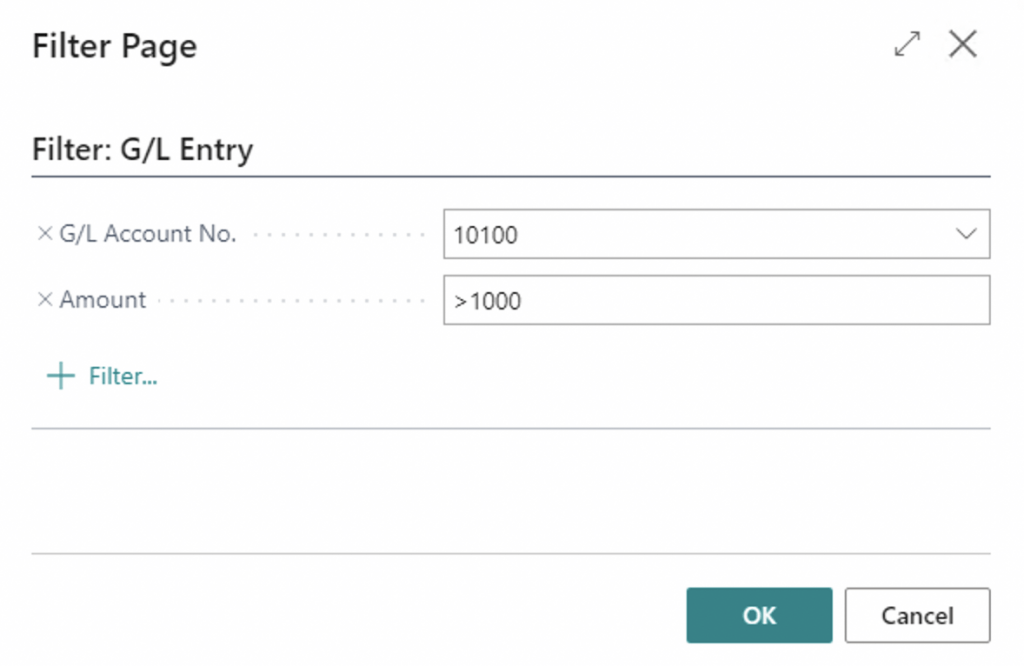
After you set Filters, you can then exclude some entries to make the G/L Entries dataset, the one you need. I remember that the common support issue was to change the dimension value for all entries starting from one date. Let say the salesperson was fired starting from Feb 10, 2020, but the system automatically included it in the transactions. You can do it here by:
- Filtering all G/L Entries by the Salesperson Dimension value JO,
- Filtering the G/L entries you don’t need to change (all before January 31, 2020),
- Excluding these entries.

By using “Manage Selection criteria” you can see what filters you used:

And you can exclude some filtering here as well:

Add related Entries
This is the last available option to get G/L Entries to make dimension corrections. This requires at least 1 G/L Entry already to be selected, and then it adds all other G/L Entries with the same “Transaction No”. Let say I manually selected one entry from the opening balance journal.

And I get all related entries –

First, I thought it will add related entries like Customer or Vendor Ledger Entries. But it’s not. It only adds G/L Entries in the same transaction.
How to change Dimension Values
After you got the G/L Entries for dimension correction, you are ready to change dimensions in all selected G/L Entries in one go. Let’s take an example – Posted Purchase Invoice > G/L Entries.

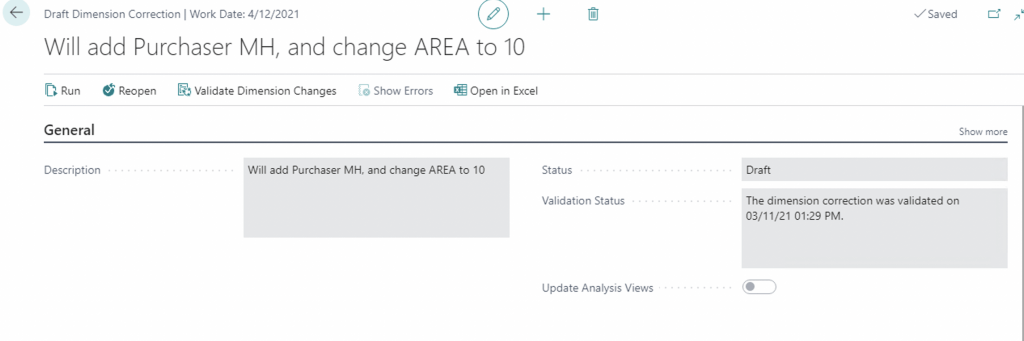
While we are in the process of selecting what to change (or selecting the G/L entries if using Search process) the Dimension Correction is on the status ‘Draft’.

Important! In Status = Draft the changes were NOT yet done to the G/L Entries dimensions.
You can add here a new line with the new “Dimension Code” or change the “New Dimension Value Code” for the existing dimension, or both.
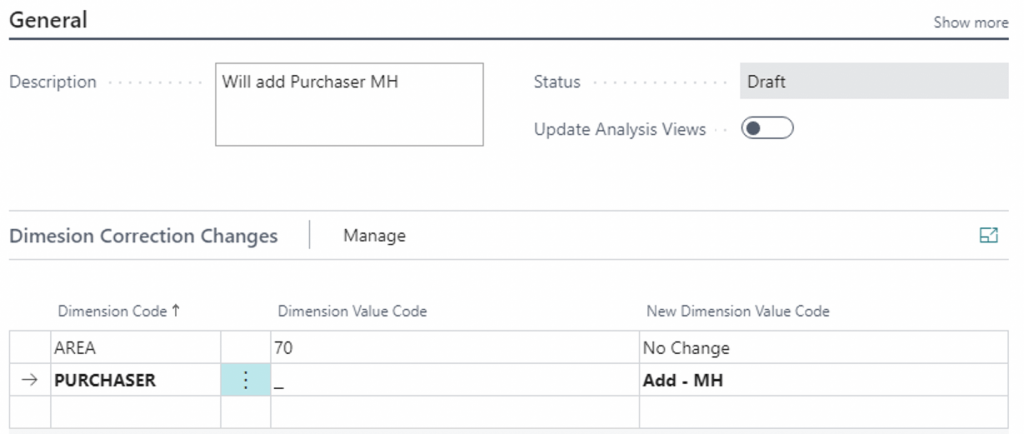
Or this:

From this moment you have two ways to go:
- Validate Changes, then Run,
- Run.
Validate Changes
This will check if it’s possible to make the dimension changes you specified. Actually, it will:
- Check that Dimension is not included in the list of “Blocked Dimensions Setup”,
- Check Dimension Combinations.
Check that Dimension is not included in the list of “Blocked Dimensions Setup”
Important! This is not about the “Blocked” field on the Dimension, this is about the new Page “Dimension Correction Settings”

Here you can specify the Dimensions, that cannot be changed using the “Dimension Correction Tool”.
Check Dimension Combinations
This will check that the New Dimension Values respect Dimension Combinations Setup, if we want to add new dimensions –
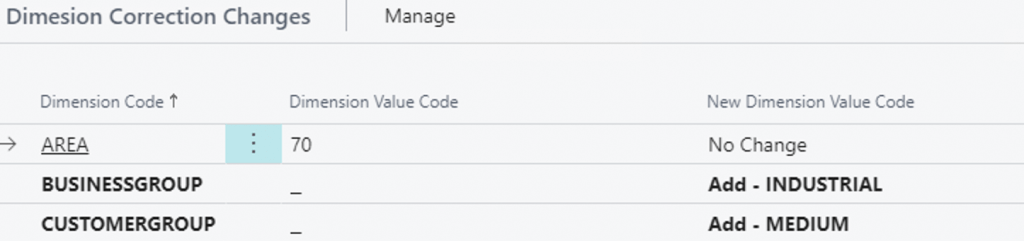
But we have the dimension combination rule –

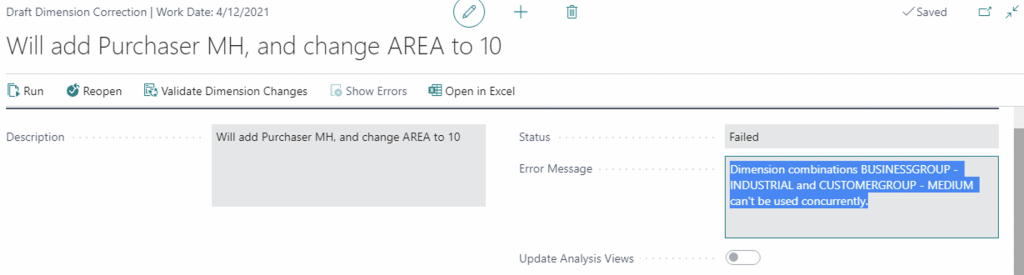
You will have this error:
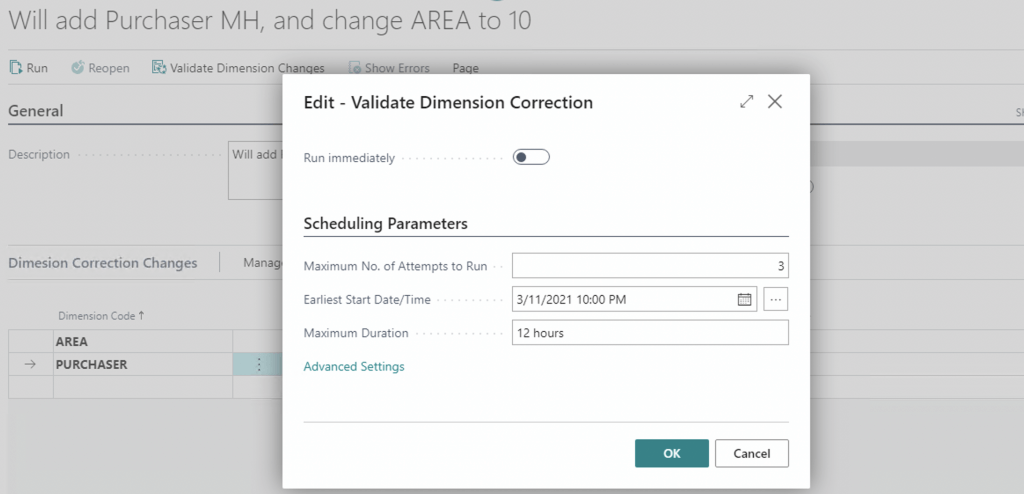
When the user clicks on “Validate Dimension Changes” the system will run a Job, and it asks the user if he wants to run the job now or later.

And even if you immediately will click on “Correct Dimensions” (for the same selected entries for this particular Posted Purchase Invoice) you will see –
Yes – Blank “Draft Dimension Correction”. To see the “Draft Dimension Correction” you worked on before you need to click on “History of Dimension Corrections”.
Find there your draft,
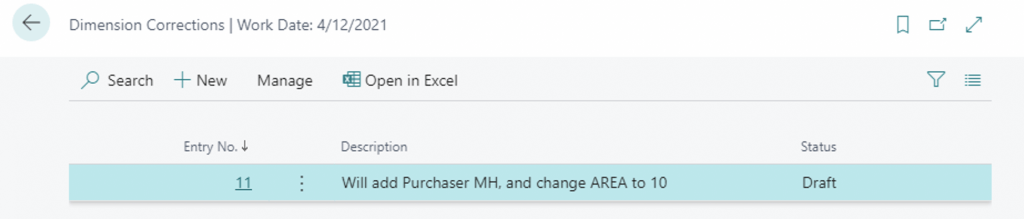
Open it and check the validation status.
Run Changes
At last, from this moment we can Apply changes to the General Ledger Entry Dimensions. Use the “Run” action.

This will also be executed as a Job. The user will have to choose, how he wants to apply changes: running the job immediately or schedule it.

And finally, when the Job was executed –

And if we check the dimensions for G/L Entries, we will see new values.
Hope this helps.
Thanks,
Steve


