


 61,204
 Like
Like Share
Share
 Report
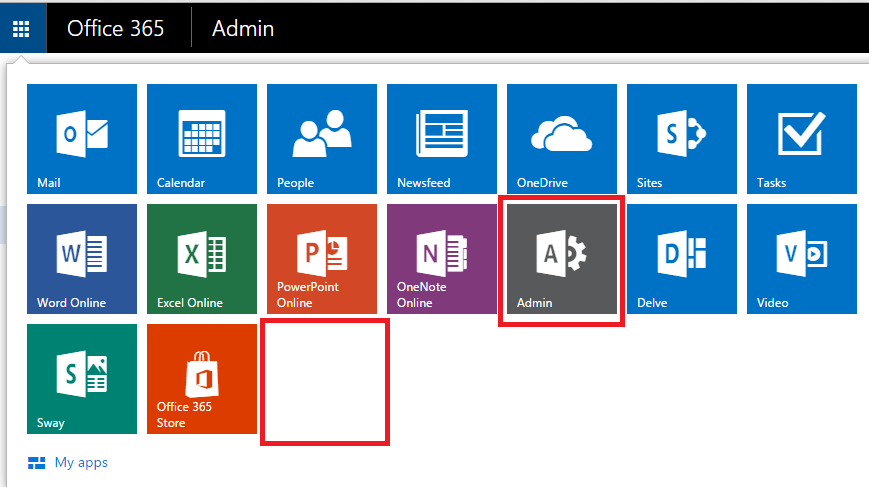
We can add our own tiles to O365 app launcher with Admin rights.
Browse to Admin dashboard by clicking on Admin tile on app launcher.
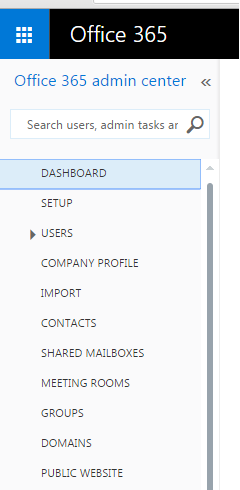
Choose the ‘Company Profile’ on left menu.
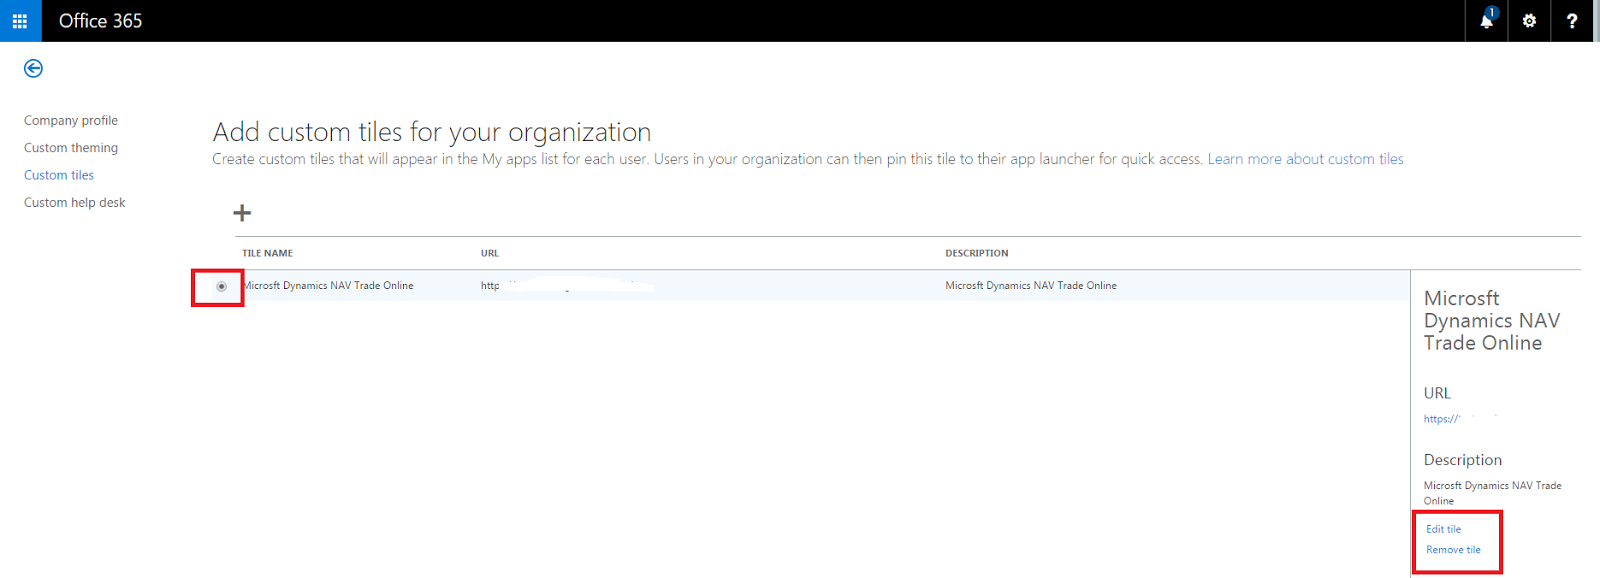
Select ‘Custom Tiles’ from the left menu.
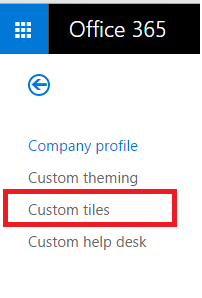
The ‘Custom Tiles’ page looks like below.
Click on ‘Plus’ sign to create a new tile.

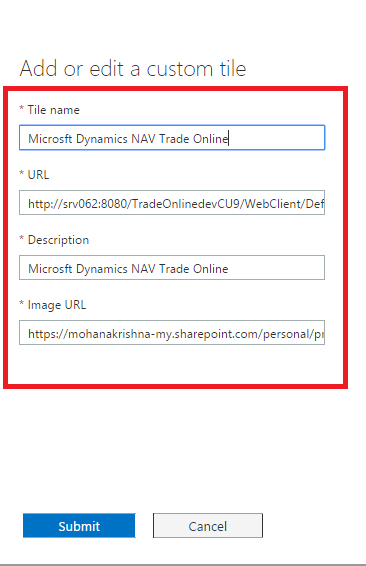
We need to also provide the logo for the Tile.
So we need to upload the logo first. We can upload to One Drive and select the full path name and paste in tile Info.
We can also change/remove the tile later on same Custom Tiles page.
Now go to My Apps page on App Launcher.
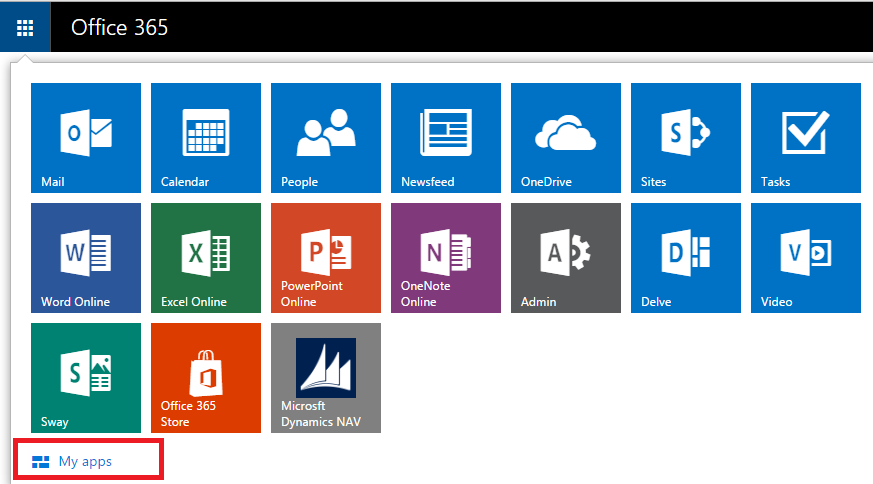
You can find newly created tile here.
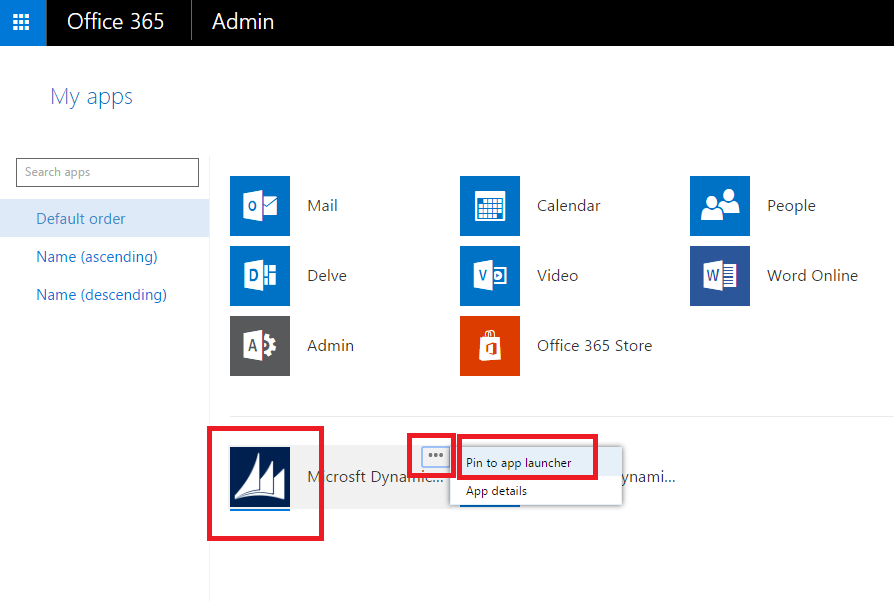
Now click on pin it the App Launcher.
Now we can see the new tile in the App Launcher.
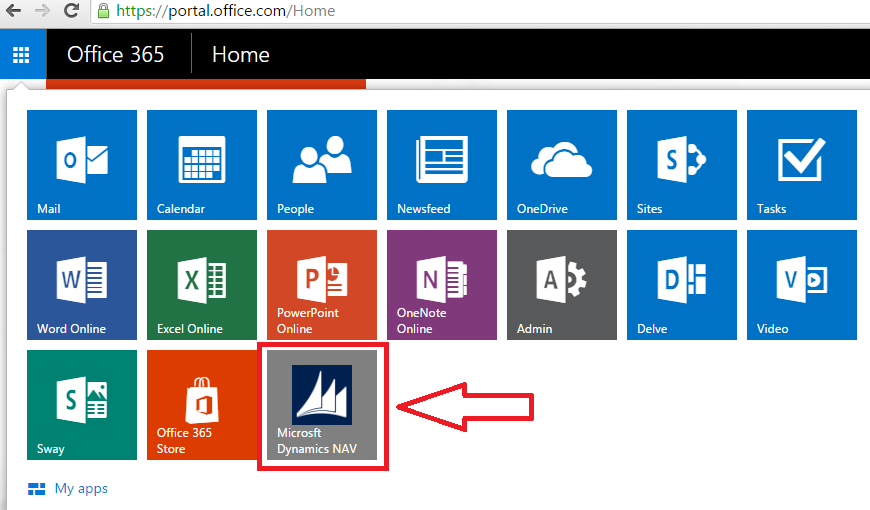
When you click on the NAV Tile then it will directly open the Web client.
*This post is locked for comments