


 841
841 Like
Like Share
Share
 Report
In this tutorial, We will create a new list for a workspace, to show all purchase orders list.
Step 1:
Add a TabPage in your PanoramaBody Tab and apply design pattern as shown in image.

Step 2:
Add an Tab in your TabPage under that add another Tab control.

Step 3:
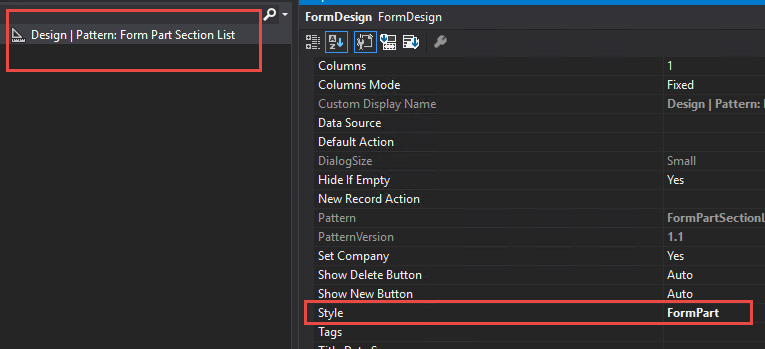
Create a new form in order show new list in a workspace also apply design pattern and assign style property shown in image.
Create a new form in order show new list in a workspace also apply design pattern and assign style property shown in image.
Step 4:
Now in your form do the following tasks:
Now in your form do the following tasks:
1- Add a group and apply pattern.
2- Add a grid and provide datasource to it.
(When you done with point 3, In your grid Default action property assign your Navigation menu Item).
3- Add a menu item button for navigation.
(In my case it is PurchTable Display Menu Item)

Step 5:
Inherit your form class with following interfaces classes as show in image.
Inherit your form class with following interfaces classes as show in image.
1- SysIFilterConsumerForm
2- SysIFilterEventHandler
![]()
Step 6:
Now create a display menu item and assign your form (Step: 3 form).
Now create a display menu item and assign your form (Step: 3 form).
Step 7:
Add a form part (FormContainerControl) in your tabPage (Step: 2) and assign your menu item and set property as shown in image.
Add a form part (FormContainerControl) in your tabPage (Step: 2) and assign your menu item and set property as shown in image.

That is all you need to add a grid listing in your workspace. It is shown like this.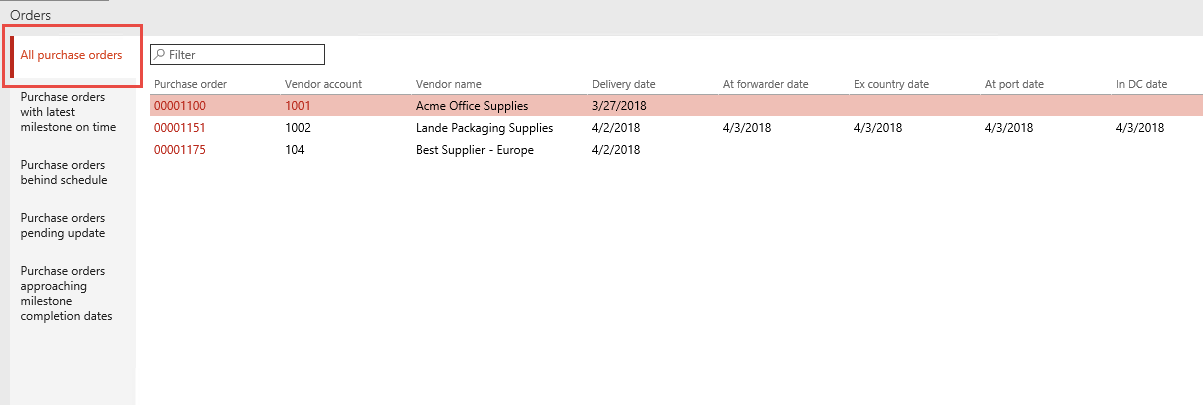
Another blog reference related to Workspace:
How to create custom workspace form and add tiles in D365
*This post is locked for comments