




 Like
Like Share
Share
 Report
Introduction:
In this blog article, we will see how we can expose standard and custom data entities using OData Client code generator to OData API for CRUD operations.
Steps:
- Install OData Client Code Generator v4
- Create new Project
- Execute the OData Client code.
1. Install OData Client Code Generator v4:
- Open Visual Studio.
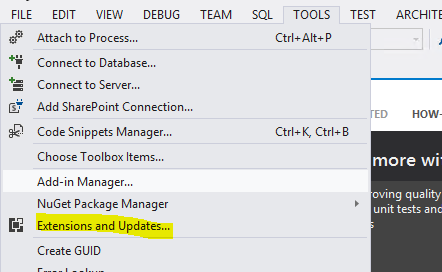
- Go to Tools -> Extensions and Updates
- Go to Online Fast Tab -> Visual Studio Gallery -> Type ‘OData V4 Client Code Generator’
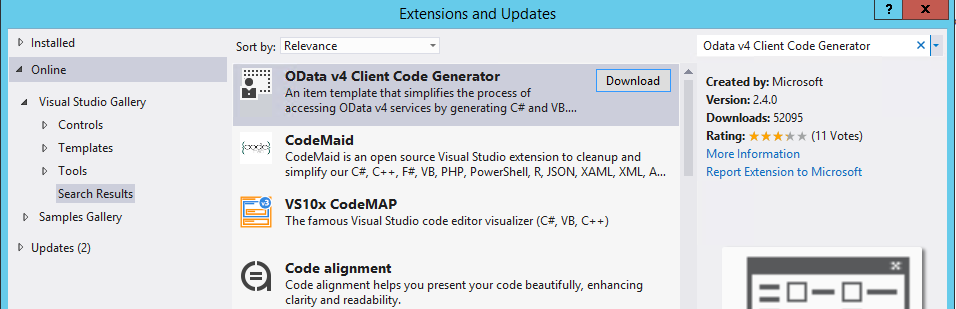
- Click Download.
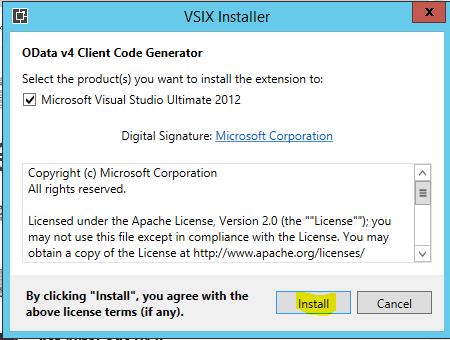
- In the VSIX Installer dialog box, Click Install.
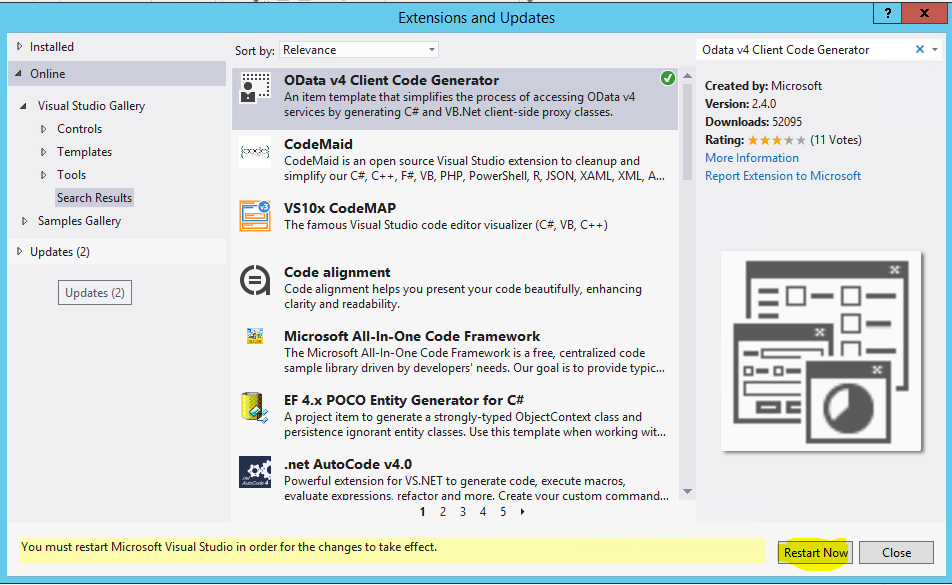
- After Installation, it will ask you to restart the Visual Studio. Click Restart now.
2. Create new Project:
- Click on new Project.
- Go to Visual C# -> Windows -> Select Console Application
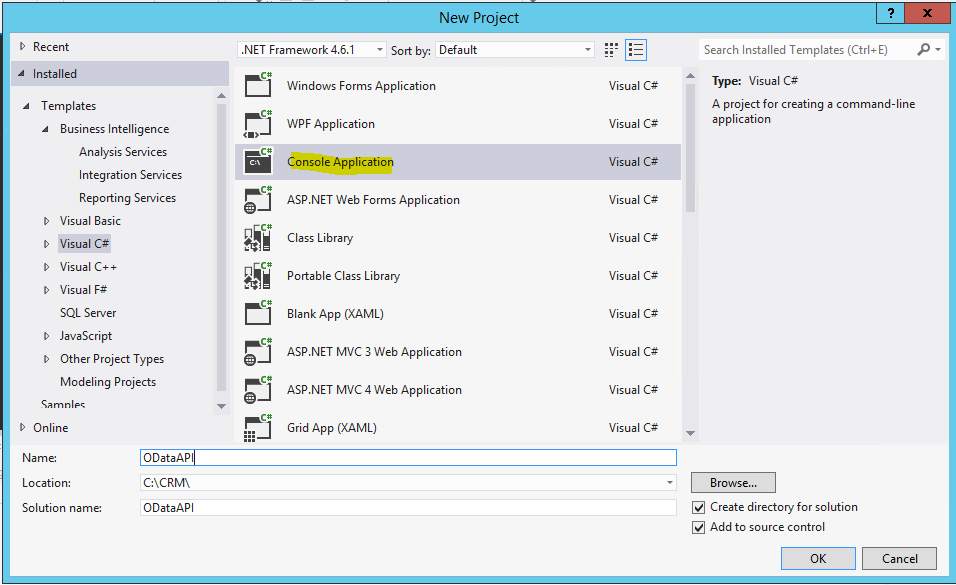 Note: Client Code Generator can work with any project.
 - Enter details and click OK.
3. Execute the OData Client code:
- In Solution Explorer, right click the solution. Go to Add -> New Item.
- Select OData Client. Click Add.
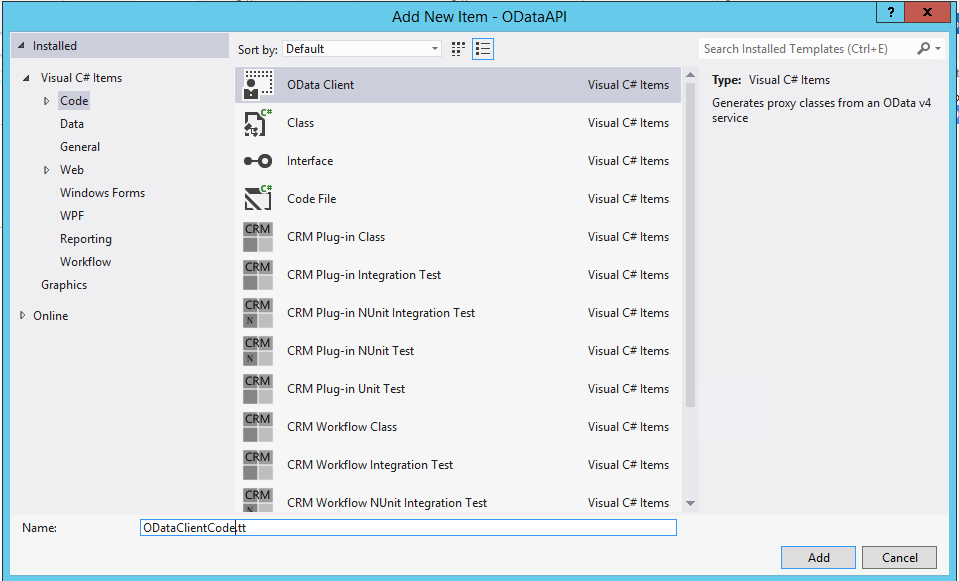
- You will see 2 files added in the solution. Open the file with .tt extension (Text Template). In the file, update the Metadata URI.
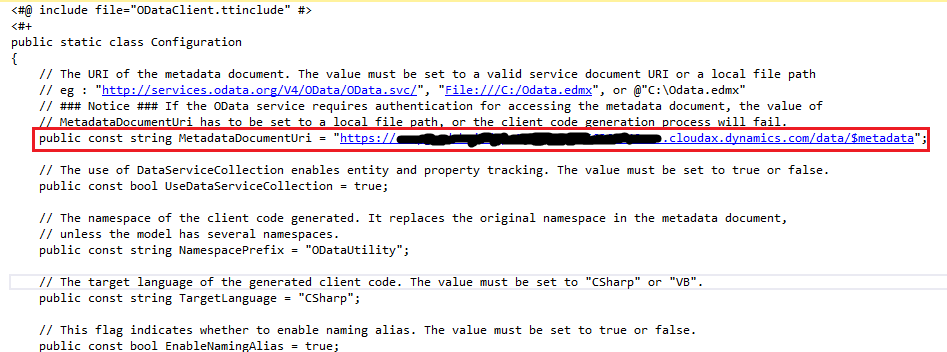
- Save and execute the .tt file. You can see a .cs file generated under the .tt file.
Conclusion:
This will generate a code that exposes all the Data Entities of D365 Operations. You can use this generated code for CRUD operations. In the next part, we will see how to use this generated code to read and write data in tables using exposed data entities.
The post OData API – Exposing Data Entities in D3FOE (Part 1) appeared first on CloudFronts - Microsoft Dynamics 365 | Power BI | Azure.
*This post is locked for comments