


 21
21 Like
Like Share
Share
 Report
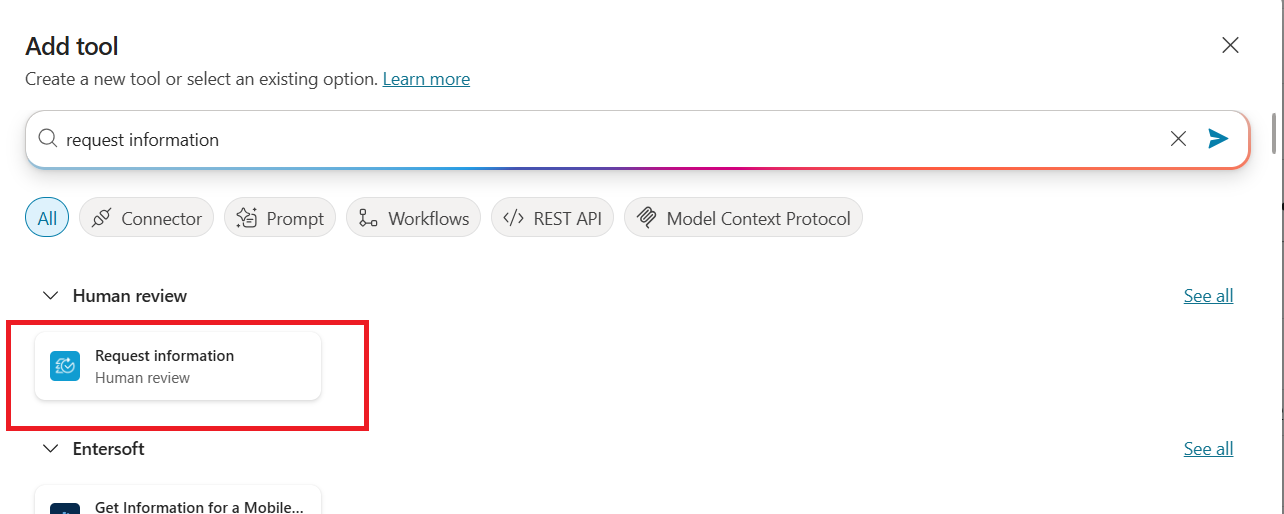
Request Information (RFI) is an action in Microsoft Copilot Studio that allows an agent or workflow to:
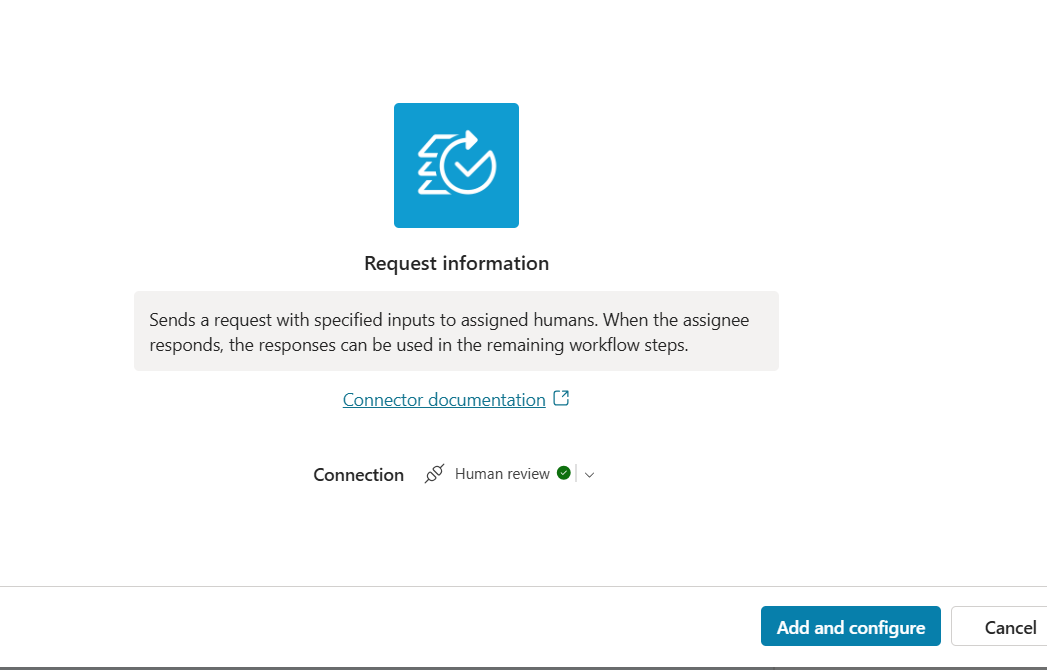
In ensuing popup >> select add and configure:
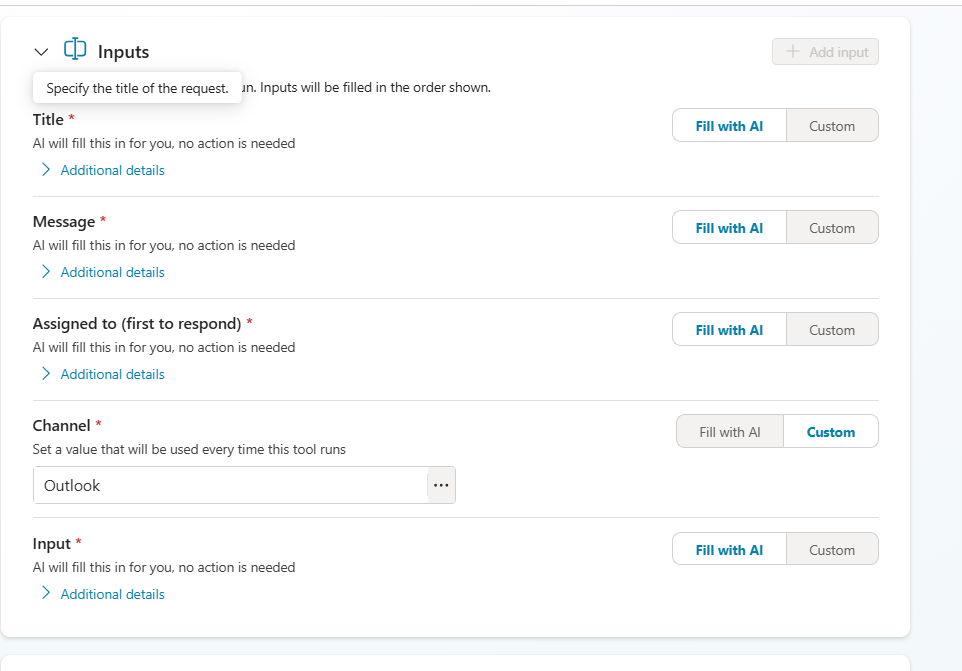
As the tool gets added, you can open it to see inputs details:
Alternately you can provide Custom to insist on some specific message.
Select First to respond: which enables any one of the approvers to respond. Here are the various options available:

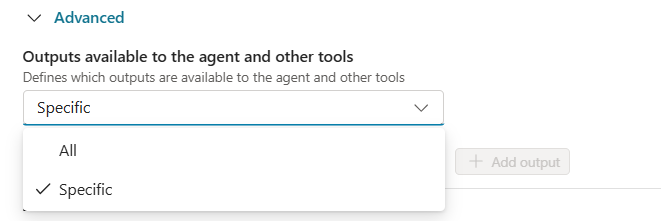
Lastly in the Completion, choose ‘Specific’ option in the ‘Outputs available to the agent and other tools’:

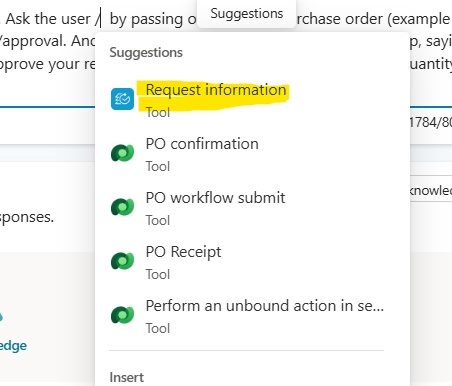
You can call your tool simply by inserting ‘/’ in the instruction:
Publish your agent, and let’s test it.
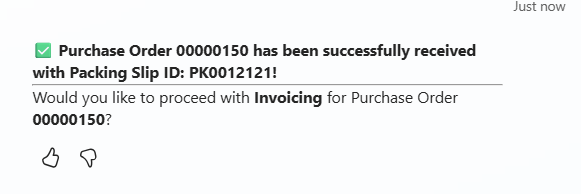
The prompt comes if you want to do the invoicing:
Saying Yes, would send out an email:
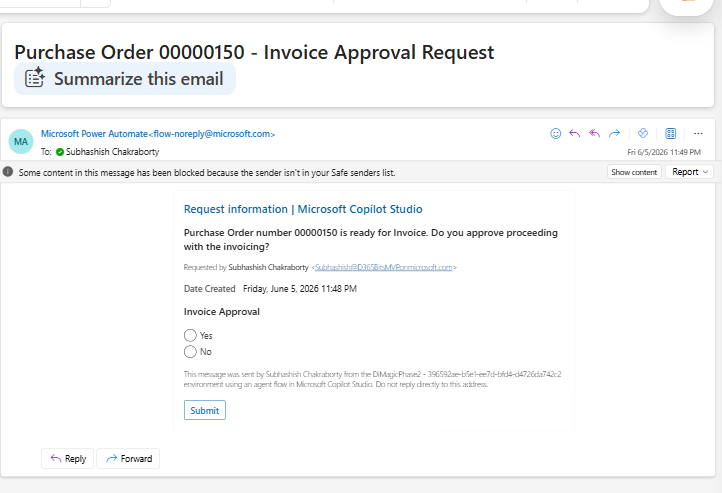
Select ‘Yes’ and hit Submit to complete the approval.
And the following would be received at the Copilot Studio end:
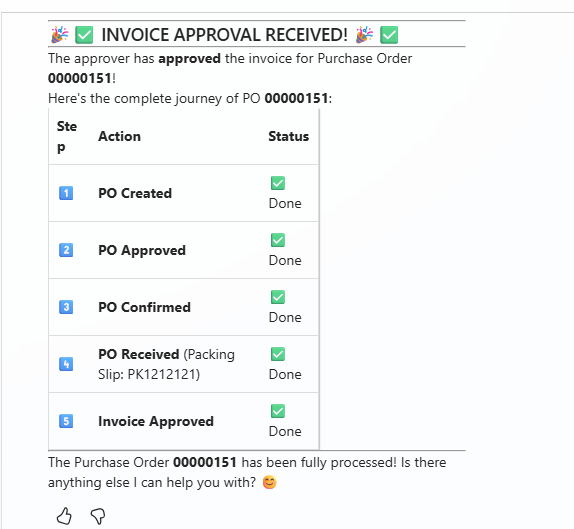
You can proceed with your business logic further to process the workflow or carry out some more business logic, as per your need.
Winding up the discussion for now. Much love, as always J
- Pause execution temporarily
- Ask for additional input from a human user or reviewer
- Resume automatically after receiving the required information
Why do you need Request for Information
In real-world automation, AI systems often face situations where:- Data is missing or incomplete
- A decision requires human judgment
- Validation or approval is necessary
How it works
- An agent flow reaches a step requiring external input
- The Request Information action is triggered
- A request (form/message) is sent to a designated person
- The workflow waits for a response
- Once input is received, the flow continues using that data
Important topographies
- Human-in-the-loop integration
- Structured inputs (text, numbers, dates, yes/no, etc.)
- Automated pause and resume
- Customizable requests (title, message, recipients)
- Improved accuracy and reliability
When to use RFI
Use RFI when:- Cannot proceed without additional input
- The situation involves risk, compliance, or exceptions
- You need validation before continuing
- Automated logic alone is not sufficient
Setup
To add Request information as Tool, let us go to the agent >> add tools:In ensuing popup >> select add and configure:
As the tool gets added, you can open it to see inputs details:
Title
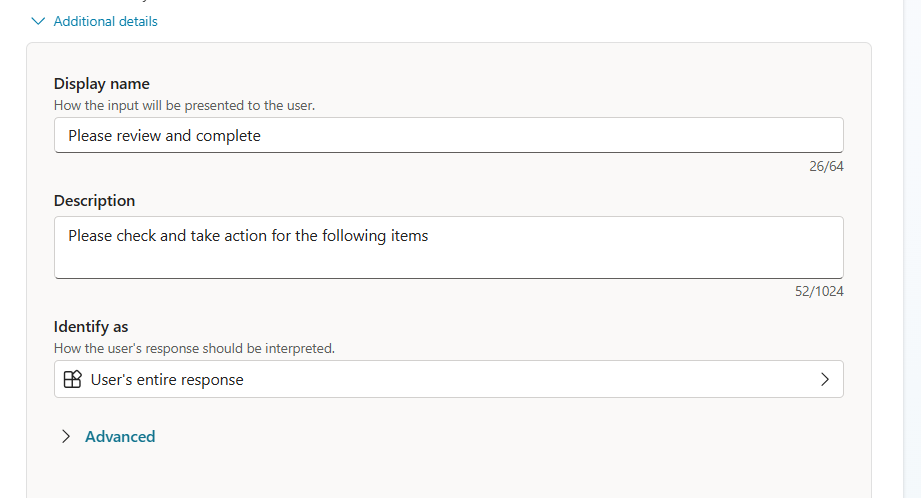
You can select Fill with AI. And then you can additionally give the following details:Alternately you can provide Custom to insist on some specific message.
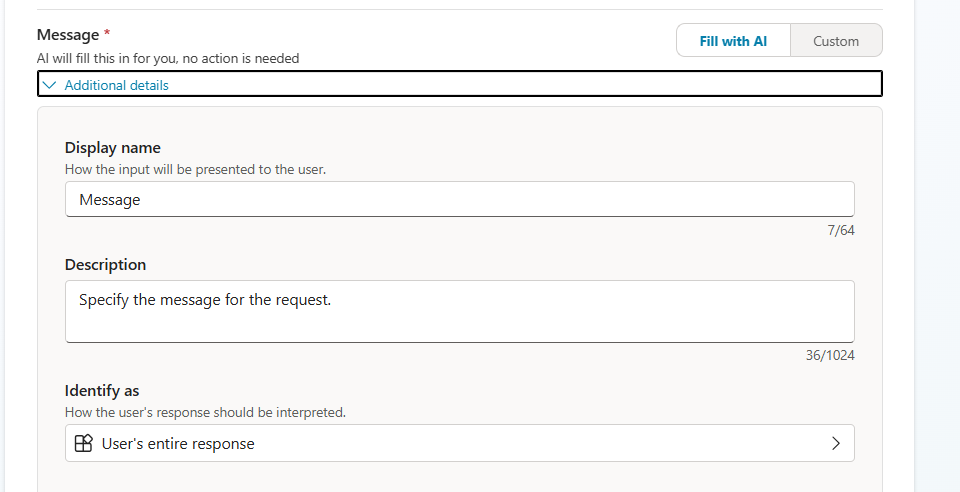
Message
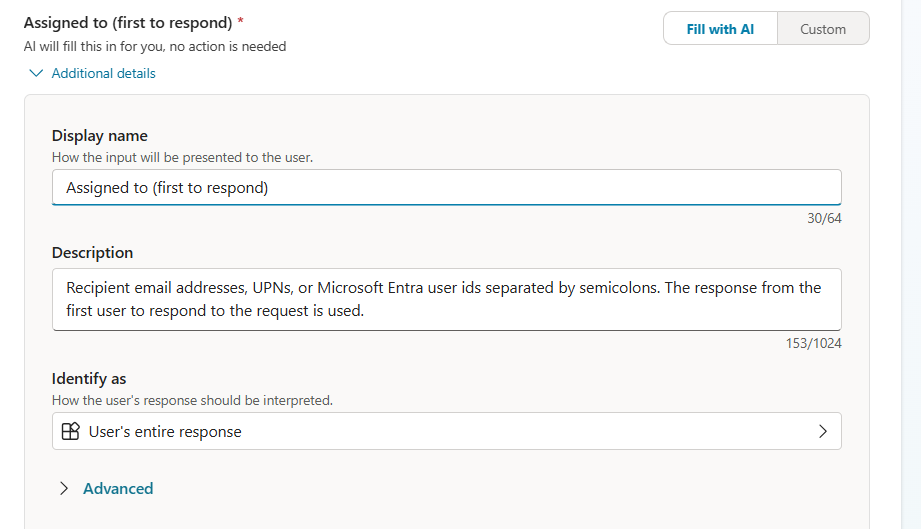
Here also you can select ‘Fill with AI’ or ‘Custom’. Give more details by specifying Display name and Description as above:Assigned to
This is where the item gets assigned to. Select Fill with AI – this will enable you to- If you have work IQ enabled, the one who is requesting, it goes directly to the next in hierarchy (manager)
- Automatically falls back next in the group/admin to approve it.
Select First to respond: which enables any one of the approvers to respond. Here are the various options available:
- First to respond = competitive claim
- Specific user / group = predefined responsibility
- All recipients = parallel responses
- Auto-assignment = system decides
Channel
Lastly provide your desired channel to use the same:Lastly in the Completion, choose ‘Specific’ option in the ‘Outputs available to the agent and other tools’:
Demo
I am using the tool in context to Invoice my Purchase orders, from Copilot Studio. I am using the following instruction:You can call your tool simply by inserting ‘/’ in the instruction:
Publish your agent, and let’s test it.
The prompt comes if you want to do the invoicing:
Saying Yes, would send out an email:
Select ‘Yes’ and hit Submit to complete the approval.
And the following would be received at the Copilot Studio end:
You can proceed with your business logic further to process the workflow or carry out some more business logic, as per your need.
Winding up the discussion for now. Much love, as always J
*This post is locked for comments