


 2,890
2,890 Like
Like Share
Share
 Report
Hi Guys, Hope you are RetailDAXing. You might have read my earlier blog on Modern POS Installation on Windows Laptop. In this blog, I would like to give you a brief walk-through on the installation and configuration of Hardware station.
In this illustration, I am using a Windows laptop with Windows 10 Enterprise license. This installation works with Win 10 pro and Enterprise but not Win 10 Home edition. So make sure your Windows laptop is either on these Windows edition.
Follow the steps for the installation-
1. Connect to D365 F&O.

2. First, we will configure the Hardware profile. I am using the Virtual peripheral simulator for this illustration (but you can test this with any Microsoft-tested point of sale (POS) hardware peripherals) that you can download from Retail > Channel setup > POS setup > POS profiles > Hardware profile.
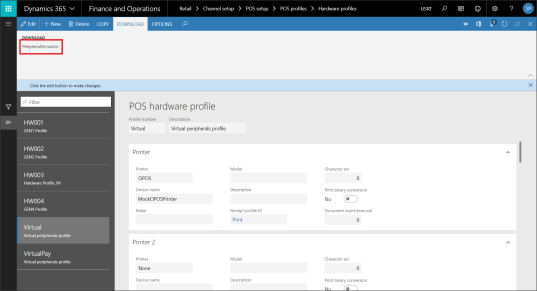
3. If you are working with Demo data, then you might find the Hardware profile number – Virtual. Attach this hardware profile for your Register. If you don’t find the Virtual Hardware profile, then create a new and configure as below-
| Device | Device type | Device name |
|---|---|---|
| Printer | OPOS | MockOPOSPrinter |
| Line display | OPOS | MockOPOSLineDisplay |
| MSR | OPOS | MockOPOSMSR |
| Drawer | OPOS | MockOPOSDrawer1 |
| Drawer2 | OPOS | MockOPOSDrawers |
| Scanner | OPOS | MockOPOSScanner |
| Scale | OPOS | MockOPOSScale |
| PIN Pad | OPOS | MockOPOSPinPad |
| Signature capture | OPOS | MockOPOSSignatureCapture |
4. Navigate to Retail > Channels > Retail Stores > All retail Stores. Select the Retail Store. (I will be using CHICAGO for this installation)
5. Open the Hardware station fast tab, and click Add to configure new hardware station. Enter the following details-
Hardware station type: Dedicated
Description: Virtual peripheral
Host name: localhost
Port: 9083
Hardware profile: Virtual
Package name: HardwareStationSetup
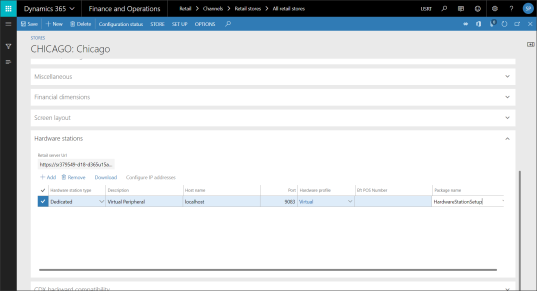
6. Once the Hardware station is configured, click on the Download button to download the Hardware station installer. In this illustration, I am using D365F&O version 8.0. The name of the download file should be HardwareStationSetup_V80308022.

7. After the download, run the installer.
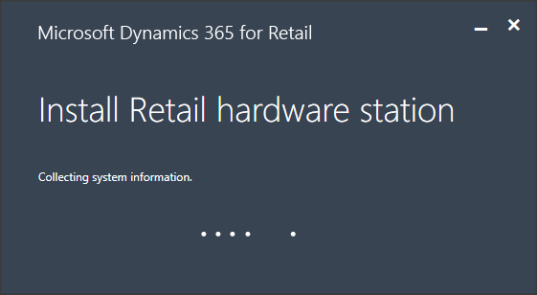
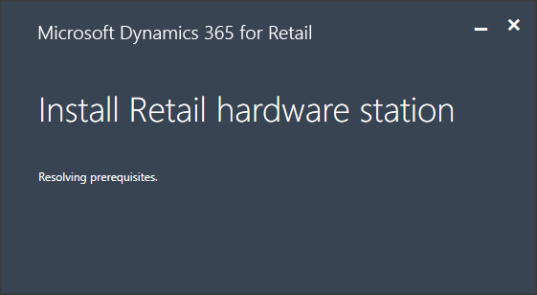
8. Restart the computer once, If the installer asks for it.
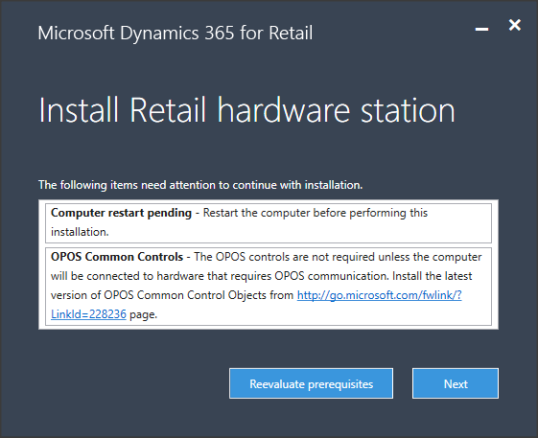
9. Install the OPOS controls from the link. Click on the link from the installer window.
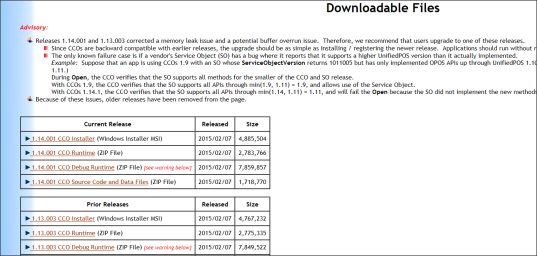
10. Install the latest OPOS controls. In this case, we will install 1.14.001 CCO Installer (Windows Installer MSI).
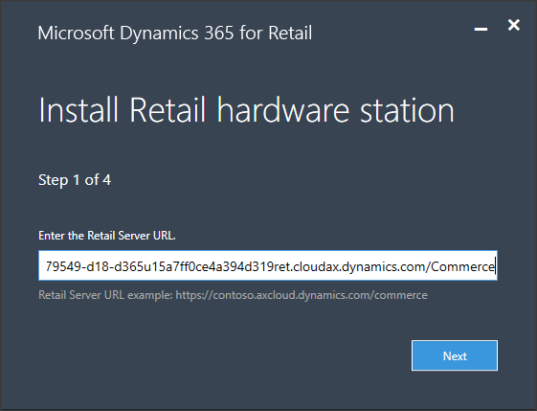
11. Enter the Retail Server URL in the Step 1 screen. You can get the Retail Server URL from Retail > Channel setup > Channel profiles. Click Next.
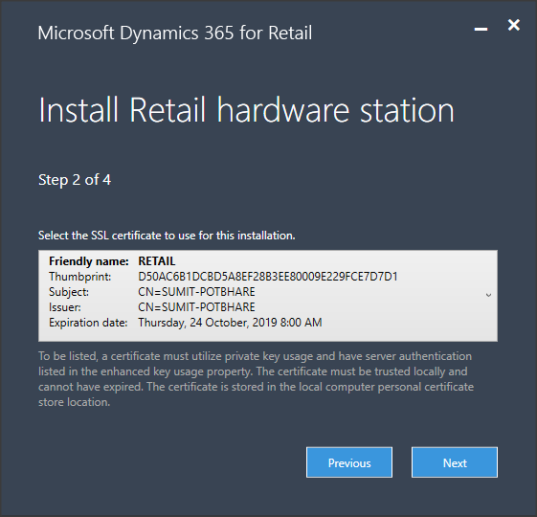
12. Select the SSL certificate on Step 2 screen. If you are working in a TEST environment, create a self-signed Server certificate and select on this screen. Click Next.
13. Use the default generated service account or enter the service account credentials on Step 3 screen. Click Next.

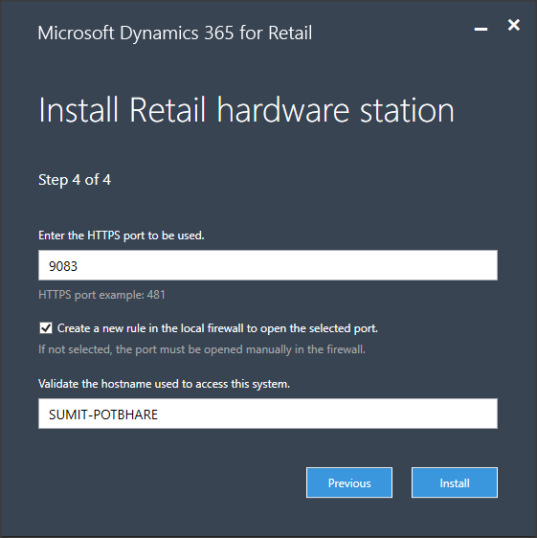
14. Enter the HTTPS port number for Retail Hardware station on Step 4 screen. Click Install.
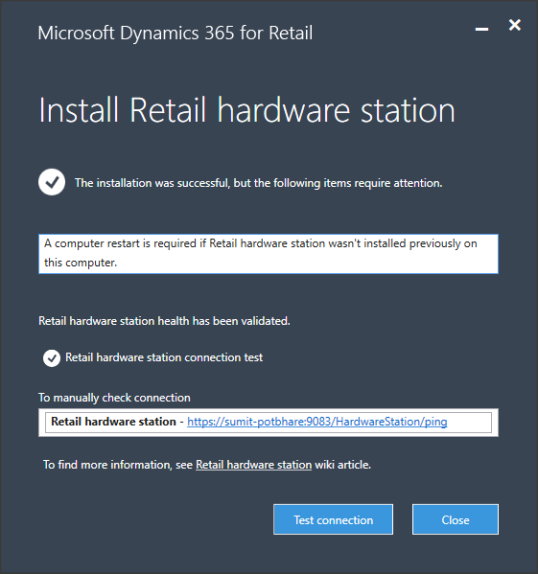
15. Click on Test Connection to check the connection status.
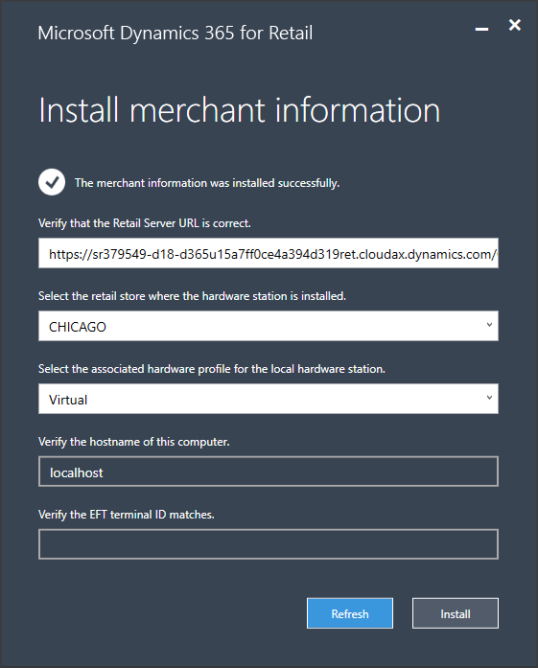
Install Merchant Information
1. Enter the Retail Server URL. You can get this URL from Channel profile configuration. Navigate to Retail > Channel setup > Channel profiles. Copy the URL and paste in the Server URL and click Next.
2. Select Store
3. Select the Hardware profile
4. Click Install.
Pair Hardware station
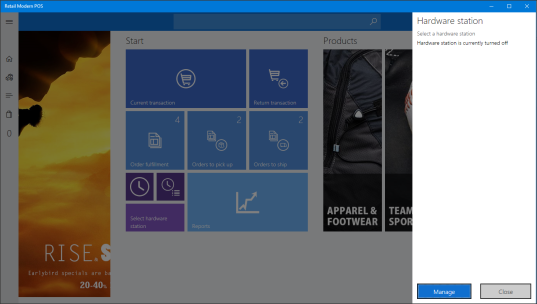
1. Login to Modern POS.
2. Click on Select Hardware station operation and click on Manage.
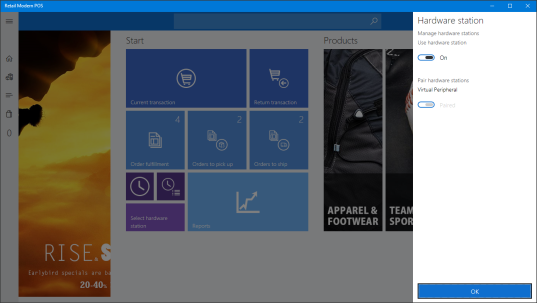
3. Make the Use hardware station as ON and press OK.
4. The Selected station will show the name of the Hardware profile. Click Close.
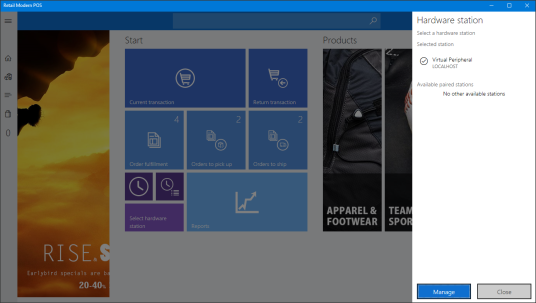
5. To test the Hardware, perform a transaction.
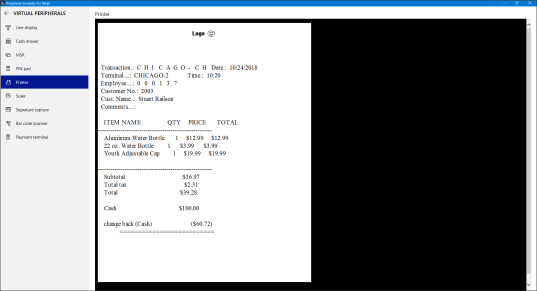
Now you can use the OPOS hardware with the Modern POS.
Feel free to reach out for any clarifications. If you like my blog posts then comment and subscribe to the blogs.
Please follow me on Facebook | Google+ | Twitter | Skype (sumit0417)
Enjoy RetailDAXing.
*This post is locked for comments