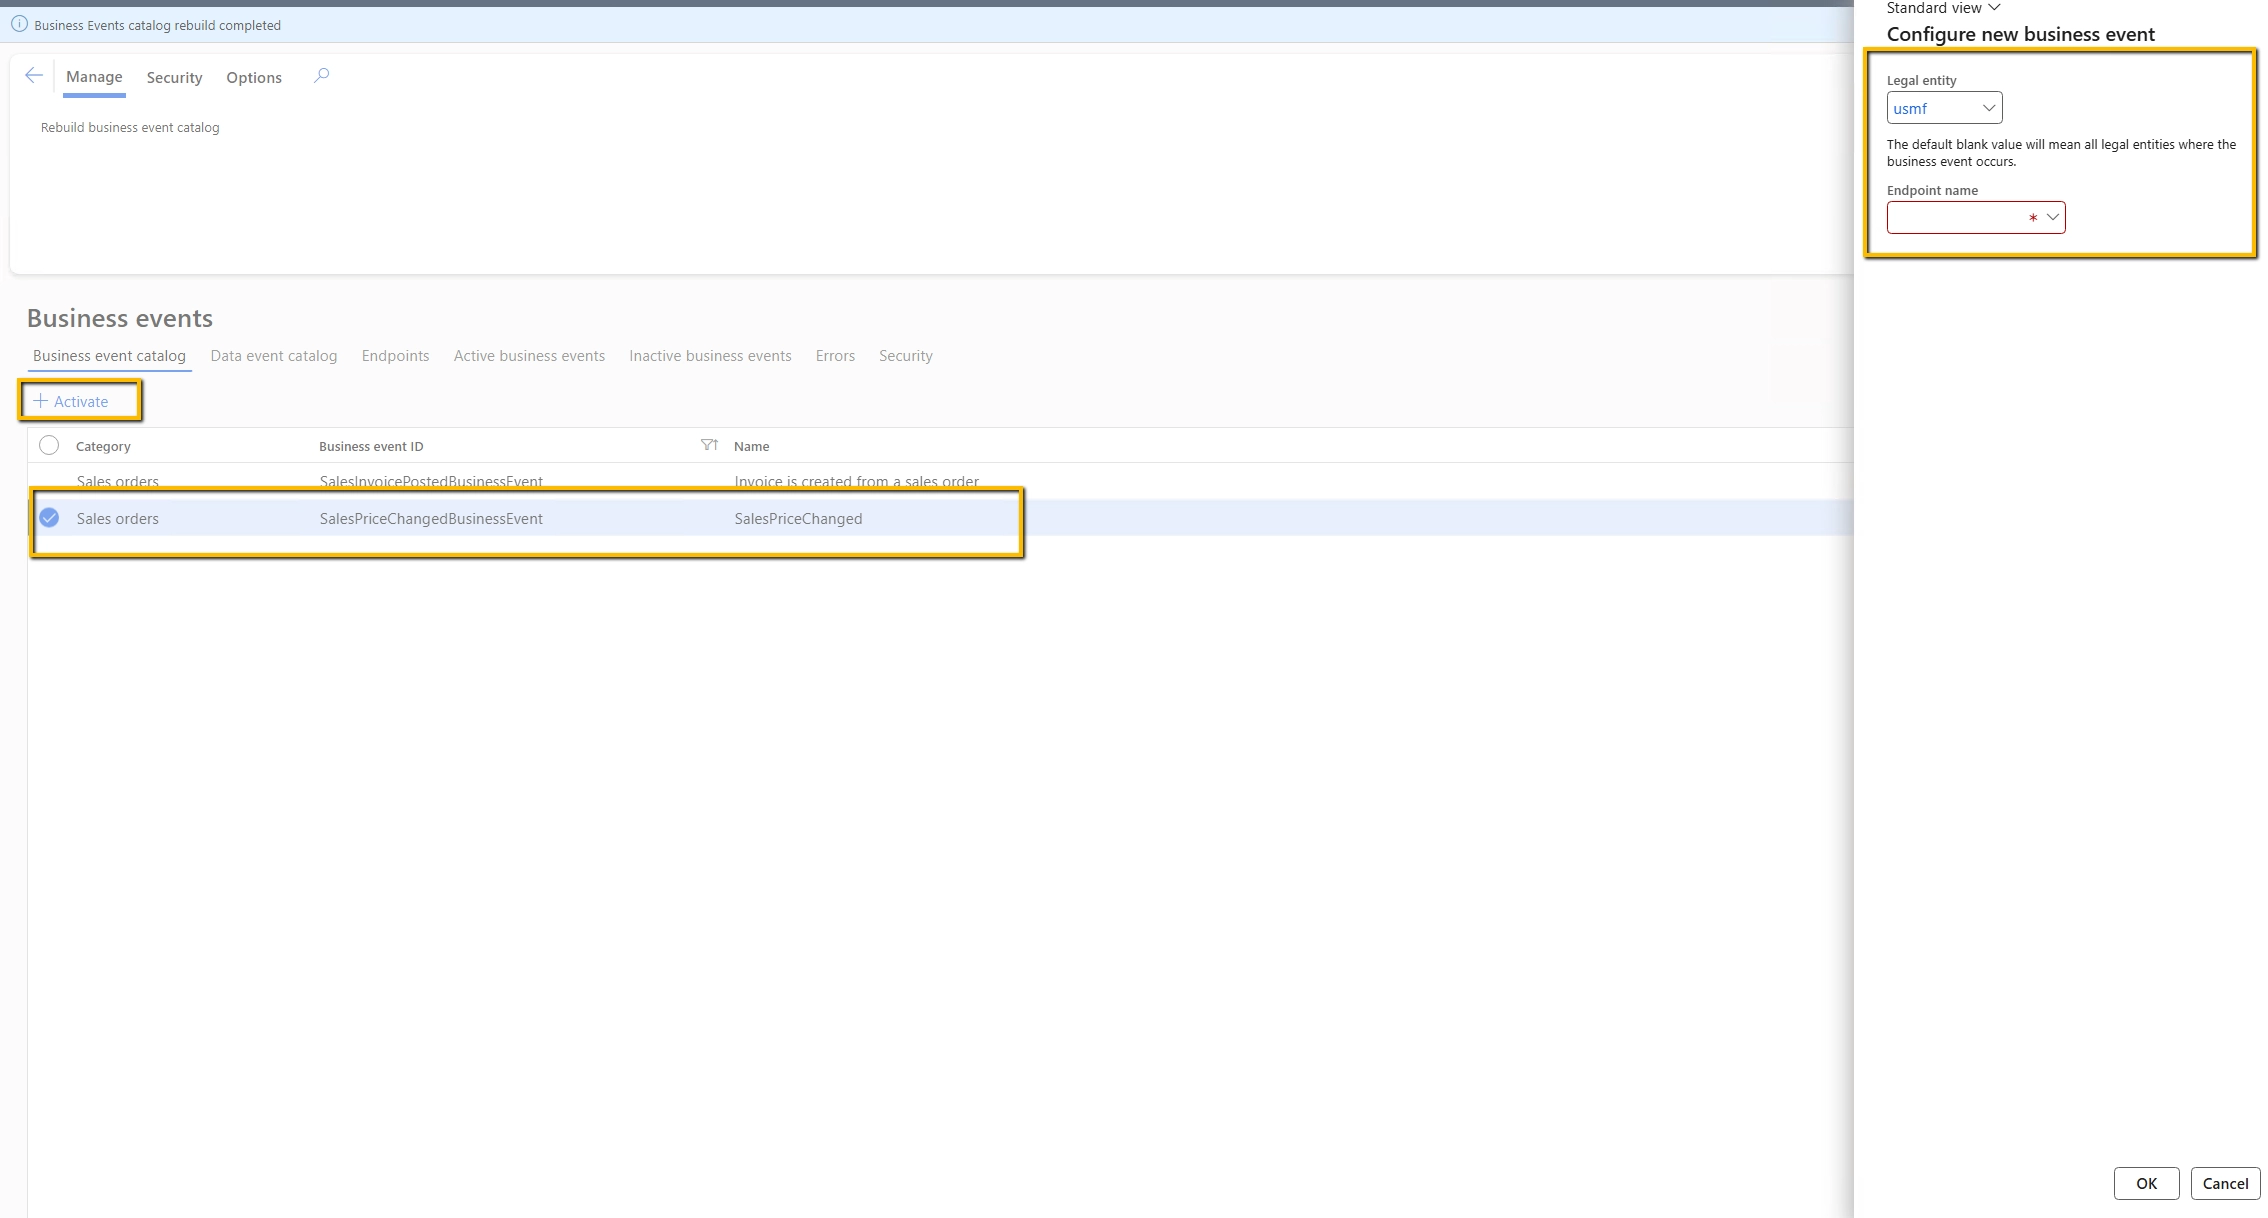
Now to activate it, you need an endpoint.
Before SCM can send Business Events outside, we need an endpoint where events will be delivered.
Step 1 — Create Service Bus Namespace
Go to: Azure Portal
→ Service Bus
→ + Create
Fill required details and select: Pricing Tier = Standard
After creation, go to: Shared Access Policies
→ RootManageSharedAccessKey
Copy the: Primary Connection String
Save it for later use.
Step 2 — Create Queue
Inside the Service Bus Namespace: Queues
→ + Queue
Enter queue name and create it.
Example:
sales-price-events
Save the queue name.
Step 3 — Create Azure Key Vault
Go to: Key Vaults
→ + Create
Create a new Key Vault and copy its: DNS Name
Now go to: Secrets
→ Generate/Import
Store the Service Bus connection string as a secret.
Step 4 — Create Azure App Registration
Go to: Azure Active Directory
→ App Registrations
→ New Registration
Create a new app.
Then go to: Certificates & Secrets
→ New Client Secret
Create a secret and immediately copy its value.
Also copy: Application (Client) ID from the Overview page.
Step 5 — Grant Key Vault Access
Go to: Key Vault
→ Access Policies
→ Add Access Policy
Grant:
- Get
- List
permissions for secrets to your registered Azure App.
Save the policy.
That’s it ✅
Your Azure endpoint setup for Business Events is ready.
Now to back to Business event catalogue, and then endpoints and click on New.
For our example we will use Azure Service Bus Queue. Click on Next.
Fill the required information from Azure portal that we created in earlier step
Important Note : Make sure Batch Management Services is running in your system.
Now activate the business event:
Viewing the Messages Sent from Dynamics 365 SCM 📩
To verify whether SCM is successfully sending Business Events, go to the Service Bus Explorer in Azure portal and click on Peek from Start.
This will display all the messages currently available in the queue.
When you select an individual message, the complete JSON payload sent from SCM will be visible.
For our Sales Price Change example, the message would look something like this:
{
"SalesId":"SO-10245",
"ItemId":"A1001",
"Qty":25,
"SalesPrice":1499.99
}
This is the exact payload that external systems like Power Automate, Azure Functions, middleware, or ecommerce platforms can consume and process.
Real Developer Scenario 😄
A developer once triggered Business Event on every SalesLine update.
Result:
- 40,000 unnecessary events
- Integration queue explosion
- Support calls
- One exhausted DevOps engineer
Moral of the story: Trigger events only for meaningful changes.
Your infrastructure team will silently thank you.
| Traditional Approach | Business Events Approach |
|---|
| Batch jobs every few minutes | Real-time notifications |
| Poll database repeatedly | Push only when needed |
| Delayed updates | Immediate communication |
| Heavy database load | Lightweight |
| Harder scaling | Cleaner architecture |
| “Hope it synced” | Event traceability |
Junior vs Senior vs Architect Thinking
| Role | Thinking |
|---|
| Junior Developer | “Event is sending successfully.” |
| Senior Developer | “What if duplicate events happen?” |
| Architect | “How will this scale for 10 million events?” |
That mindset shift changes careers.
Debugging Tips from Real Projects
Check Business Event Batch Jobs
Sometimes event is correct…
but batch processing is stopped.
Classic SCM moment.
Validate Endpoint Independently
Do not immediately blame SCM.
Sometimes:
- Azure endpoint is down
- Authentication expired
- Firewall blocked request
And developers spend 2 hours debugging innocent X++ code 😄
Final Thoughts
Business Events are one of the cleanest ways to build modern outbound integrations in Dynamics 365 SCM.
Key takeaways:
- SCM can publish real-time updates
- Avoid polling architecture
- Send only meaningful events
- Keep payloads lightweight
- Think about retries and scalability
- Event-driven architecture scales beautifully
Great developers build features.
Smart developers build reliable integrations.
But the best architects build systems that communicate without being asked.


