How To Set Up a CRM Workflow Timeout Condition
Views (13898)
 Frank Lee
This is a common questions that I’ve encountered – how to setup a Microsoft Dynamics 365 Workflow Timeout Condition (not the Workflow Wait until Condition) – harder to find it in the Workflow designer. The CRM Workflow Wait until Condition on the other hand is pretty straight forward to find in the CRM Workflow designer.
Here are the steps to setup a Microsoft CRM Workflow Timeout condition:
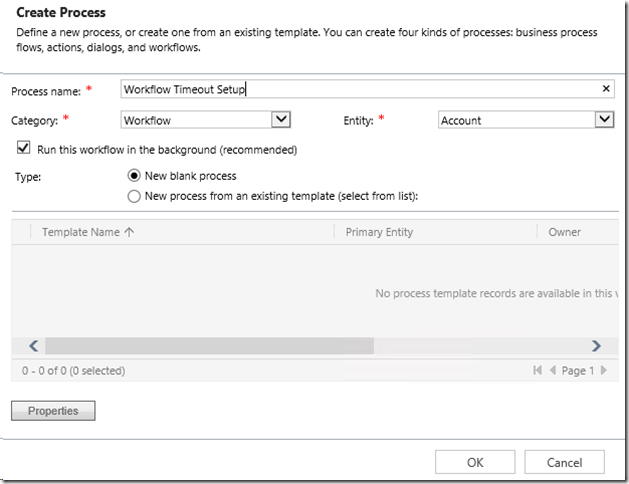
- Create a new CRM Workflow process. Run this workflow in the background is required for any Timeout condition
- Click on the “Add Step” and select “Wait Condition”
- Click on the Wait until <condition> (click to configure)
- Click the drop-down to select the Local Values – Process (bottom of the list after all the Related Entities)
- Click on the next drop down and select Timeout
- Set the Timeout condition to 1 Day after the current execution time as an example.
That’s it. We can proceed to add other CRM Workflow conditions and tasks.
Contact me if you need some Microsoft Dynamics 365 CRM Customer Engagement assistance.
Frank Lee, Microsoft Business Solutions MVP Dynamics 365 CRM
San Francisco Bay Area Silicon Valley Napa
Workopia, Inc. – Maximum User Adoption!
This was originally posted here.


 Like
Like Report


*This post is locked for comments