Adding Customer Service & Holiday Schedules in Dynamics 365 UI
 Megan V. Walker
If you’ve worked on any projects for Customer Service, and Case Management, or you are responsible for this specific area within your organisation, you likely set up a holiday schedule and customer service schedule and then forgot about it. It’s likely going to be an area you look at once or twice a year. Adding these items in to Dynamics 365 means you can then set up an SLA which will take in to account any business hours or closures, and factor this in when calculating SLA times. I recently worked on a project that required and SLA for Leads, and had a custom app. If you are using the Customer Service Hub, you might have seen the nice new experience in the Unified Interface for these areas of functionality. If not, or you just haven’t reviewed this in some time, let’s take a look!
Let’s look at the ‘old way’ first of all. To get to the Holiday Schedule and the Customer Service Schedule area, you have to navigate to Advanced Settings from your app, then go to Service Management, then to the Service Terms section. Here we can see the two sections needed.
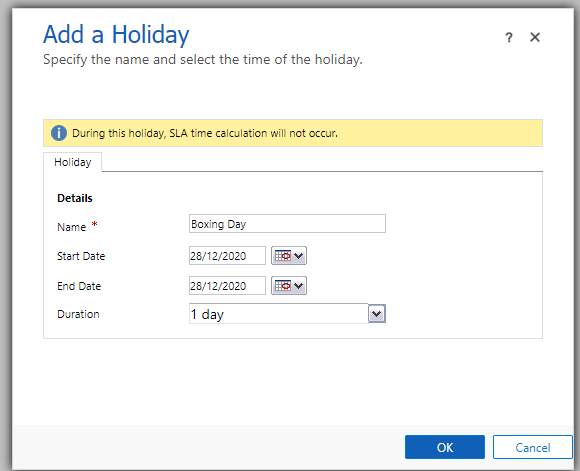
First we click on Holiday Schedule. From there, we add a new holiday schedule, and click to add a new holiday. So the holidays are essentially the days that the organisation is closed, generally they would be the national holidays or bank holidays for a specific country. In the UK, we have Boxing Day, typically the day after Christmas, or an observed Monday should the 26th fall on a weekend. We add the name of the holiday and then the date.
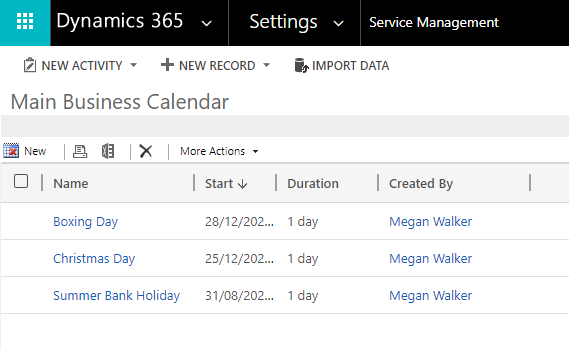
Adding all of the holidays, we can then see them on the Holiday Schedule we set up. That’s the OLD way or the CLASSIC way of doing this.
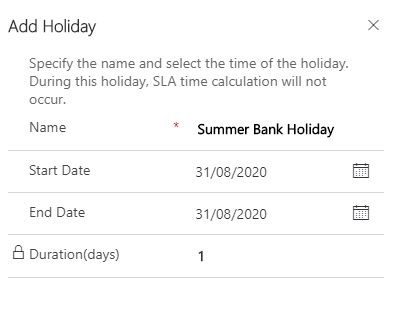
Now let’s look at the new way. We can navigate to the Holiday Schedule area in the Customer Service Hub app, then add a new schedule. Clicking to add a new holiday opens it in a Quick Create form on the right side of our screen. It looks so much nicer!
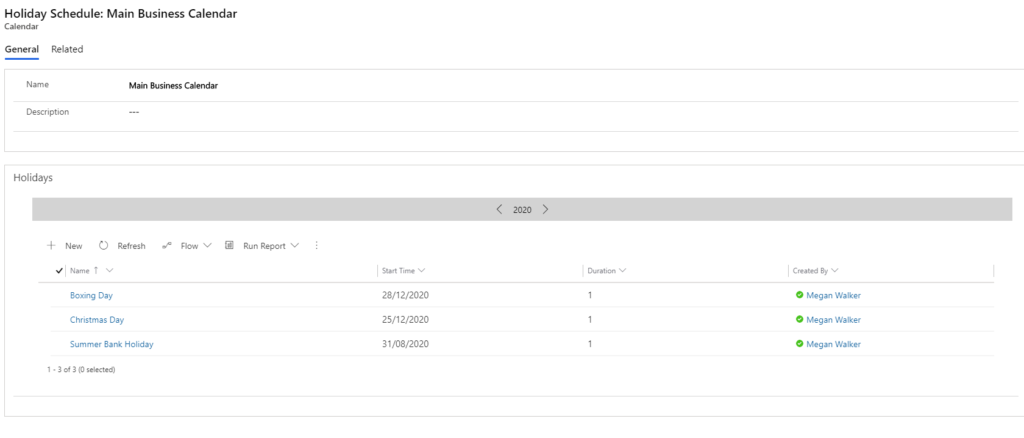
Then we can see all of our holidays set up for that specific Holiday Schedule.
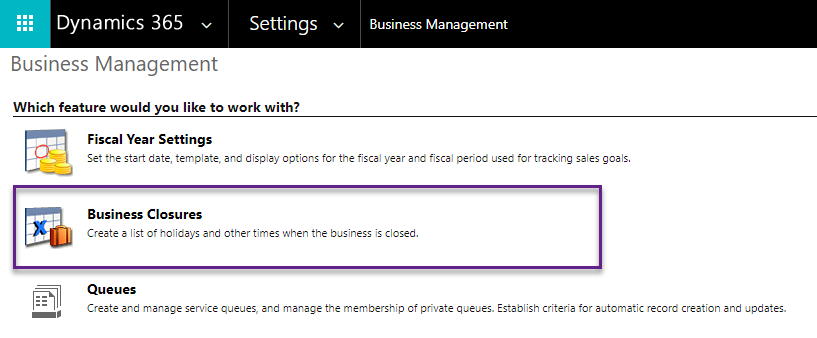
One thing to note that could be confusing. In the Business Management section in the Advanced Settings area, you have Business Closures.
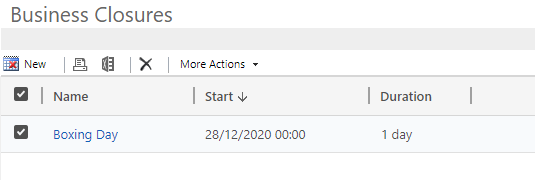
These are set up in the same way, but not linked to your Holiday Schedule, and are typically used with the Universal Resource Scheduling (URS). Make sure you don’t get the two confused!
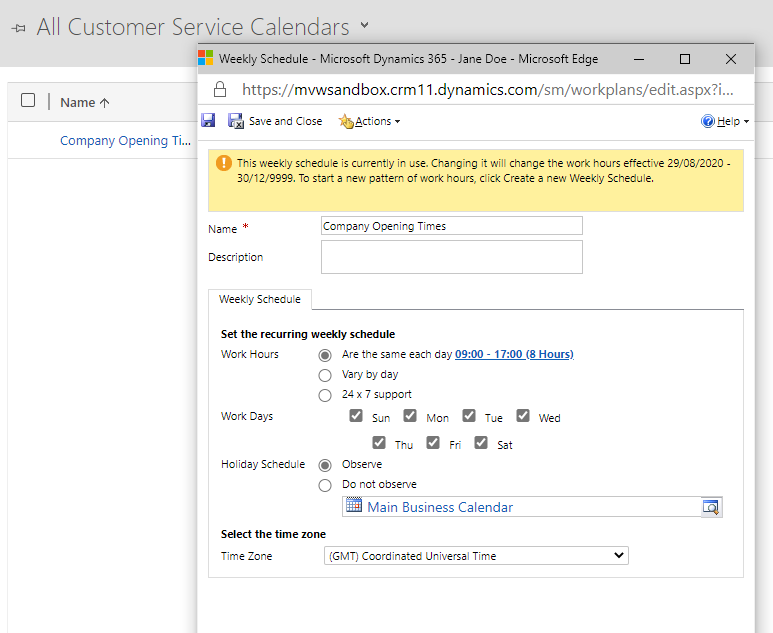
OK so next is adding the Customer Service Calendar. We have defined the holidays, but what about the weekly schedule? What hours are you open, and do you have different support hours so need multiple calendars? In the OLD area, going from Advanced Settings to Service Management then Customer Service Schedule, you add a new Calendar. You set the Work Hours and Work days. Then you can determine if a Holiday Schedule should be observed. Tying these two things together is a good idea, especially if you have SLA’s you are tracking. This way we know exactly what is taken into account when these are being calculated.
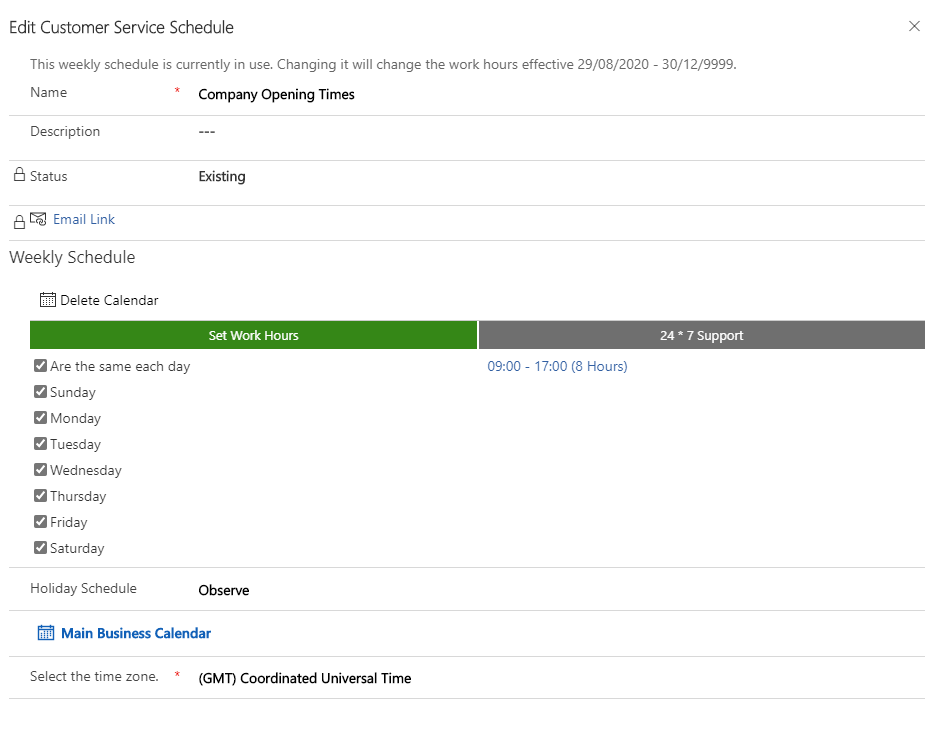
Now here is the nice new way in the Unified Interface app. This look SO MUCH better from a user experience perspective.
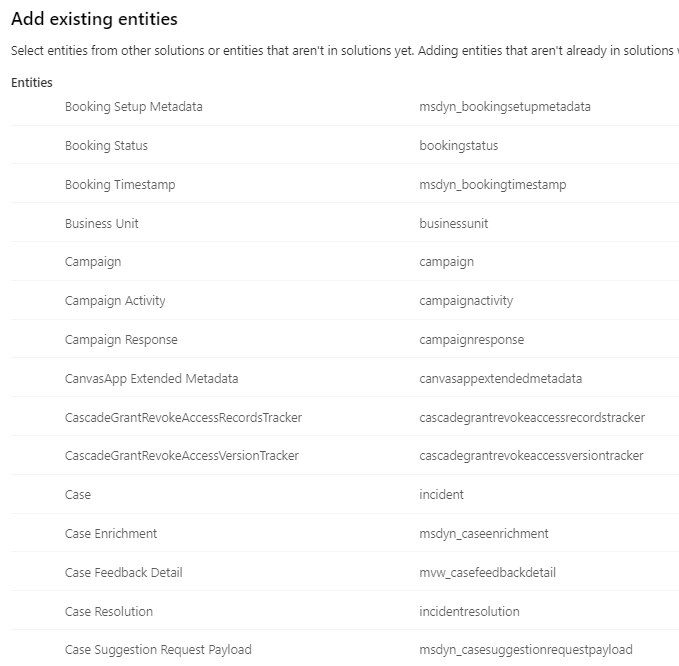
Right, we can do all the above from the Customer Service Hub. How about getting this in to another app? If we look through the list of entities, Calendar is missing. I know it’s a Calendar entity though, because I can see it in the URL when viewing the information in the Customer Service Hub. We can’t add that entity in to our custom app Sitemap, nor can we create any views or make changes to forms, because the entity is just not there for us to access. The holidays we add are an entity called HolidayWrapper, which again, is not there for us to access.
Back to the Customer Service Hub app to review that URL. Here is the one that shows for the Holiday Schedules (CHECK YOUR OWN ENVIRONMENT FIRST RATHER THAN JUST COPYING THIS ONE!):
/main.aspx?appid=e9e5be30-efe9-ea11-a817-000d3a86d716&pagetype=entitylist&etn=calendar&viewid=06453a1d-9288-4f0e-9351-819d619ecb5f&viewType=1039And here is the one that shows for the Customer Service Schedules (CHECK YOUR OWN ENVIRONMENT FIRST RATHER THAN JUST COPYING THIS ONE!)
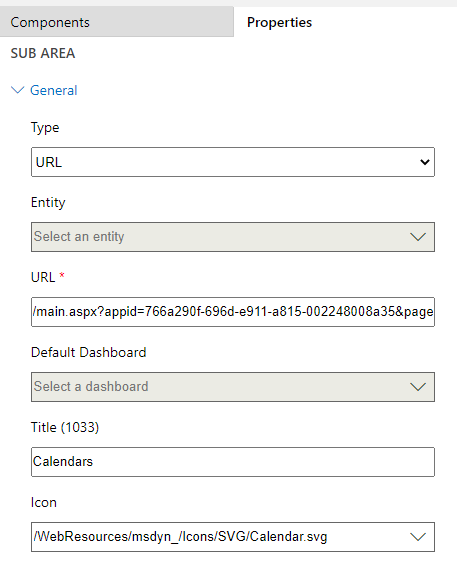
/main.aspx?appid=e9e5be30-efe9-ea11-a817-000d3a86d716&pagetype=entitylist&etn=calendar&viewid=f4d446e0-3749-4ba4-9c85-eab861eafdfc&viewType=1039Notice that it’s the viewid that is different in each one. So we can simply add two new Subareas to the Sitemap on our custom app, and use the same URL’s. You can search using the term calendar to find an icon that already exists in D365.
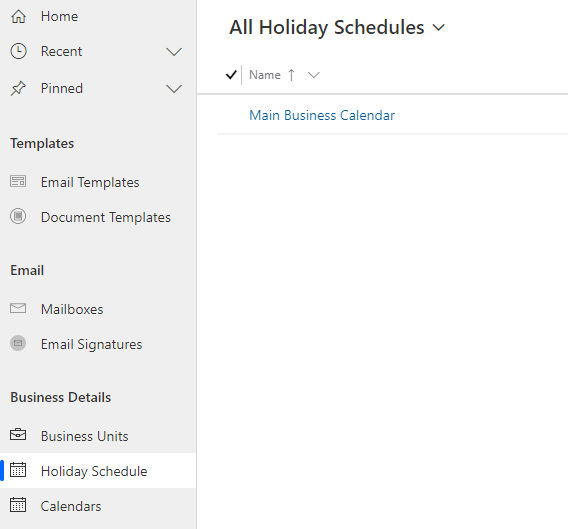
Now we can see our new Holiday Schedule area in the Unified Interface:
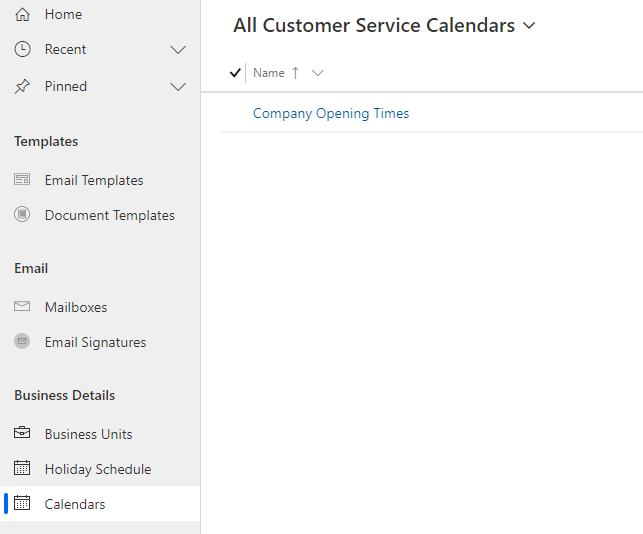
And the new Customer Service Calendars area in the Unified Interface:
I also talked about Dynamics 365 for Sales in general with Lisa Crosbie on our weekly podcast, The UP Podcast. So check out Episode 14 for more stuff on sales!
This was originally posted here.


 Like
Like Report
*This post is locked for comments