


 Like
Like Share
Share
 Report
In this blog, we’ll see how to apply language translation on custom entities, model driven apps and business process flows in Dynamics CRM
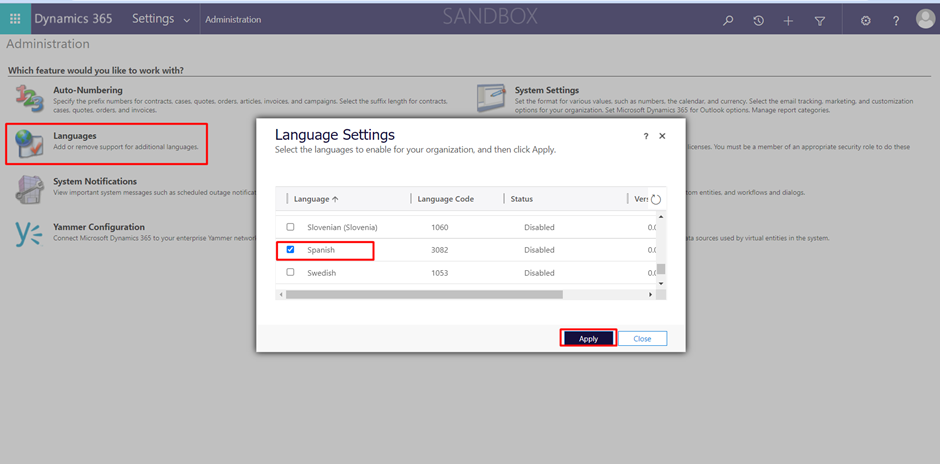
Step 1- Go to Settings -> Administration->Languages. In Language settings select the required language and click on apply.
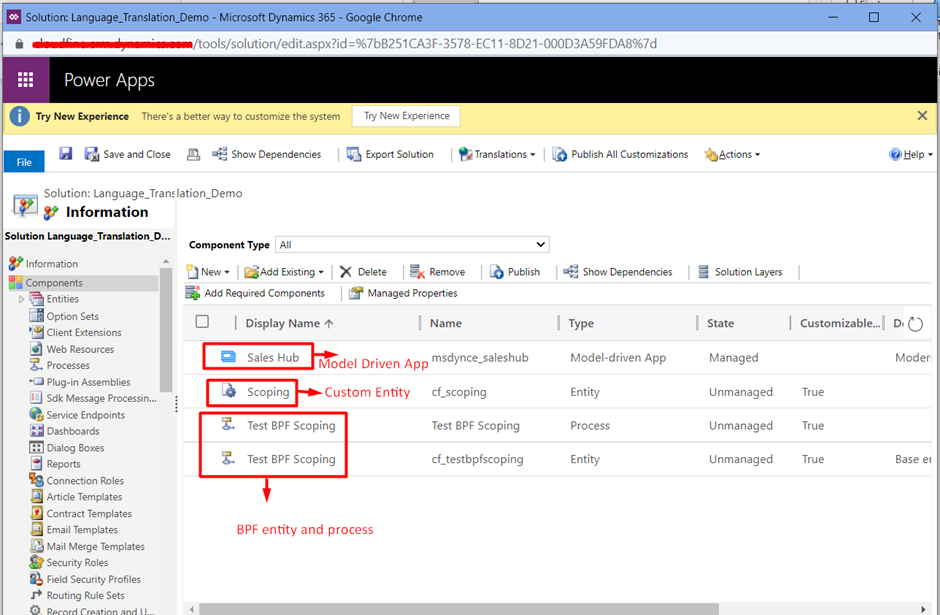
Step 2- Include all the required components into the solution
For example-
- Custom Entities
- Model Driven App- For example – Sales Hub
- Business Process Flow (BPF)- Include the BPF entity as well as process
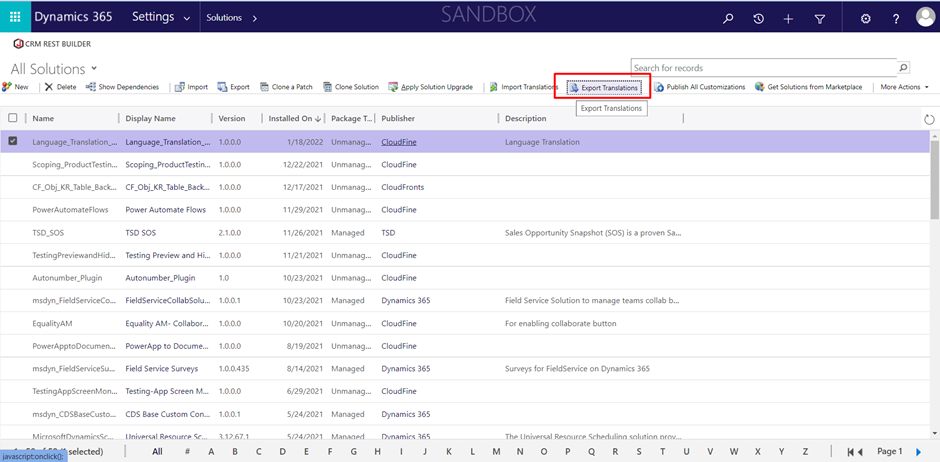
Step 3- Select the solution and click on Export Translation to export the translations to an archived file.
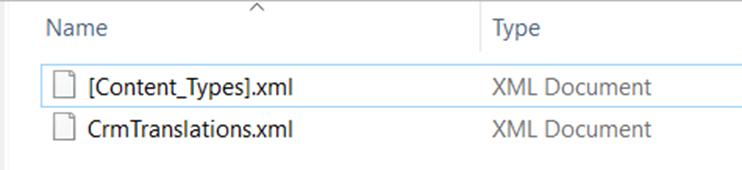
Step 4- Extract the contents of the downloaded CrmTranslations_<solutionname>_1_0.zip. This will extract two files.

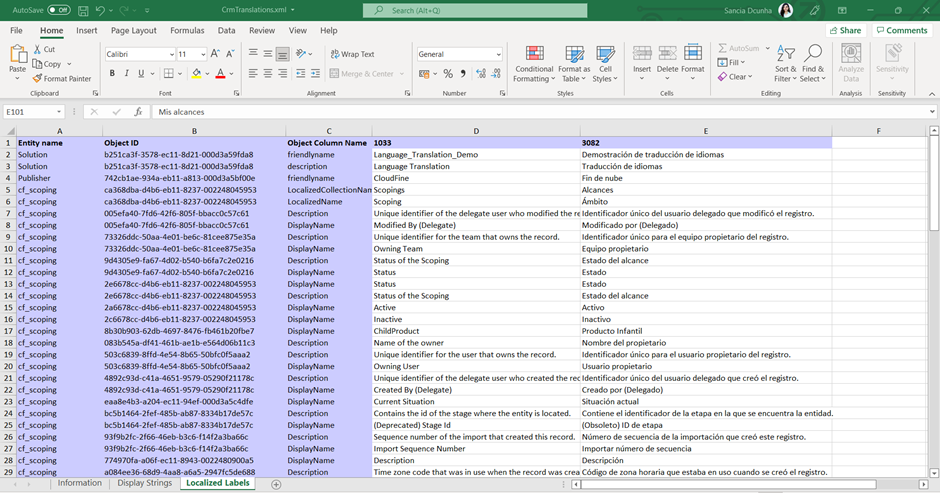
Step 5- After extracting the file, open the CrmTranslations.xml file in excel. You will find 3 sheets in it. Open Localized Labels file, you will find columns for each of the languages you have deployed. Fill in the translations for each language options available.
Step 6- Zip the file again and re-import the translations to the same solution using the Import translations button.


Step 7- After successful import, click on publish all customizations.
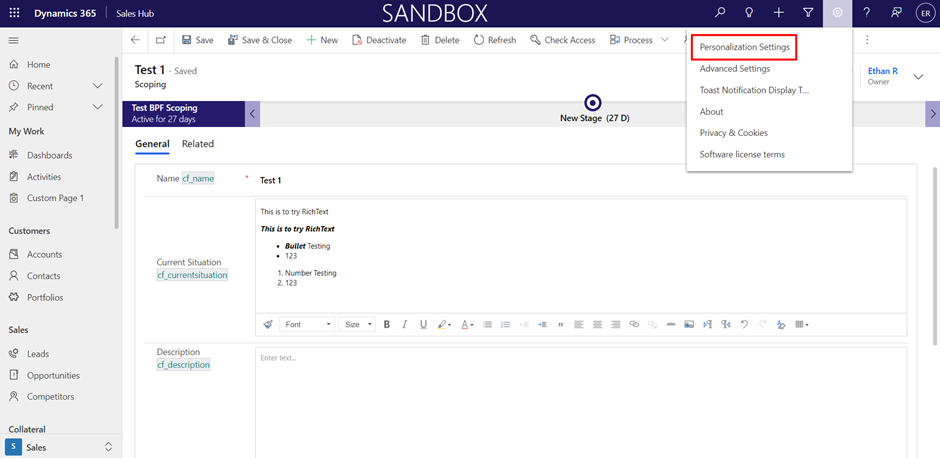
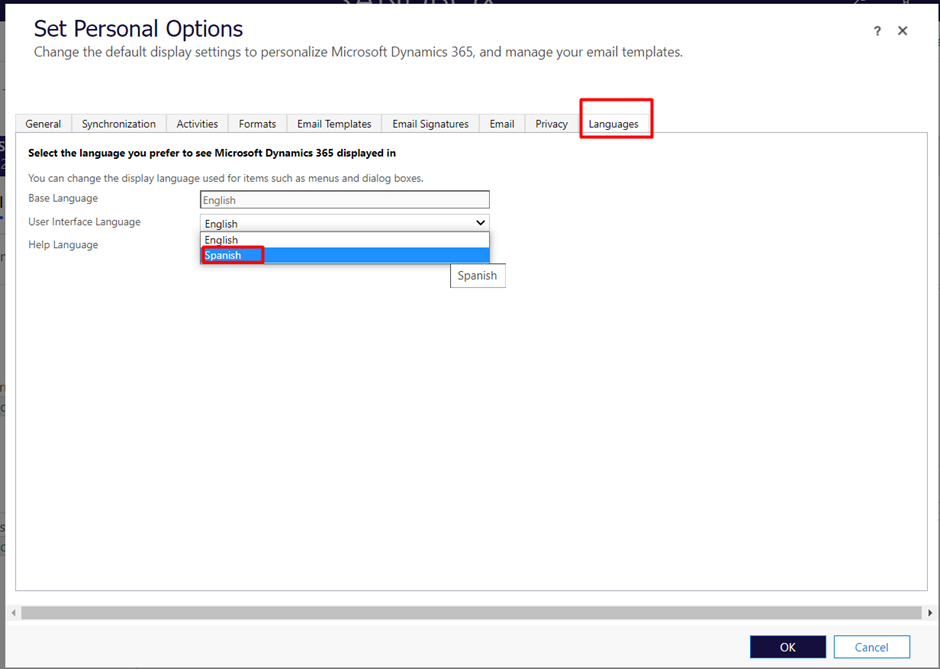
Step 8- Go to settings ->Personalization Settings -> Languages. Select the language you wanted to translate into.
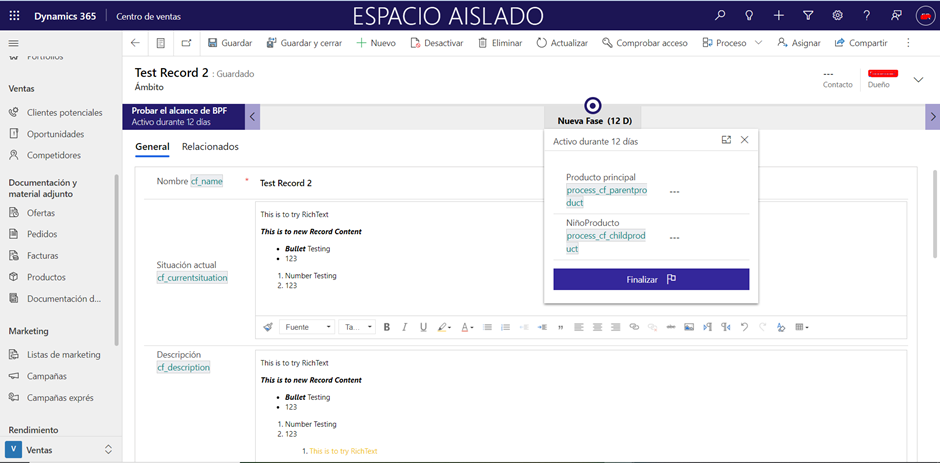
Output-
Hope this helps!!
The post Enable language translation on Custom solutions in Dynamics CRM appeared first on .
*This post is locked for comments