


 76
76 Like
Like Share
Share
 Report
When trying to come up with the best solution to a problem, it makes sense to look at all available options. With PowerPlatform and Azure growing at such a rapid rate, the available options to solve a problem keep getting larger and larger. Recently I decided to try to see how much effort it would take to create a Canvas App that seamlessly uses an Azure Function to do the heavy lifting, and return the result back to the canvas app. Turns out, its very simple! Here are the steps I took to create this solution, hopefully it will help someone.
Here are the high level concepts implemented in this solution:
- Create an Azure function to execute business logic, triggered from an http call.
- Use a Custom Connector inside a Canvas App to trigger the Azure Function and display the return parameters.
- The Azure function will take 2 input parameters, firstname and lastname, and simply concatenate them with a space between. The concatenated value will then be returned in the http response body.
Build an Azure Function
- Login to https://portal.azure.com
- Find "Function App" in the left blade or search for "Function App"
- Click Add to add a new Function App
- Provide a unique name for your Function App
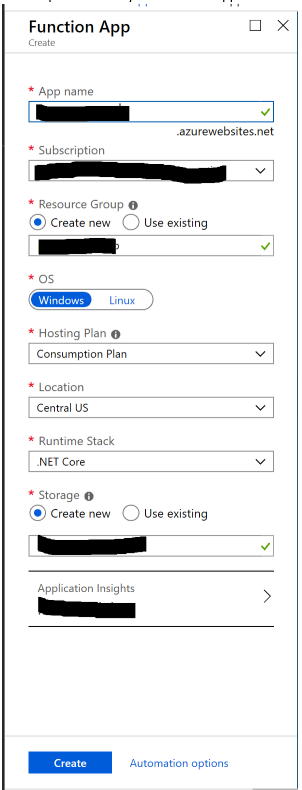
- Click Create
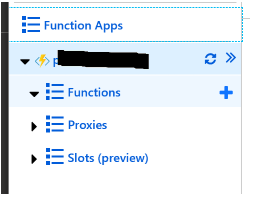
- After deployment finishes, open the Function App and click Functions (Don't use the next to functions or you cannot choose your own name)
- Click New Function
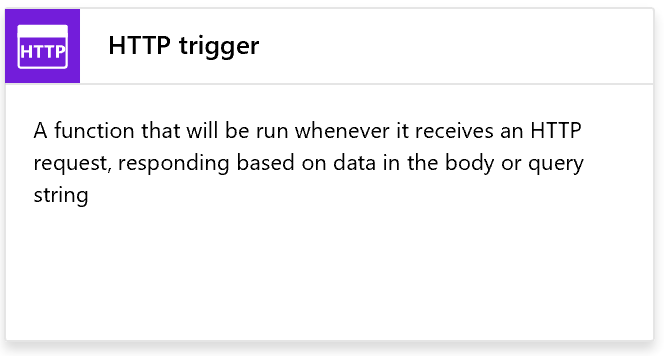
- Click HttpTrigger
- Click HttpTrigger
- Populate the name of your function
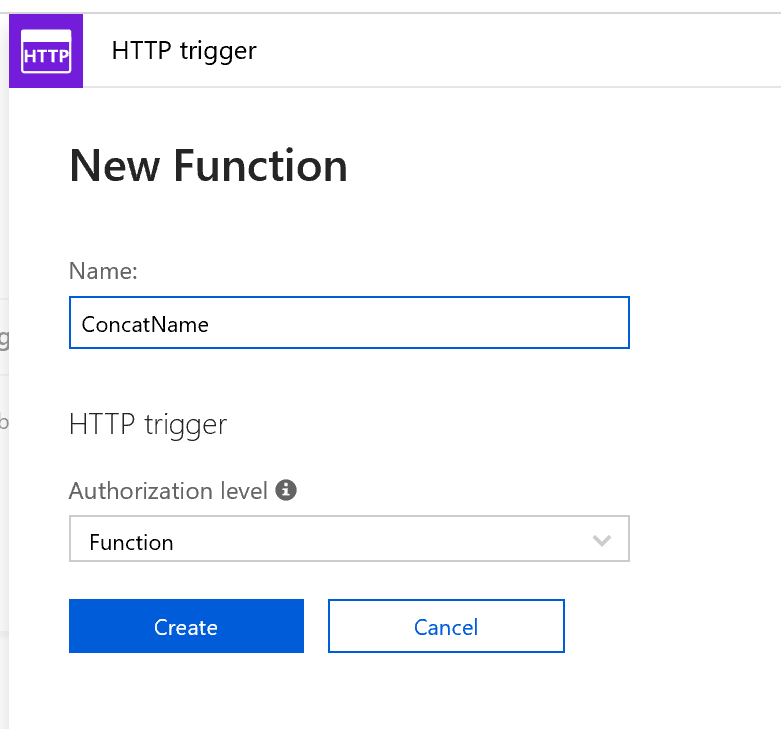
- Click Create
- Use the following code for the function
#r "Newtonsoft.Json" using System.Net; using System.Net.Http; using System.Collections.Generic; using Newtonsoft.Json; using System.Text; public static async Task Run(HttpRequestMessage req, TraceWriter log) { string requestBody = await req.Content.ReadAsStringAsync(); dynamic data = JsonConvert.DeserializeObject(requestBody); string firstname = data.firstname; string lastname = data.lastname; string name = firstname " " lastname; Dictionary resp = new Dictionary(); resp.Add("name",name); return new HttpResponseMessage(HttpStatusCode.OK) { Content = new StringContent(JsonConvert.SerializeObject(resp), Encoding.UTF8, "application/json") }; }- Click Save
- Expand "View files" "Test" from the right side of the screen
- Create a sample request body similar to the following:
{ "firstname": "Azure", "lastname": "Function" }- Click Save and Run
- The Output should become populated with the following JSON
{ "name":"Azure Function" }- Get an API Key to use in the URL for Authentication by clicking Manage, on the left, then click "Add new function key", Name the key API and click Save.
- Retrieve a url that can be invoked to trigger the function, by clicking the function name (ConcatName) and then clicking "</>Get function URL"
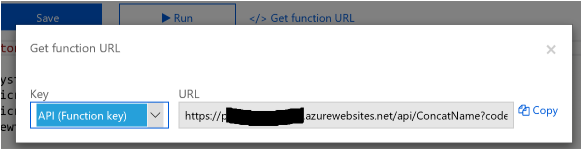
- Under Key, select API, then click Copy. Save the URL for later
Create A PowerApps Custom Connector
- In a new browser tab, Login to https://web.powerapps.com
- Expand Data-->Custom Connectors
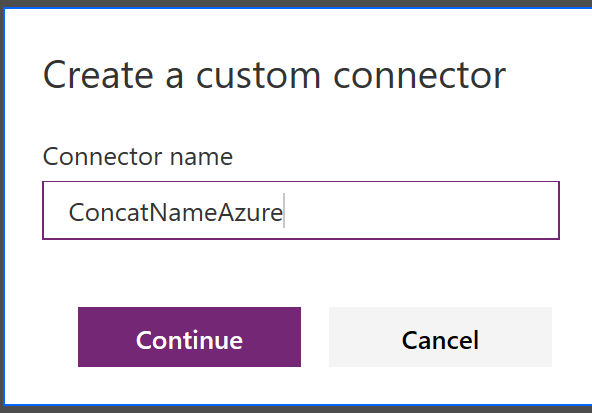
- Click New Custom Connector
- Choose Create from Blank
- Give your connector a name, click Continue
- In General Information, provide Description, leave HTTPS selected, and populate Host with the URL for the Azure Function (pfedevworkshop.azurewebsites.net). In Base URL type "/api/"
- Click Security-->
- Choose API Key for the Authentication type
- Under Parameter label type "code"
- Under Parameter name type "code"
- Parameter location can be changed to Query
- Click Definition-->
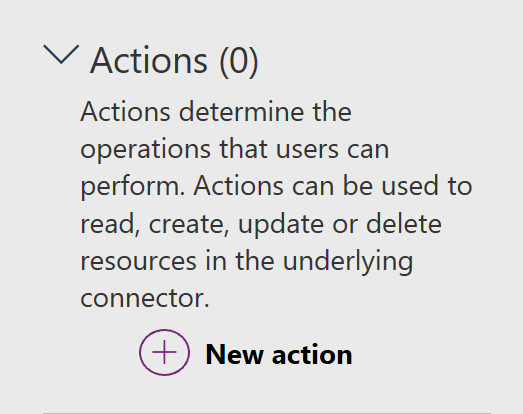
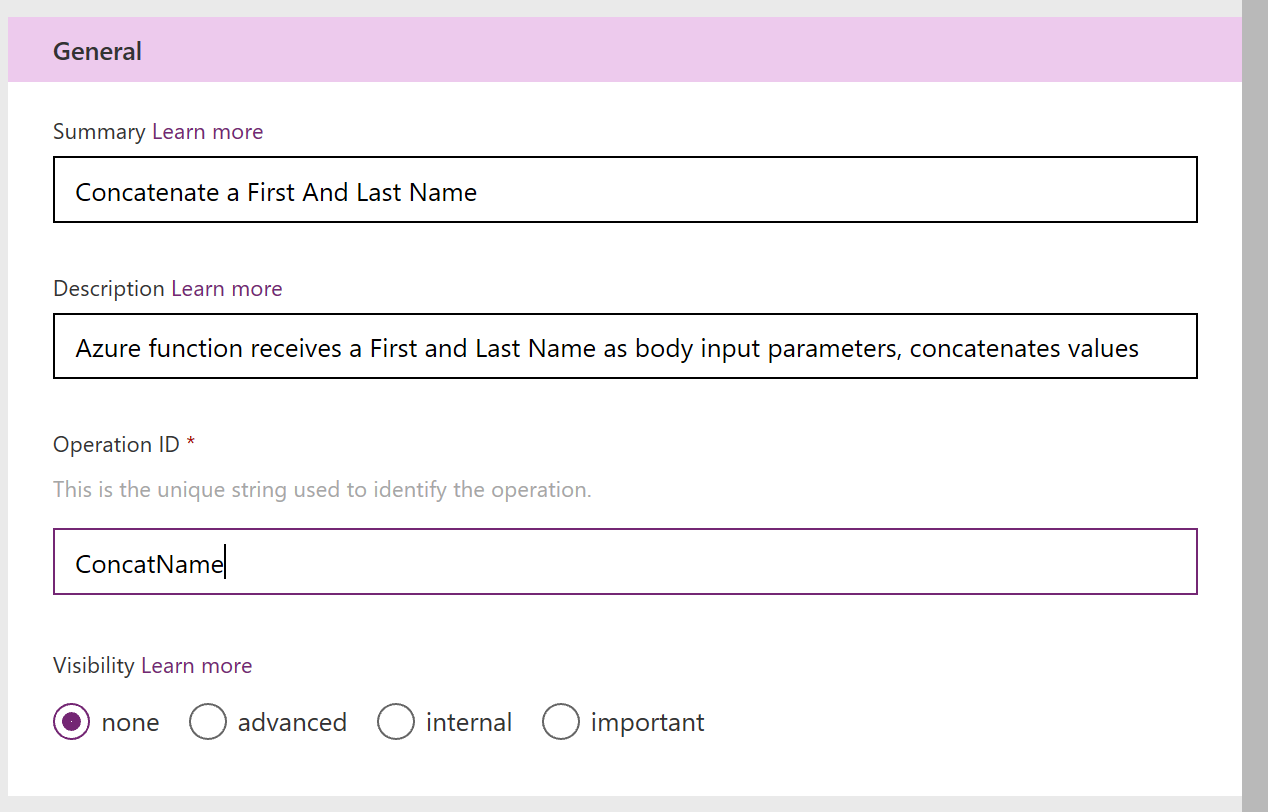
- Click the New Action button to give the connector a task to perform
- Populate the Summary, Description and Operation ID that matches your Azure Function Name
- Under Request, click Import from sample
- Select the POST radio button, paste in the full url copied from the Azure Function in the URL box
- In the Body text box paste something similar to the following sample:
{ "firstname":"Custom", "lastname":"Connector" }- Click Import
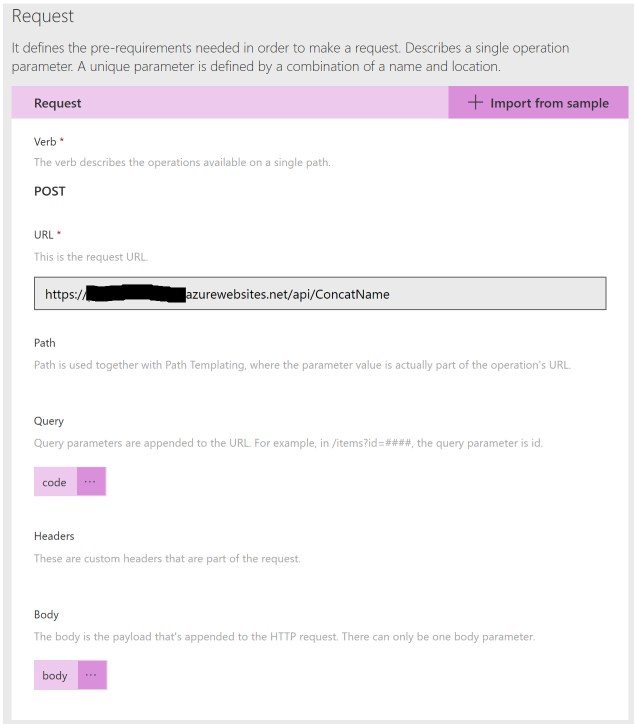
- Request should look like the above. Since code will be provided by the authentication mechanism in the connector, we can delete this parameter from the Query section
- To ensure that the body parameter is populated correctly, click on the ellipsis and choose edit
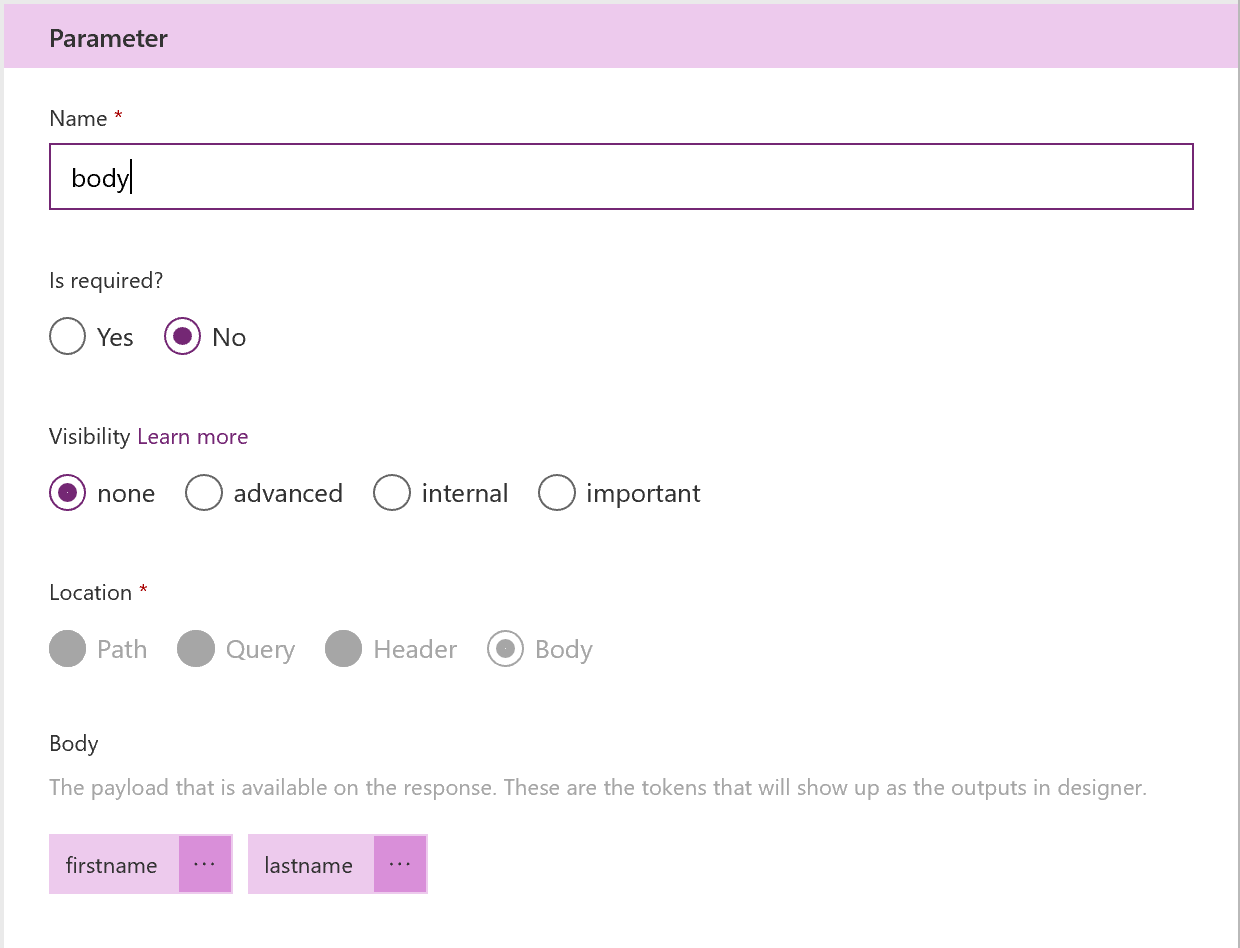
- Since firstname and lastname parameters were properly generated we can click Back and move on to the Response
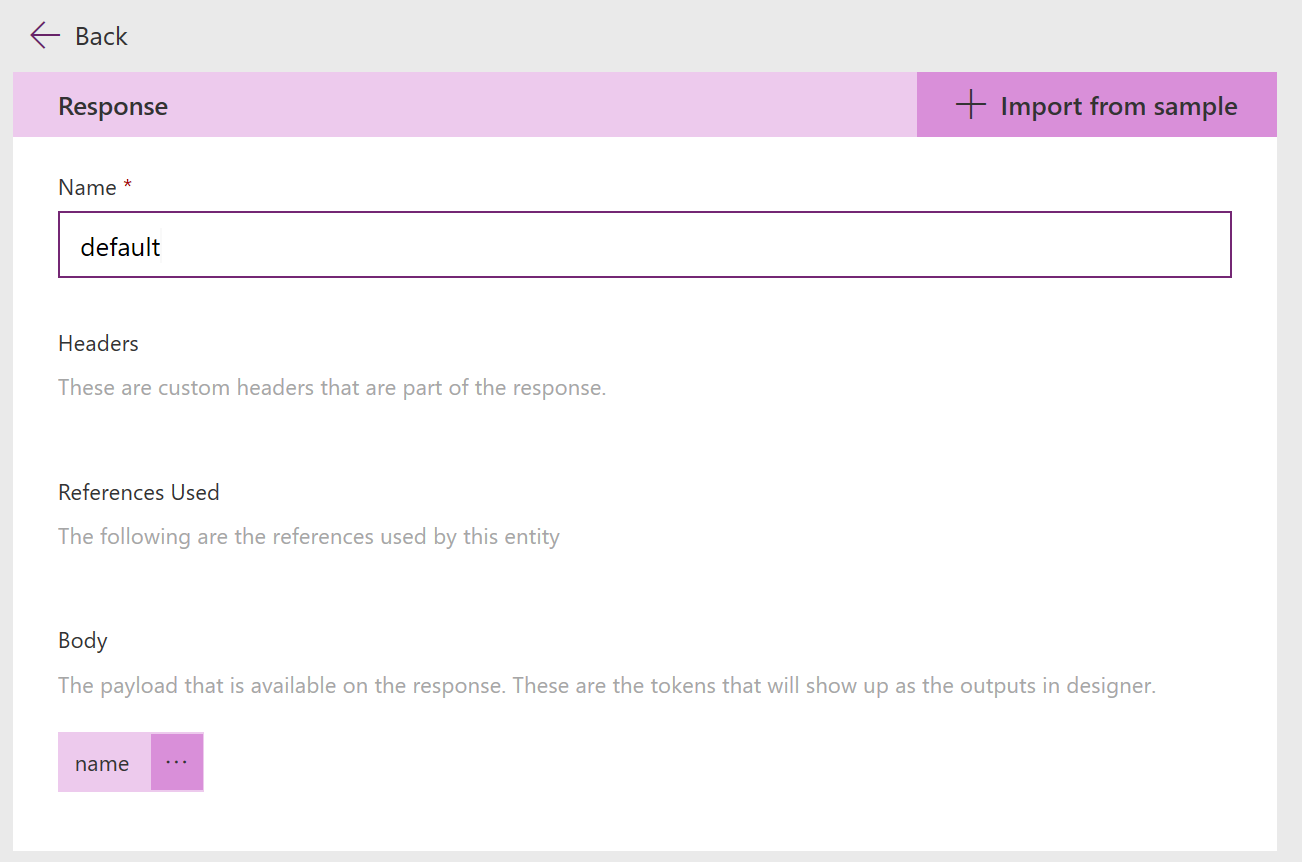
- Click Add Default Response
- In the Body text box paste:
{ "name":"string" }- Click Import
- Click on Default to ensure that the name parameter is represented like the following:
- Click Back
- At the top of the page, click Create connector
- Click 4. Test
- Click New Connection
- In your Azure portal browser tab, Click Manage
- Next to the API key, click "copy"
- Paste the API key in the new connection dialog of the powerapps browser tab
- Click Create
- The Navigation then gets moved to Connections, instead of Custom Connectors, so we will select Custom Connectors again from the left, and click our custom connector, then click Edit, then 4. Test
- Populate the first and last name parameters
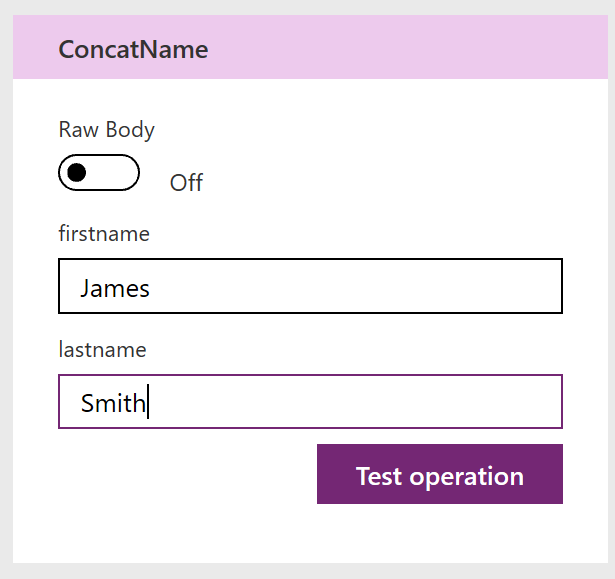
- Click Test operation
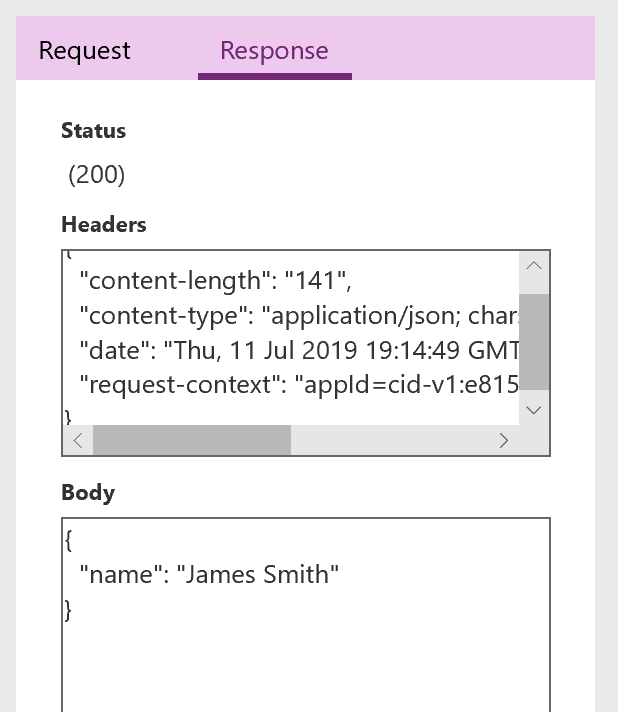
- Your response should show a 200 status code and a name parameter returned in the Body
Create a Canvas App Using the connector
- In the PowerApps browser tab, expand Apps
- Click Create an App --> Canvas
- I chose Blank App-->Phone layout
- The blank app provides a link to "connect to data"
- Click "connect to data"
- Choose the connector we built earlier
- Click the Insert tab
- Under Text, add 3 Labels and 2 Text Input boxes
- Then Add 1 button
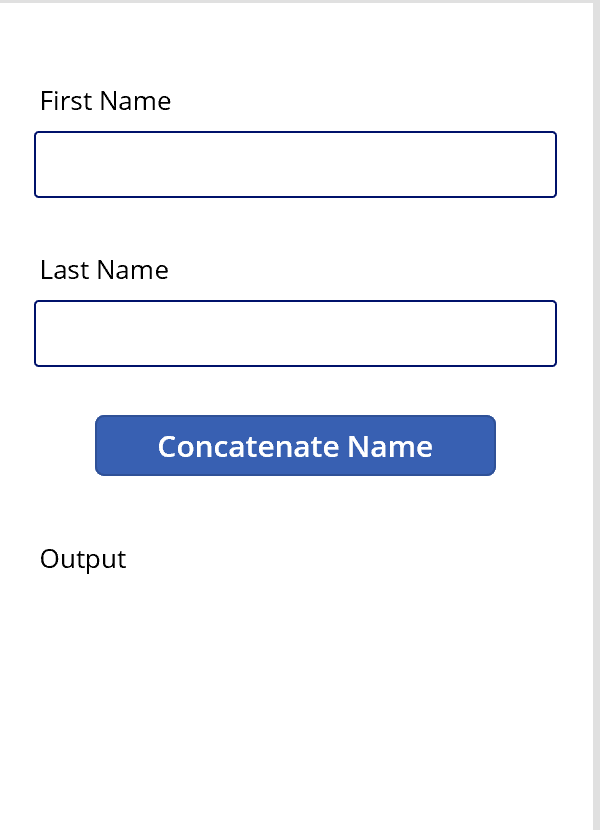
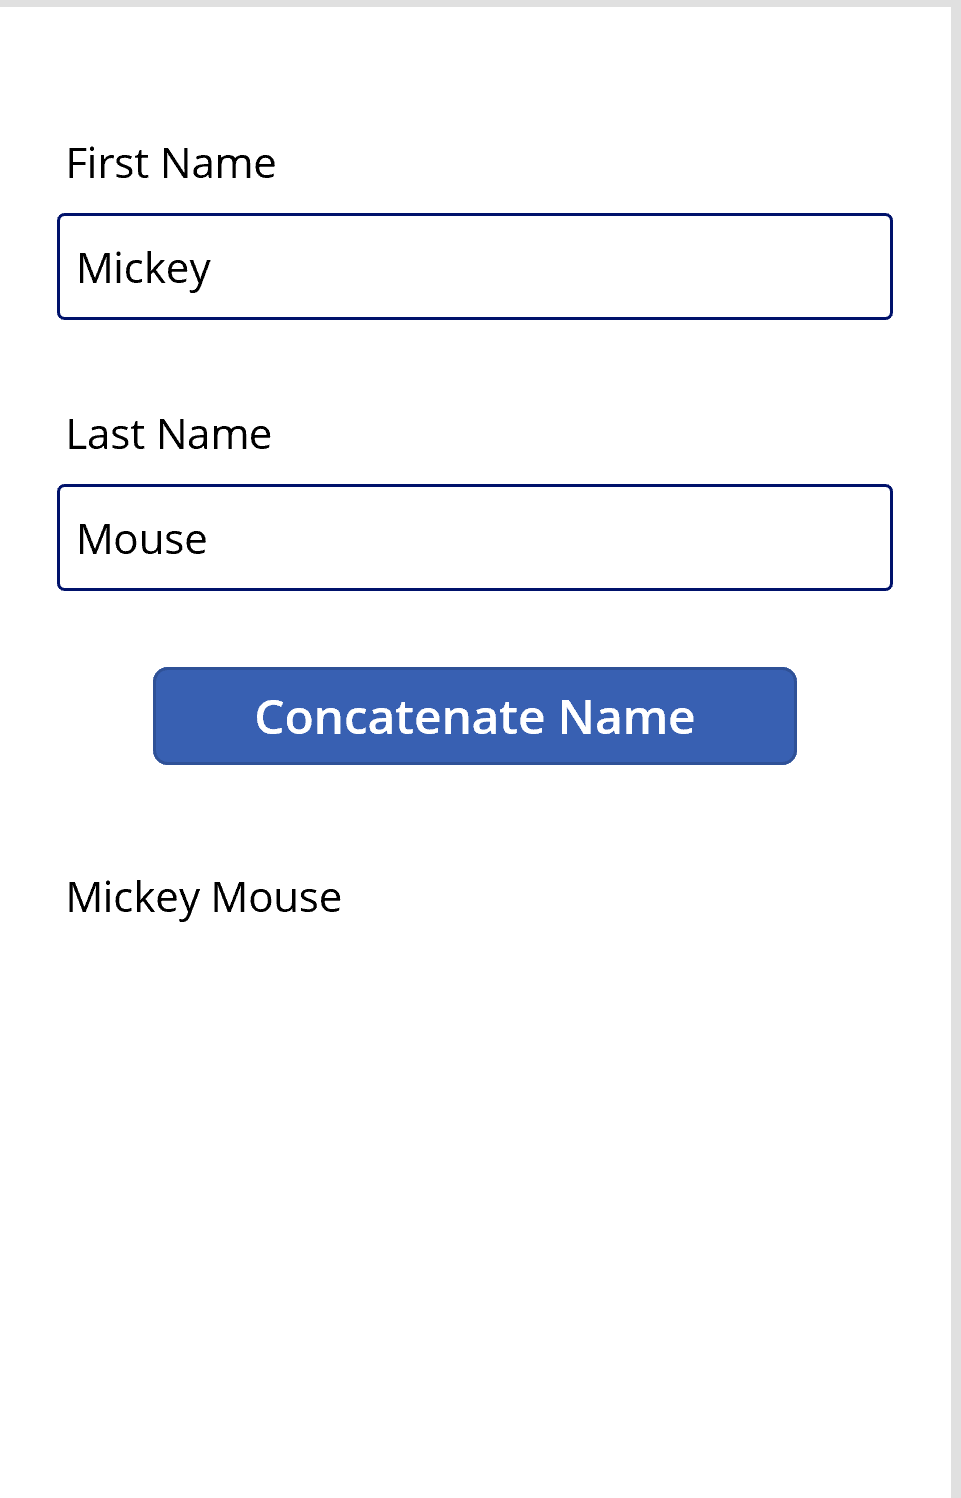
- 2 Labels will be used to describe the 2 input parameters, the 2 text input boxes are to enter a first and last name to use with the Azure Function. The 3rd label will be where our output is rendered
- I arranged my app in this way:
- Now we need to make our Button perform the action defined in our connector, using the 2 Text Input boxes as the Input Parameters
- Click the button, in the fx bar, enter the following:

- As you type you will see the intelli-sense suggestions appear above or below the function box, to use the suggestions as you type, press the Tab key
- Now we have a namecollection variable storing our result from the Azure Function. We can use this to bind to the output label
- Click the Label to be used for the Output (in the screenshot above I renamed mine "Output")
- Enter the following in the fx bar:

- This should be all we need to do to test out our App, click the Play button to test it out
- Its easy to make quick changes to the Function App and make real-time changes, for instance, change line 14 to read:
string name = lastname ", " firstname;
- Now click the button in your canvas app again and see the update take effect right away

*This post is locked for comments