


Linking an Azure Subscription to an LCS Project
Views (131)

 Like
Like Share
Share
 Report
Next up in my journey to the "Ultimate Dynamics 365 Environment" we will need to link an azure subscription to our LCS project. It is important to note that before you can start to deploy new cloud hosted environments in Azure through LCS, you will need to link one or more azure subscriptions to your LCS project. You will also need to authorize the azure subscription to have access to deploy the environment. This part is technically a two part process. Where in the first part you have to go into Azure and give security to the Dynamics Deployment service and in the second part which I will describe in this blog is to click on the Authorize buttons in the projects settings. I reviewed the steps for the Azure portion of this in my last blog.
3. Select the LCS project you want to add a Azure subscription to from the list.
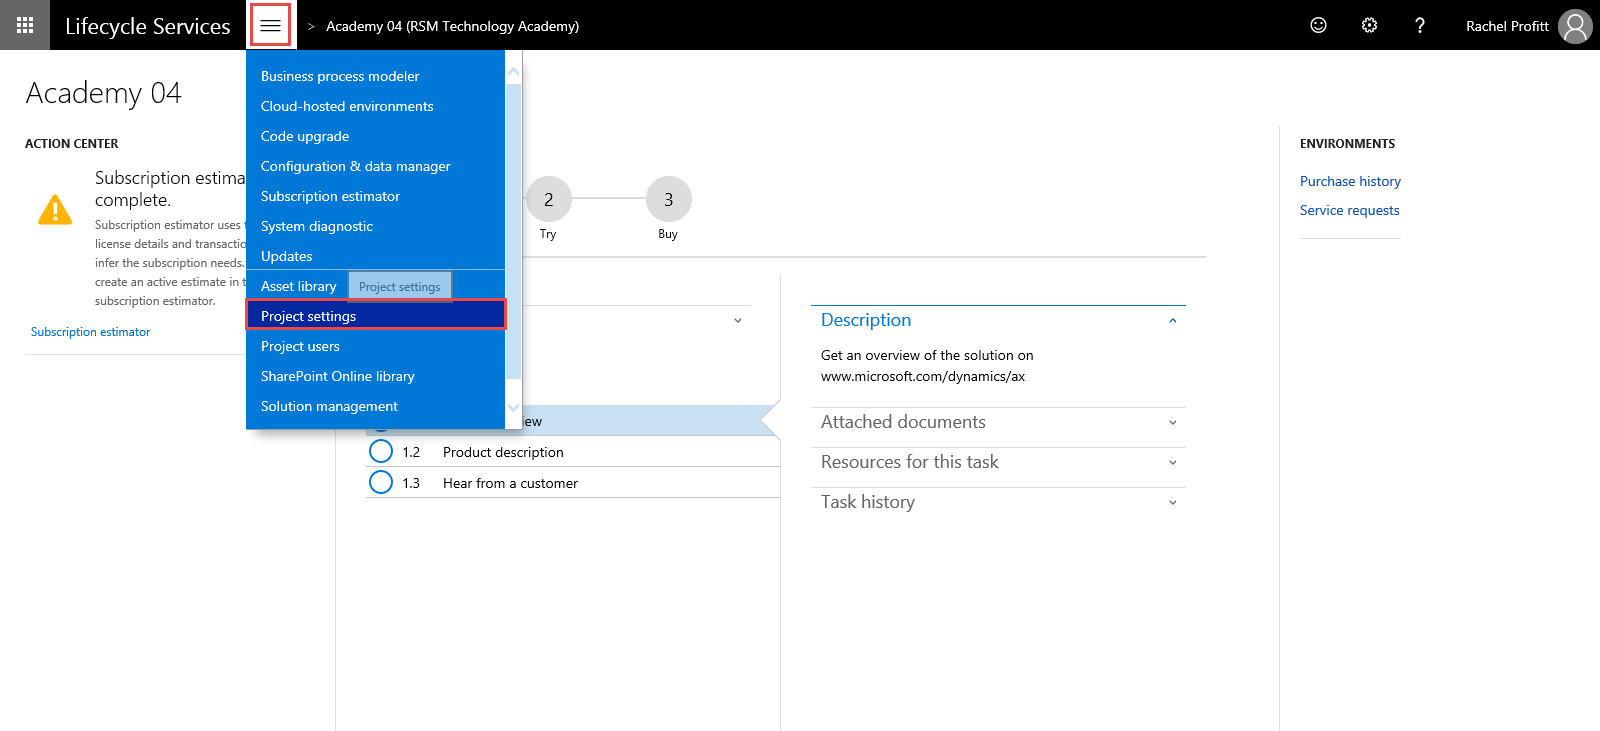
4. Click the Hamburger menu button.
5. Select Project settings from the list.
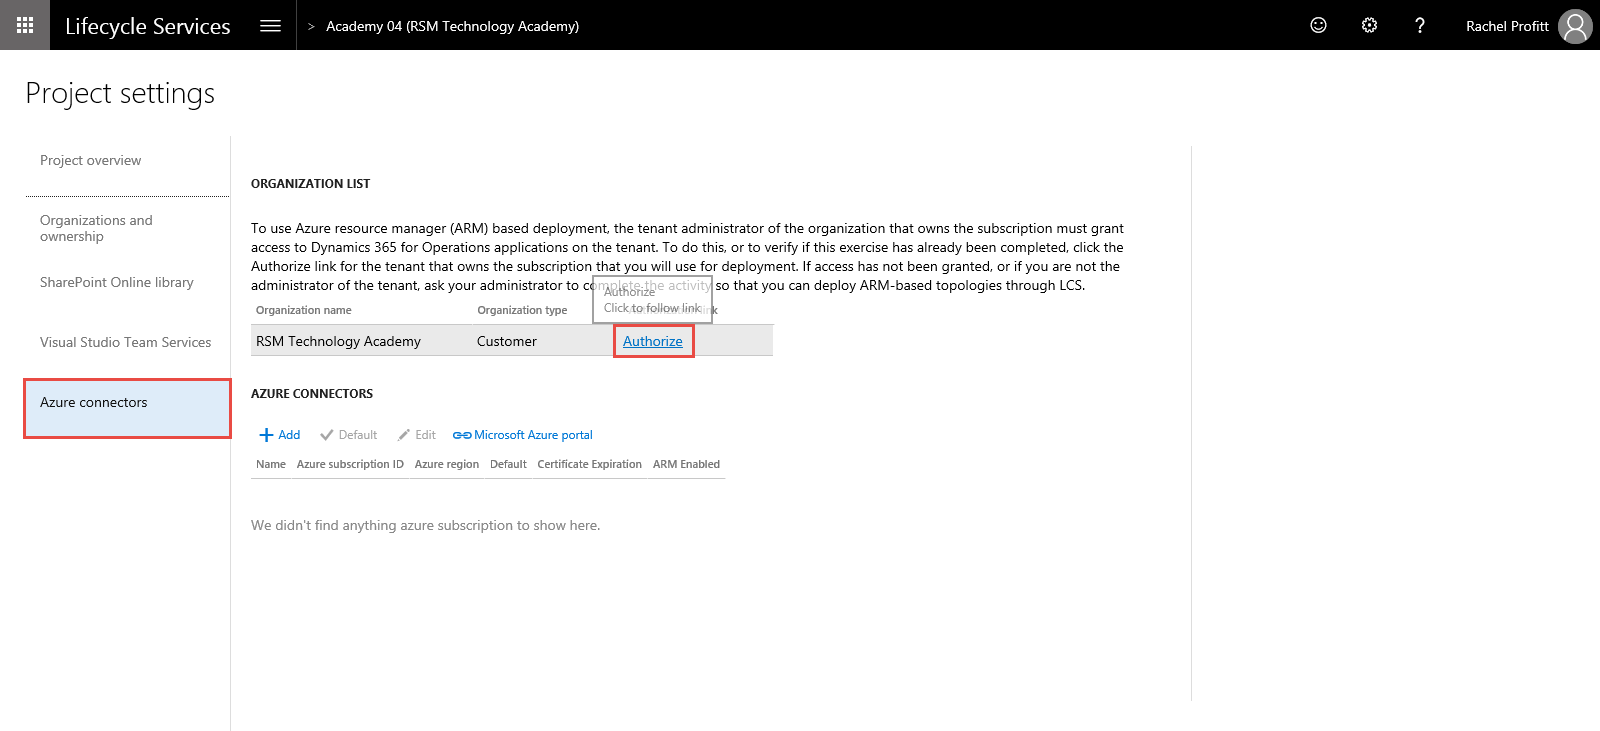
7. Click the Authorize link.
8. On the Grant admin consent page, verify that the Authorization status is "Authorization complete". If it is not, then click the Authorize link, and complete the steps. You will be prompted to log in with your LCS credentials again.
9. Click the Back button on your browser to return to the Project settings page.
10. Click the Azure connector tab.
11. Click Add under the Azure connectors area.
12. In the Name field enter recognizable name for the subscription. For example if the subscription will be used for your Test environment type Test.
13. In the Azure subscription ID field copy and paste the GUID for the azure subscription you configured in the Azure Portal.
14. Select Yes on the Configure to use Azure Resource Manager (ARM) slider.
15. Click Next.
16. On the Microsoft Azure setup page, verify that the configuration is valid and click Next.
17. On the next Microsoft Azure setup page, click Next.
18. On the next Microsoft Azure setup page, select the Azure region, and then click Connect.
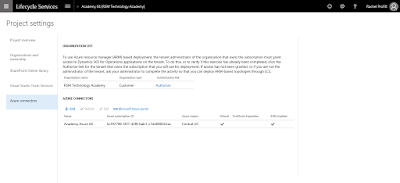
19. Verify the Azure subscription is added:
9. Click the Back button on your browser to return to the Project settings page.
10. Click the Azure connector tab.
11. Click Add under the Azure connectors area.
12. In the Name field enter recognizable name for the subscription. For example if the subscription will be used for your Test environment type Test.
13. In the Azure subscription ID field copy and paste the GUID for the azure subscription you configured in the Azure Portal.
14. Select Yes on the Configure to use Azure Resource Manager (ARM) slider.
15. Click Next.
16. On the Microsoft Azure setup page, verify that the configuration is valid and click Next.
17. On the next Microsoft Azure setup page, click Next.
18. On the next Microsoft Azure setup page, select the Azure region, and then click Connect.
19. Verify the Azure subscription is added:

This was originally posted here.
*This post is locked for comments