Hi partner,
If your D365 has upgraded to october release, then the form header has two types - High-density header and Low density header.
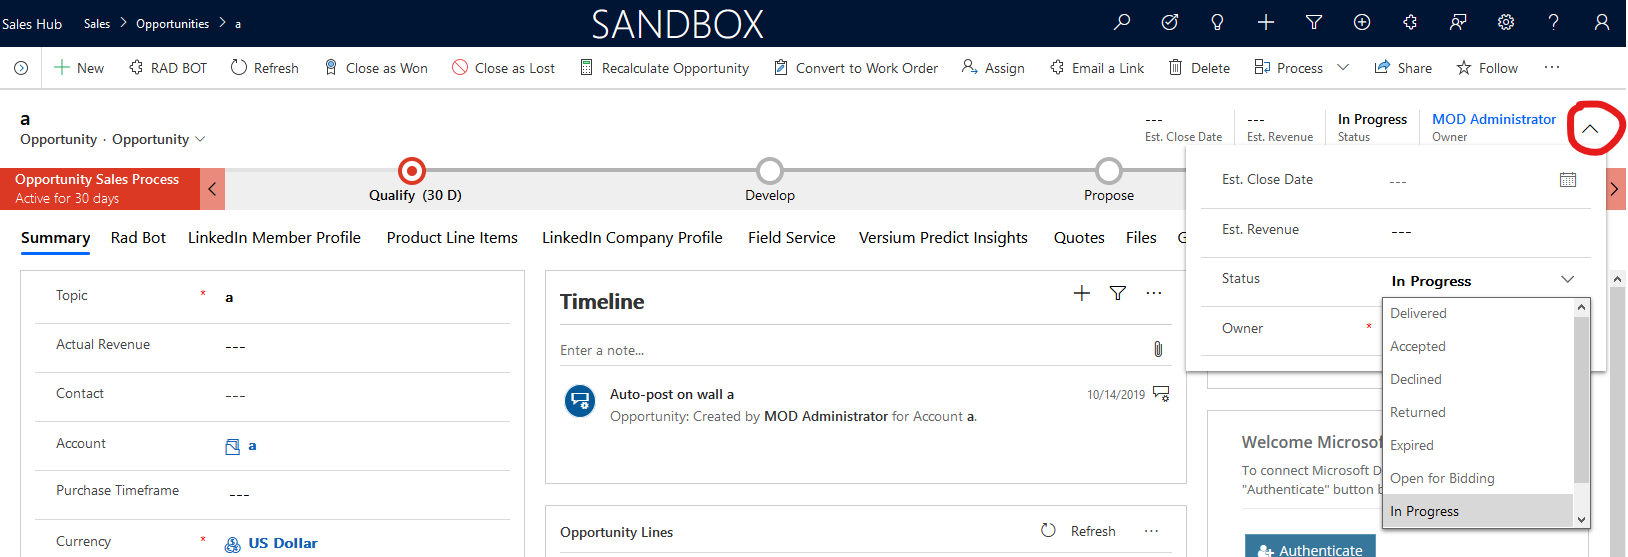
For the High-density header, we need to click on the chevron to display the header flyout, then we can edit the header fields in it.
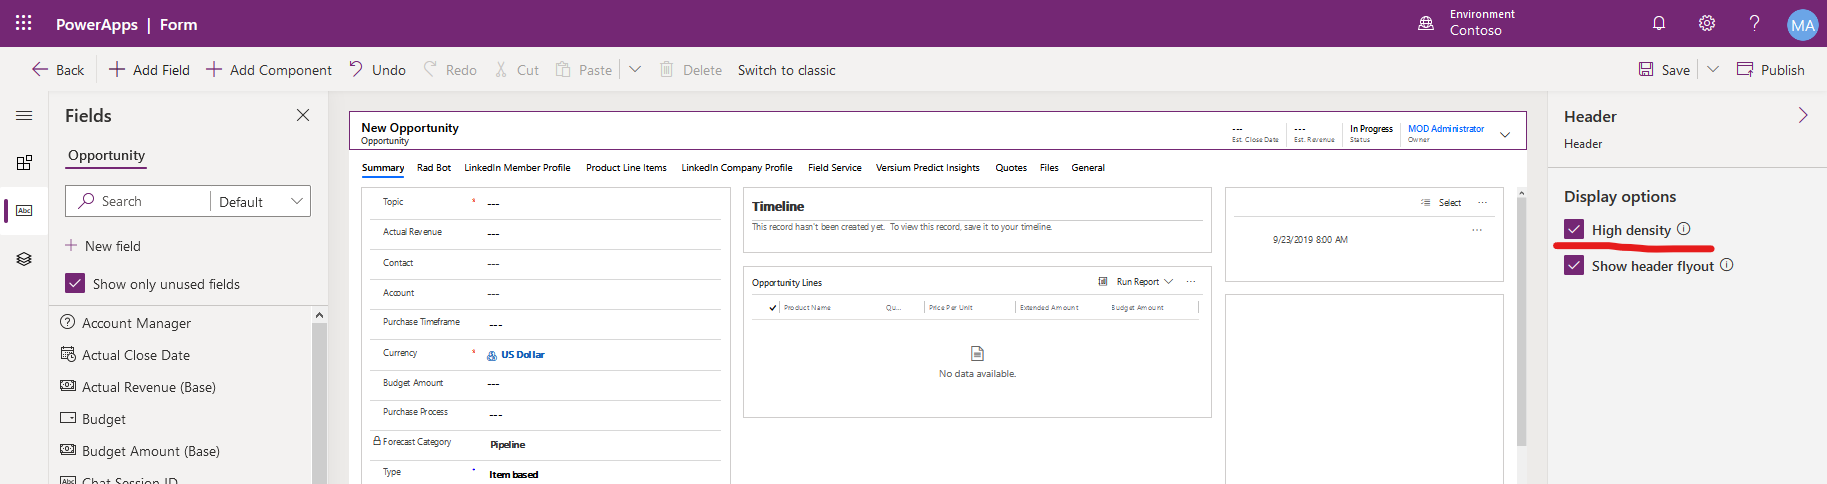
To switch from High-density header to Low density header, you need to click on the header in the PowerApps form editor and then cancel High density in the properties panel on the right.
---------------------------
The following is an introduction to the Configure header properties in the form designer, from this document.
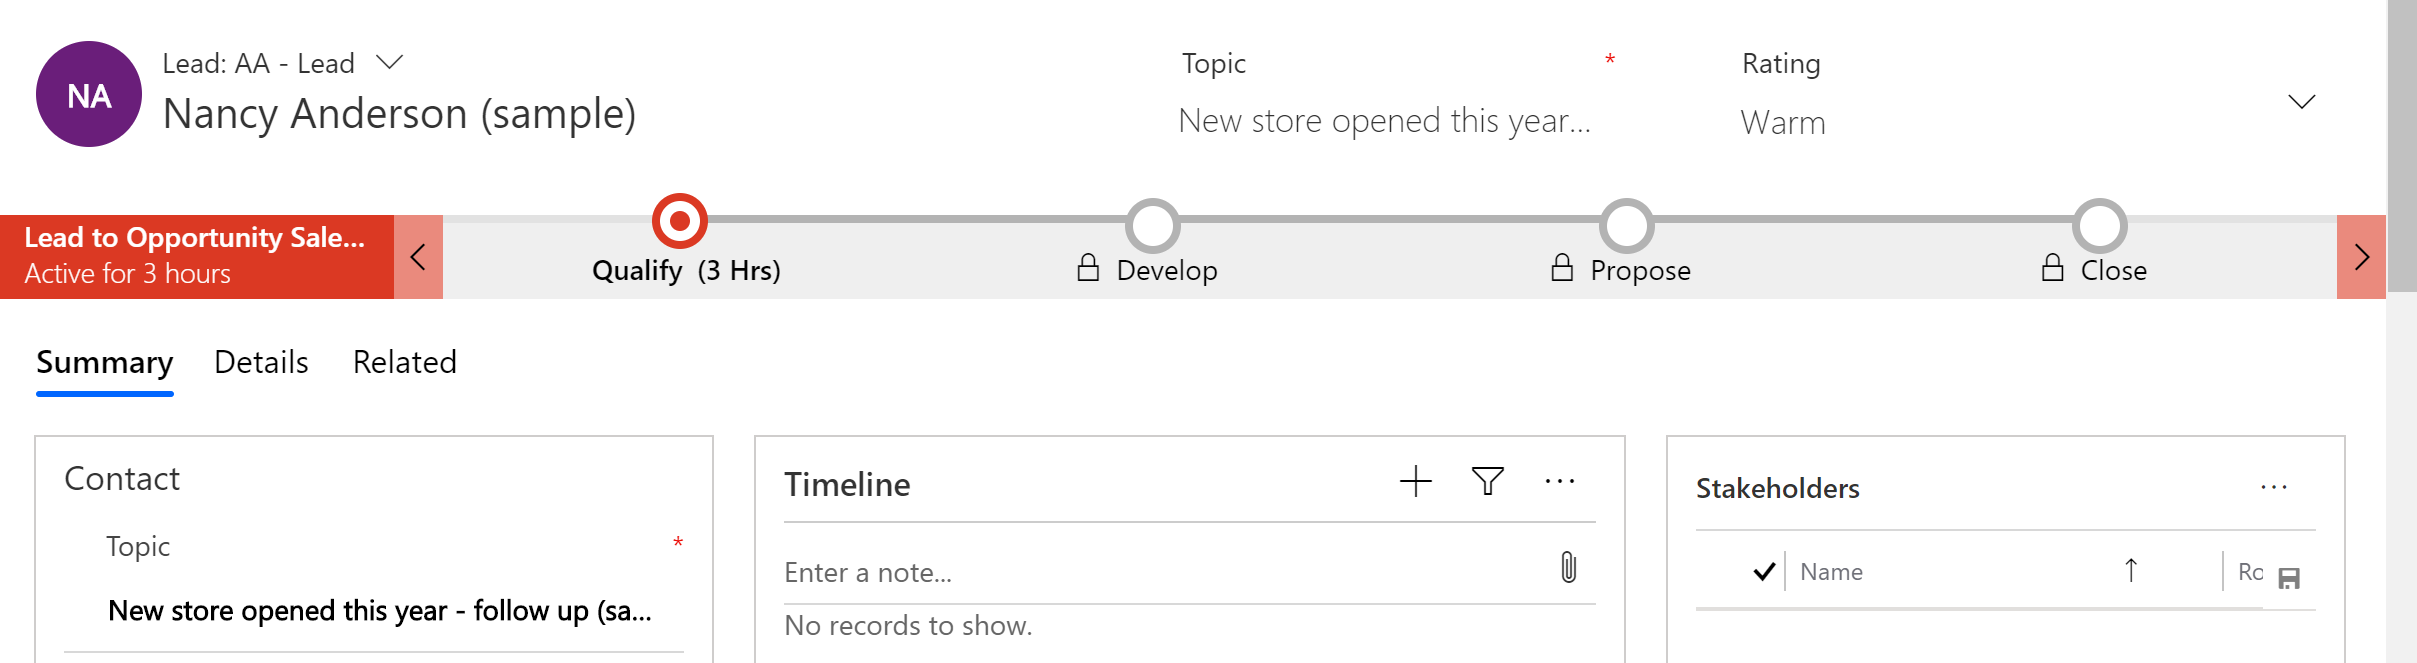
High-density header
High-density form header ensures that key information is always visible to users. Using high-density header, the record title never truncates. Even long record titles are displayed using multiple lines. Similarly, high-density header also ensures that up to four field values are directly visible in the header and never truncated or hidden.
To ensure that key information is always visible, the framework displays read-only field values and users can't directly edit the field values in the header. Visualizations such as custom components or web resources also aren't allowed.
When a form does not specify header density or when a new form is created, the framework defaults to high-density header.
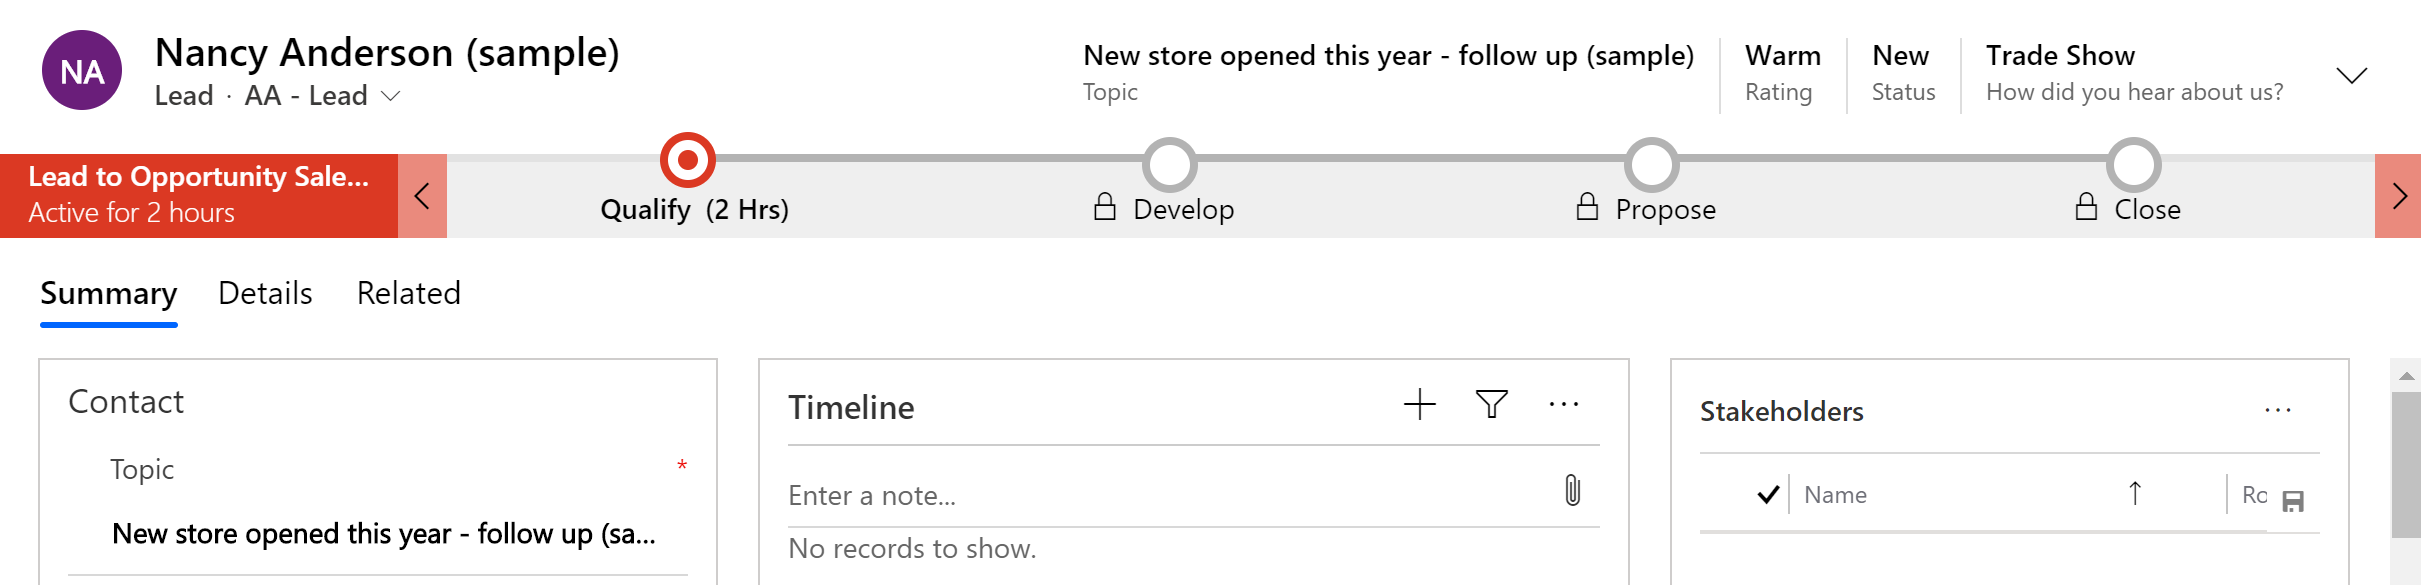
Low density header
Low density form header allows users to directly edit the field values in the header. It also allows visualizations such as custom components and web resources.
However, often this comes at the cost of key information being truncated or not readily visible. Low-density header truncates the record title as well as field values displayed in the header. Often only one or two fields are directly visible in the header and the rest overflow and are displayed in a flyout requiring an extra click.