This blog is for the walk through of Dynamics 365 Business Central -Wave 2 (Fall Release)
1. Personalization, Dashboard and Roles
Personalization of Screen and designing is readily available in Business Central Wave 2 (Fall Edition, this is still under upgrade). Screen change relative to the job assigned. The dashboard is as per the role assigned.
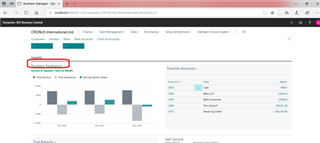
Heading is configurable.
Choose the role, Company Name
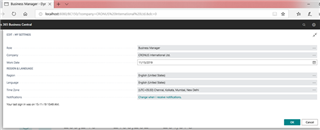
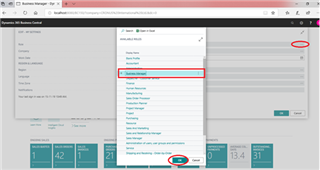
Heading below is configurable.
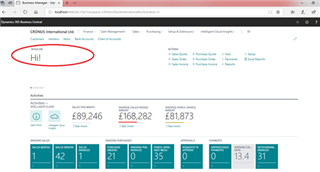
Actions buttons are displayed for creating easy to use functionalities such as Sales Quote, Purchase Order, Sales Invoice, and Purchase Invoice which is quite handy as the receipt of payments and Re-conciliation of payment in banks can be carried right from the action buttons.
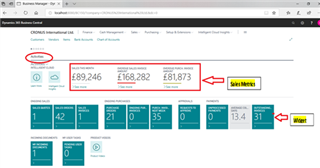
Interactive business Assistance has a wide range of charts for selection. Such as Cash Cycle, Cash flow, Income & Expenses, Top 5 customers.Period length can be changed. Data can be exported to excel.
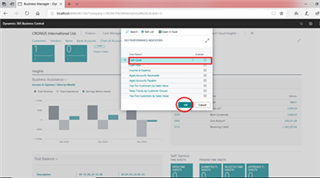
In Self Service, Job Time sheet can be seen Open, submitted, requested to approve
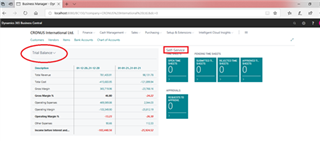
Trial Balance chart provides a quick overview of the financial performance of your company displayed in two periods. This chart is a simplified version of the General Ledger Trial Balance chart. The total revenue figure corresponds to the total in your chart of accounts.
2. Field Addition in the List
Personalize your work space by showing, hiding, adding, moving fields and much more

Click on Settings -->Personalize --> new Window opens as shown below
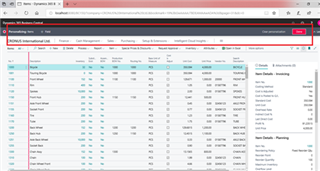
Click on + Field to add field, Additional fields will show on right side of the window
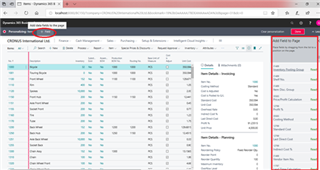
Choose a field and drag and drop in the column of the list page
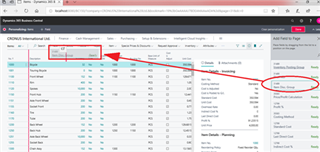
As displayed below the column is shown. After addition of field click on done
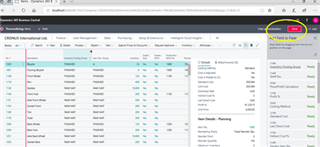
3. Design Functionality
Adjust Page design and save as an extension. Open Page for which field is to be added.
Go to Settings -->Design
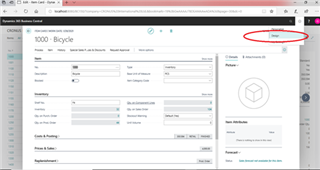
A new window opens, as of now, only a field can be added. As the product is still evolving various features such as +Actions, Part, Page will be added to the user interface. In design mode, different icons are visible to set the required view namely desktop, tablet, mobile.
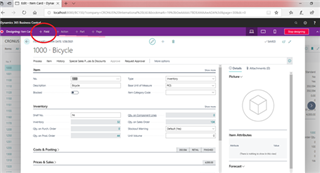
On clicking +Field, additional fields will be showcased in the right panel of page which can be dragged and dropped to the tabs of page.

A field is added to the Page as shown below
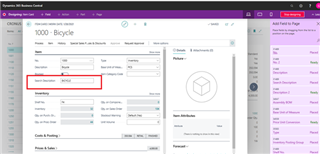
Click on stop designing after the required changes, name the publisher and extension and click on Save
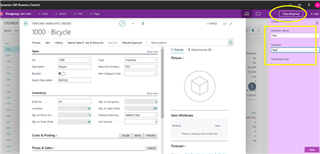
4. Manage Extensions and services
Setups & Extensions assisted Setup
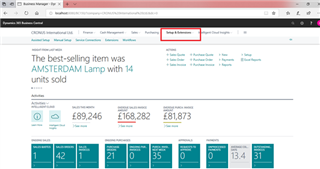
Click on Setups & Extensions—> Assisted Setup à View as per List or Tiles
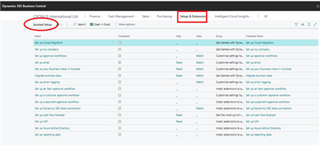
It’s a way to walk through wizard. Configuration of Account Schedule can be done from here
Detailed Release Notes Available on Microsoft Link
https://docs.microsoft.com/en-us/dynamics365-release-plan/2019wave2/