To Deploy the Excel add-in for Business Central on-premises you will need to do the following prerequisites
1. You should have created two Azure AD apps. one Azure AD app for BC authentication another one is created for Edit in Excel.
a. For this one Azure AD app for BC authentication you can check this link it contains the whole steps needed User Authentication with Azure AD for Single Sign-on - Business Central | Microsoft Docs
b. After creating BC Authentication, you should do two mandatory steps:
i. Be sure that this parameter in the Manifest is set to True "allowPublicClient": true,
ii. Expose an API and the Value should be user_impersonation

2- Now we will start to Register and configure an Azure AD application for the Excel Add-in in Microsoft Azure
a- Register an Azure AD application for the Excel add-in.

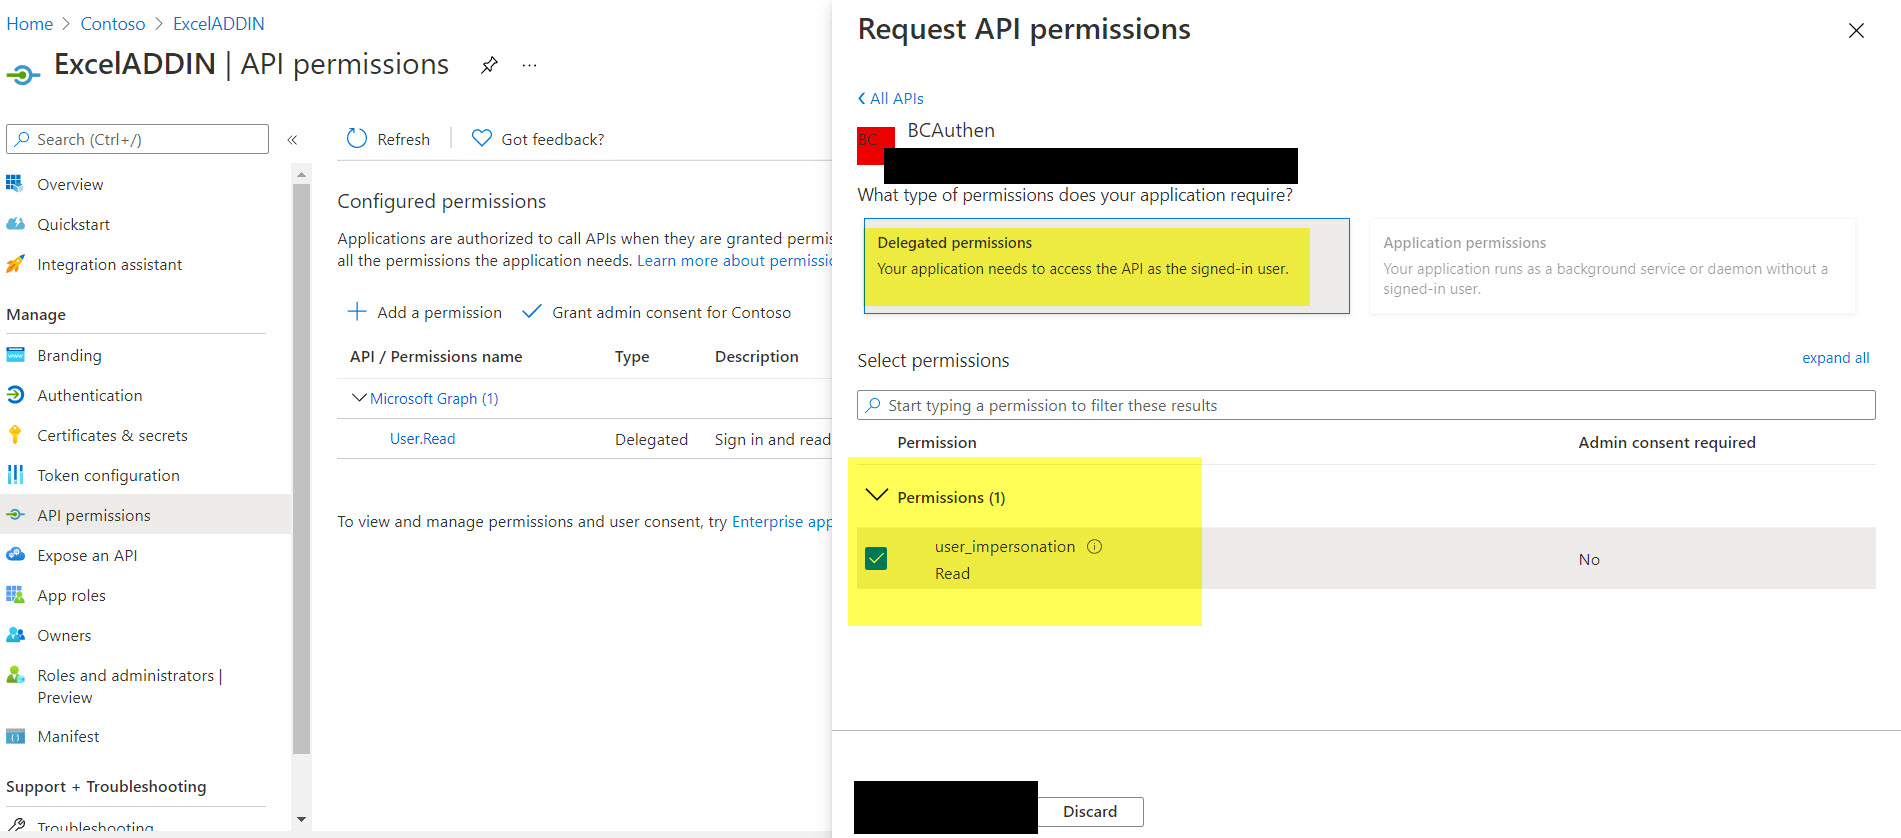
b- Grant the Excel add-in application permission to access the Business Central application Web API:
Give the Azure AD application for the Excel add-in delegated permission to access the Business Central application Web API in Azure AD (which you exposed earlier in this article). This permission allows users of the Excel add-in to access the OData web services to read and write data.
i. From the application's Overview, select API Permissions.
ii. Select the Add a permission
iii. On the APIs my organization uses, select the Business Central application.
iv. Select Delegated permission.
v. Select the permission from the list and then select Add Permission.

c- Configure OAuth2 authentication in the Excel add-in.
i. The Excel add-in requires OAuth2 implicit grant flow to be enabled on the Excel Add-in application. You configure OAuth2 in the manifest file for the Excel Add-in application. From the application's Overview, select Manifest, and then set "oauth2AllowIdTokenImplicitFlow" and "oauth2AllowImplicitFlow" to true:

ii. In the manifest, add the following URL entry to the "replyUrlsWithType"::
{
"url": "">az689774.vo.msecnd.net/.../*",
"type": "Web"
}

iii. Copy the Application (Client) ID that is assigned to the Excel add-in application.

3. Configure the Business Central Server Instances:
a. Open Business Central Server Administration tool
b. In the Business Central Server Administration tool, in the Azure Active Directory section, set the Excel add-in AAD client ID field to the application (client) ID for the Excel add-in application that you copied from the Azure portal.
c. In the Client Services section set the Web Client Base URL field to the base URL of the Business Central Web client. e.g. https://test:443/BC180/SignIn
d. In the OData Services section set the OData Base URL field to the public URL for accessing OData services. The URL must have the following format https://<hostname>:<port>/<instance>/ODataV4/, such as test:7048/.../

Then if you tried to use you will face the below error and to avoid this error, please be sure that you added the Azure AD App ID URL correct

You can Azure AD App ID URL from the Azure AD app for BC authentication (the first step you did in point No:1)

Reference:
docs.microsoft.com/.../configuring-excel-addin


