Integrate D365F&O with Microsoft Fabric (using F&O connecters)
Views (1587)
Integrate D365F&O with Microsoft Fabric (using F&O connecters)
Hi friends, here goes another cool hack to integrate D365F&O with Microsoft fabric. I have already demonstrated previously two ways to do this:

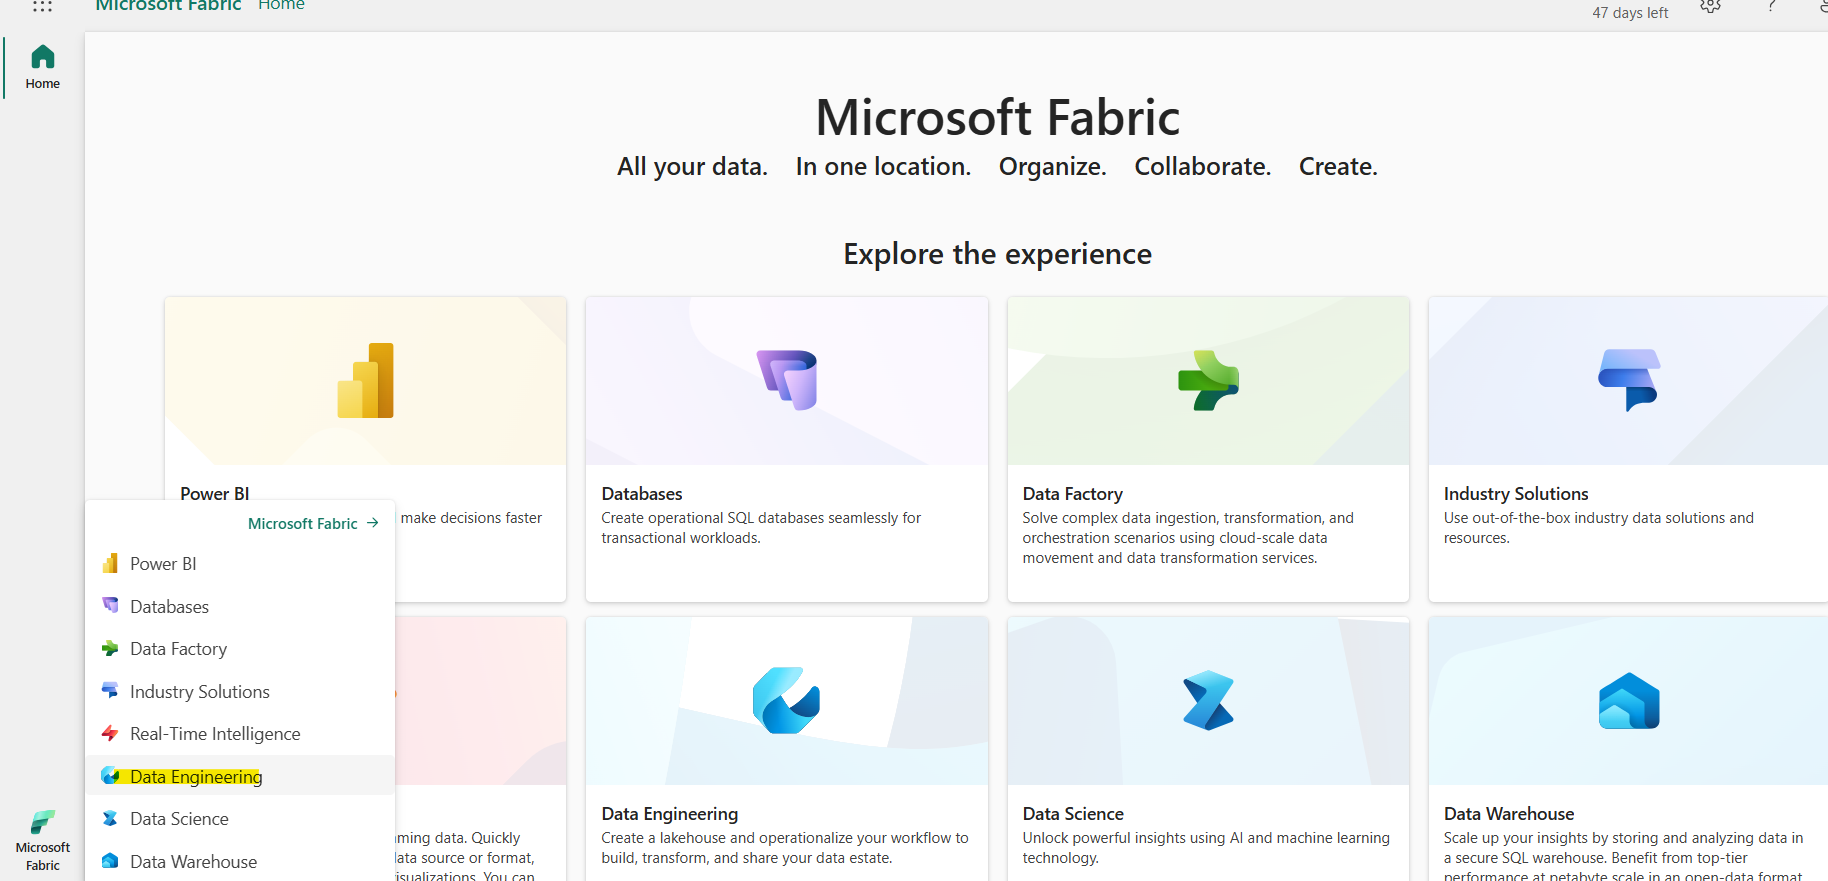
Click on Data engineering to switch your experience. Click on your Lakehouse to open the following screen:

Click on Get Data >> New pipeline to begin:

Let us give a proper name to the pipeline prompt that comes:

Choose the following template to continue: DynamicsAx –

In the following screen look at the following parameters, very carefully –

Connection: here you give the format like: <base-url>/data.
Tenant ID, and rest of app registration you need to give from Step-1.
Click on Next to continue.

For example, we are selecting the above entity – it will give you the list of its fields available.
In the next step, you need to give the necessary details for destination:

And the fields that you want to be created in the target:

Select New-mapping or you can also remove a mapping, if you don’t need it.
And in the next step, you can preview how the data source and destination should look like, summarized:

Click Save and Run to begin the data copy.
You can view the status of the copy from monitor:

You would see how your monitor is performing:

And after a short while the process starts and the monitor would show the pipeline to have run successfully.


You can also change the view from Lakehouse to SQL Analytics Endpoint:

This would enable you to create your own views, queries and StoredProcs:

For example, I have already created couple of views for our demo purpose.

Once you have saved the view, visit Reporting >> Automatically upload Semantic model:

The changes will be registered as Data model for your reporting.
Click on New report >> And the following screen will enable you to choose your published datasources (tables, views) to create report out of them:

And from here you can create report very easily out these datasources:

And with that you can bring the entire D365FO data model into Fabric, effortlessly, create reports out of them by creating views and reusable queries.
With that, let me take your leave and would come back to you soon with more useful hacks like this. Till then, take care and much love 😊
Hi friends, here goes another cool hack to integrate D365F&O with Microsoft fabric. I have already demonstrated previously two ways to do this:
- Using Direct connect from Dataverse: https://community.dynamics.com/blogs/post/?postid=eb2e7233-a896-ef11-8a69-000d3a1028ad
- Using OData entities
- Using DynamicsAx Connecters, with Service principles and APP registration details
- Using both real time as well as scheduled data exchanges
- Use it conveniently to include or exclude columns as per your need
- You can write your own transforms to change data as per your requirement as the pipeline executes
Step 1:
You need to be ready with a Microsoft Entra ID APP registration from Azure, before hand.Step 2:
Once you are done with this, come to your Fabric workspace >>Lakehouse where you want to import the data:Click on Data engineering to switch your experience. Click on your Lakehouse to open the following screen:
Click on Get Data >> New pipeline to begin:
Let us give a proper name to the pipeline prompt that comes:
Choose the following template to continue: DynamicsAx –
In the following screen look at the following parameters, very carefully –
Connection: here you give the format like: <base-url>/data.
Tenant ID, and rest of app registration you need to give from Step-1.
Click on Next to continue.
Step 3:
This will eventually give you the list of all the entities that are available. Select the one(s) you want to connect:For example, we are selecting the above entity – it will give you the list of its fields available.
In the next step, you need to give the necessary details for destination:
And the fields that you want to be created in the target:
Select New-mapping or you can also remove a mapping, if you don’t need it.
And in the next step, you can preview how the data source and destination should look like, summarized:
Click Save and Run to begin the data copy.
You can view the status of the copy from monitor:
You would see how your monitor is performing:
And after a short while the process starts and the monitor would show the pipeline to have run successfully.
Step 4:
The rest part is very simple: you can view the data being stacked in your Lakehouse >> Tables:You can also change the view from Lakehouse to SQL Analytics Endpoint:
This would enable you to create your own views, queries and StoredProcs:
For example, I have already created couple of views for our demo purpose.
Once you have saved the view, visit Reporting >> Automatically upload Semantic model:
The changes will be registered as Data model for your reporting.
Click on New report >> And the following screen will enable you to choose your published datasources (tables, views) to create report out of them:
And from here you can create report very easily out these datasources:
And with that you can bring the entire D365FO data model into Fabric, effortlessly, create reports out of them by creating views and reusable queries.
With that, let me take your leave and would come back to you soon with more useful hacks like this. Till then, take care and much love 😊


 Like
Like Report
*This post is locked for comments