


 81
81 Like
Like Share
Share
 Report
Dear Friends,
It has been quite a while, since I got a chance to post something. This is one of the most common and critical requirements, having Dual Write configuration between Dynamics 365 Finance and Sales environments. Please find below hands-on experiences, tricks and tips to make it work.
Environment provisioning
· Dynamics 365 FO environment can be provisioned, if required. Deployable packages and licenses can be added if required.
· Dynamics 365 CE environment can be provisioned, if required.
o Login to “MS 365 Admin Center”.
o Click “All admin centers”.
o Click “Dynamics 365 Apps”.
o Click “New” (if new environment required, else select an existing one)
§ Need to have “Dynamics 365 Customer Engagement Plan Demo for Partners” IUR license for partner; else Production or Sandbox environments cannot be created. IUR license can be redeemed using below link.
https://portal.office.com/Commerce/ProductKeyRedeem.aspx?paymenttype=1
§ Dynamics 365 apps cannot be enabled on trial environments.
§ Multi-tenant not supported as of now.
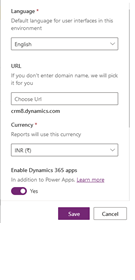
§ Fill all the required details and click “Next”.
§ Fill all the details, “Enable Dynamics 365 Apps” to be clicked.
§ Select “Dynamics 365 for Sales, Enterprise Edition App” or install it later.

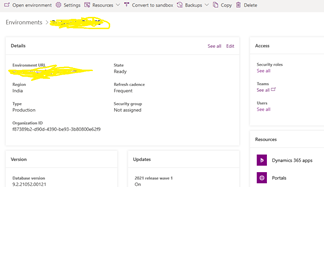
§ Once environment is provisioned,
· Environment can be opened by clicking “Open environment”.
· Installed apps can be opened by the URL.
· Clicking “Dynamics 365 Apps” shows all the apps installed, and new apps can be installed from there.
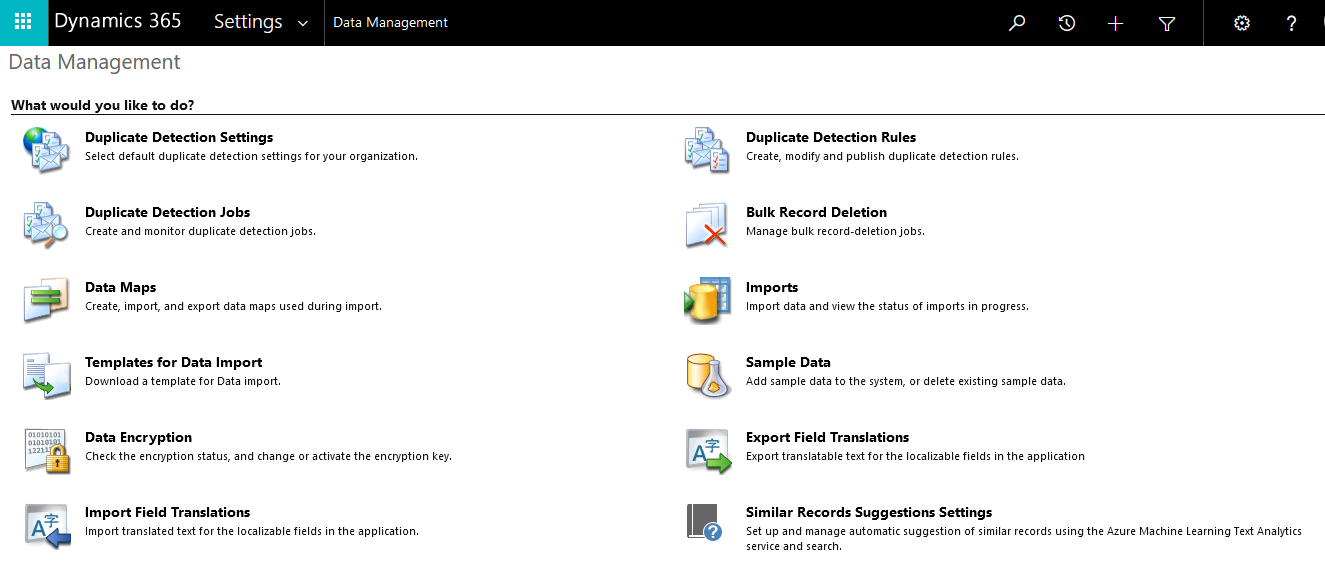
§ Sample data can be added during environment provisioning, or later by
· Select the environment.
· Go to “Settings”.
· Go to “Data management”.
· Click “Sample data”.
· Click “Install sample data”.
Prerequisites for Dual Write linking process
· FO environment need to be on PU 33 or higher.
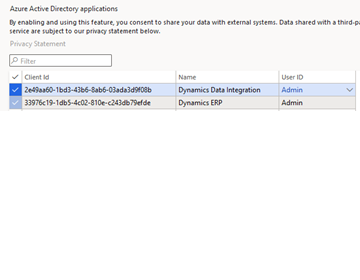
· In FO environment, go to “Azure Active Directory Applications” and create records with “33976c19-1db5-4c02-810e-c243db79efde” and “2e49aa60-1bd3-43b6-8ab6-03ada3d9f08b” values. These 2 are common application Ids for “Microsoft Dynamics ERP” and “Dynamics Data Integration”, and are required to be added for linking purpose.
· In FO environment, go to “Data Management” workspace, click “Data entities” and make sure the entity list is populated.
· Dual Write feature is currently behind the flight, need to enable flighting for demo environments by using below SQL.
· In FO environment, perform IISReset.
· Provide app consent by using below link and click “Accept”.
· Uninstall “Prospect to Cash” solution, if already installed.
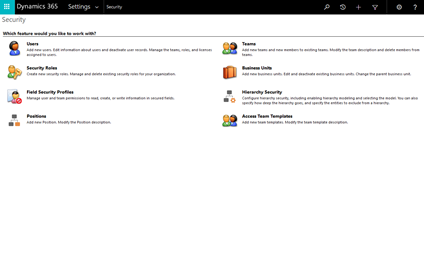
· Open CE instance, go to “Advanced Settings”, select “Security”, click on “Users”.
· Switch to “Application Users”.

· Create a new user and select “Application User”.
· Add Application id – “00000015-0000-0000-c000-000000000000” and follow prompts to fill additional fields and save user account. This Application Id is for “Microsoft Dynamics ERP”, which will allow FO to connect to Dynamics 365 Sales.
· Provide “System Administrator” rights to Application User via “Manage Roles”.

· Add Application id – “2e49aa60-1bd3-43b6-8ab6-03ada3d9f08b” and follow prompts to fill additional fields and save user account. This Application Id is for “Dynamics Data Integration”, which will allow FO to connect to Dynamics 365 Sales.
· Provide “System Administrator” rights to Application User via “Manage Roles”.
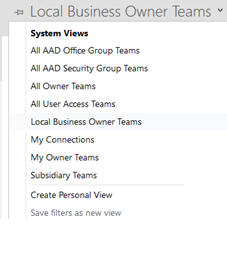
· Go to “Advanced Settings”, select “Security”, click on “Teams”.
· Switch to “All Owner Teams”.
· Select the Root Business unit, provide “System Administrator” rights to the team via “Manage Roles”.
· “Dual Write core solution” contains metadata for the entity maps and must be imported as a solution in CE instance.

· “Dual Write Orchestration solution” contains additional master data scenarios mentioned below and must be imported using CRM package deployer.
- Customers, products, and vendors.
- End-to-end process flows like prospect to cash.
- On-demand functions like pricing.
- Reference data for ledger, tax, payment terms, and schedules.
Setup for Dual Write linking process
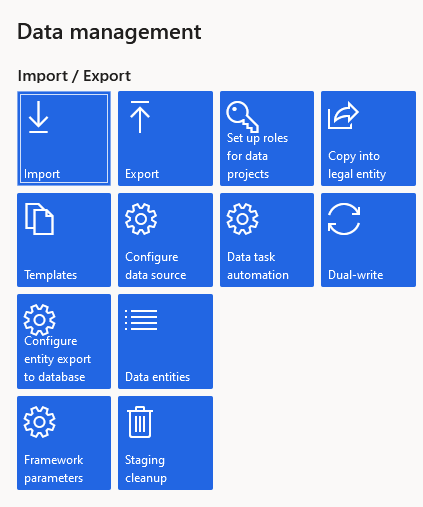
· In FO environment, go to “Data Management” workspace, click “Dual Write”.
· Click “New link to Environment”.

· Choose the CE environment created above.
· Select legal entities.
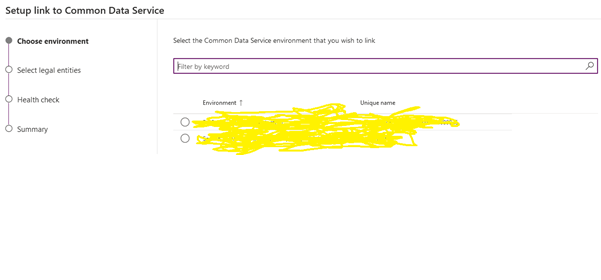
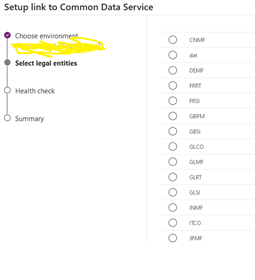
· Pass the health check (all 15 steps are mandatory).

· Click “Create” to complete the setup process. If any error comes up during creation, those needs to be handled accordingly.

· After successful setup, blank screen will come. To get default OOB entities, click on “Apply Solution”.
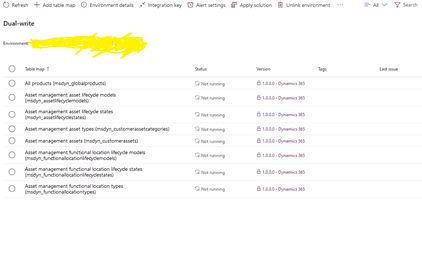
Enable entity (map) for Dual Write
· All OOB entities remain in “Not Running” state and needs to be explicitly enabled.
· “Initial Sync” can be done for previous records, when changing a state of an entity to “Running”.
· Entity can be stopped or paused as per need.
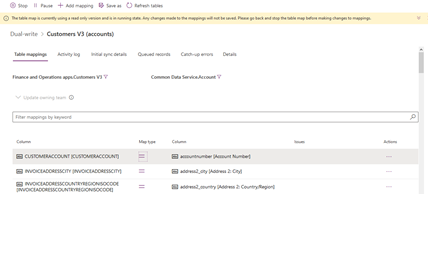
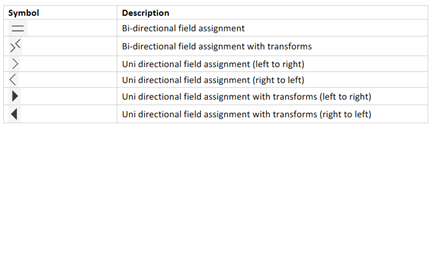
· “Entity mapping” can be seen with these options - bidirectional, FO to Dataverse, Dataverse to FO.
· Corresponding field mappings can be changed, default values can be set against each field.
· “Activity log” helps us tracking all errors or messages in a single place for each entity.
· New entities can be created by clicking “Add table map”.
· Environments can be unlinked by clicking “Unlink environment”.
· Alert settings as per requirements can be configured by clicking “Alert settings”.
· “Environment details” can be used for adding different legal entities.
· “Integration key” helps viewing and setting the field mappings for primary keys.

*This post is locked for comments