


 21
21 Like
Like Share
Share
 Report
I am back with yet another blog on amazing capabilities of Azure AI search. It can give you an idea as to how you can set up a search model, based on data and search indexes. And then you can query the same from Azure Open AI studio, using normal conversation languages.
Interested?
Read on, guys 👇👇👇👇👇
To get started you can launch from Azure portal to search for Azure AI search:

While tryig to create the Azure AI search, you can fill out the folloiwng dialog screen as needed:

Click on Review + create >> Create to finish the wizard. This will take a while to finish the depoyment of the resource. This is how the resource you created, should look like:
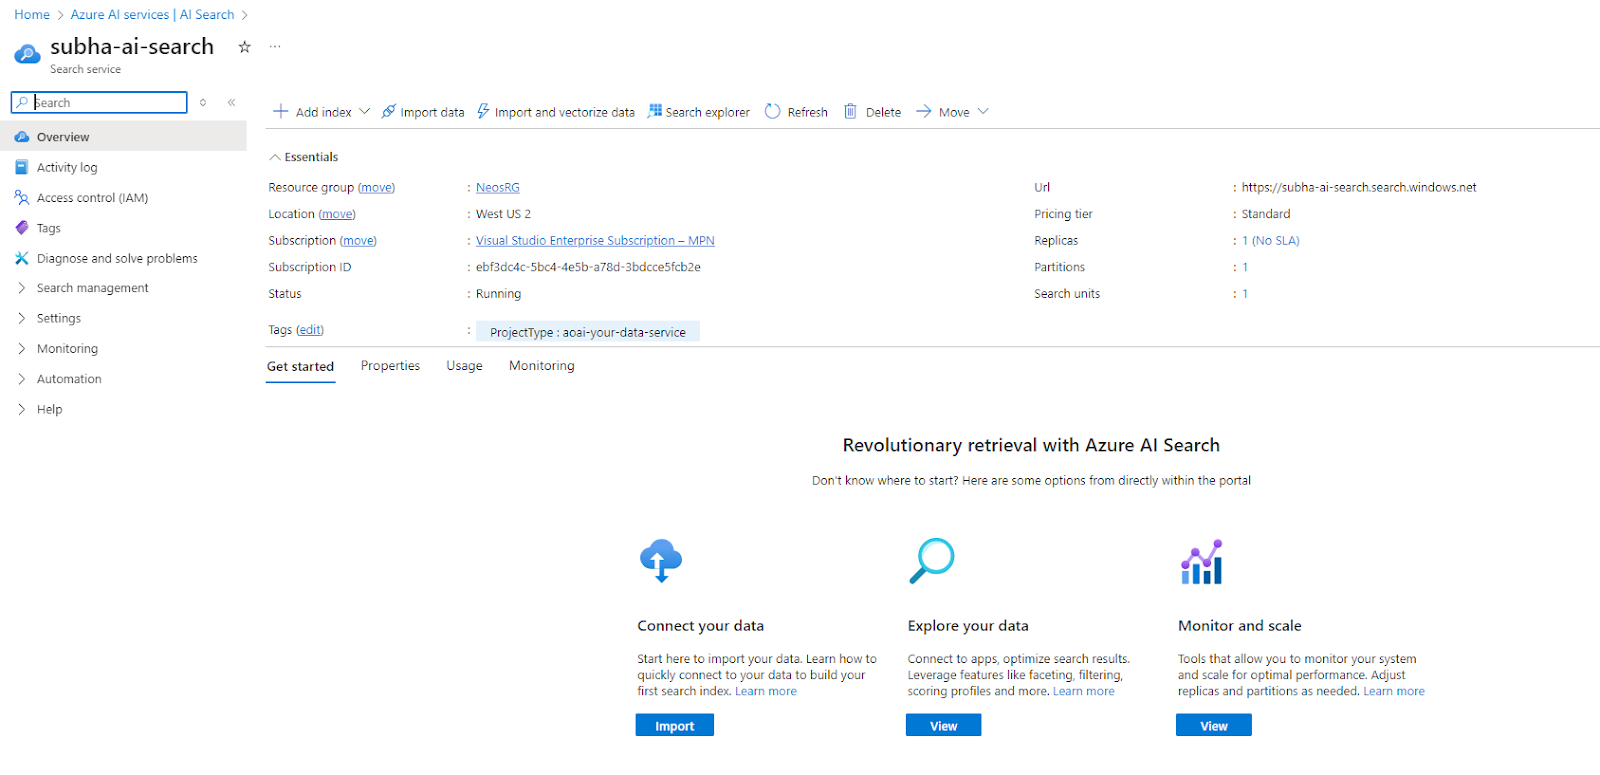

Whew, a lot of things to explore from:
a. Connect your data: this is where you can load the data from any external/desired source. We would be coming to this topic, in next step.
b. Explore your data: Once you import the data, you can query it, talk to it, just like you do with your friends.
c. Monitor and scale: This obviously means that you can monitor the peformance of your search engine, and also upscale/downscale your data as required.
Let us click on Connect your data. The following screen will open. You can click from a vivid ranges of your sources:

Which shows, you can just not use Azure component storages, but also SharePoint, MySQL as well as any exisiting data sources. Imagine a stiuation where you can import the data from a datawarehousing DB, fed from D365FO/CE and eventually you can also query the data from Dynamics ERPs as well.
For our demo purpose, let us select 'Samples' and the following prompt will ensue:

Choose 'realestate-us-sample' and click on 'Add Cognitive skills' button. This will take you to the below screen, where from you further configure your searches by adding Cognitive skills:

Select/enter as much what you want, making your engine all the more fast, flexible, rich and intuitive.
The source data field marks an unique key to your search, in our case it's ListIngId.
Click on 'Customize Target index'. From the following scren, click on the 'Filterable', 'Searchable', 'Facetable' checkboxes, to select all. You can additionally select Additonal languages to translate your result.

Click on 'Create and index' to finish.

You gotta wait for some time, till the time indexing gets fininshed and data gets imported.

Wanna test your data? Crwal back to your Azure AI search Over view page >> click on Explore your data:

The following scren will open up.

Let us search for a hotel in New york city. The resule will come as JSON in the results pane:

It ranks the search by a "ListingId" and a subsequent number of associated details, like source, type of the apartment, address details, etc. We can beautify this search in Azure AI studio, in natural language response, using the below outlined process. Check this out 👇👇
Once done, come back to Azure Portal and search for 'Azure OpenAI' Studio to continue:

Create a new Azure Open AI resource, by filling up the following:

Choose the pricing tier, as available (dependent on your subscription and the pricing tier selected). Click Next >> Review + Submit >> Create:

This will create the Azure Open AI studio resource with a lot of new options to explore from:

Each of these has a different context, usage and backdrop, which I will cover on a different blog. For now, let us focus on 'Azure Open AI studio' to continue. This will open the Azure OpenAI studio as shown below:


Once donw, the following screen would open:

We are particularly interested in Chatting wih our data, click on any of the highlighted to proceed. The following screen opens; click on 'Add your data' to continue:

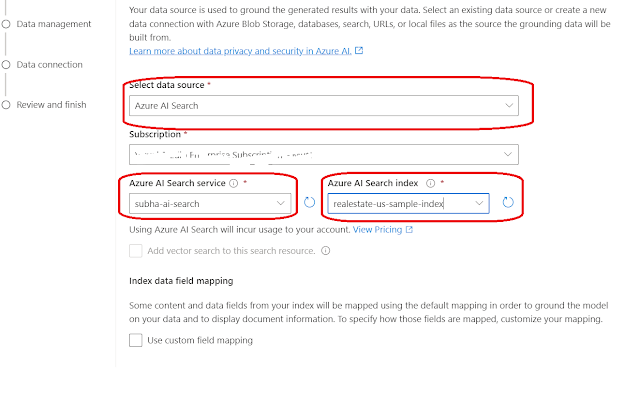
This is the most interesting part of the entire exercise. The following screen will opem, which would ask you to select the necessary datasource and associated index:

Once you have clicked on 'Add data source', this will come up:

Click on 'Next' to continue.The next screen would show you the data structure you would be implementing for the search:

For our demo purpose, let us proceed with Keyword search, for now. Click on Next ton continue:

Select API key for the time being -- though you can choose 'System assigned managed identity' , if you have taken care of RBAC related staffs in your Azure AI search (which I woiuld be dealing on another blog).
Click Next to continue. The following screen will open up, showing the summary of your activities and selections, thus far:

Click on 'Save and close'. You can provide additonal settings for your chat program by providing the template which you want to implement.

Click on Apply changes from the top, once you are done.
Uh, there you are!!! You can start the chat with your data now. Click on the chat window on the chatbox and you can start querying your data:

Whereby you are seaching for New York City hotels, and the chat program is responding by translating the JSON response in human understandble format.
Whew, so much for today -- would come back with more such cool feaures on Azure AI and Azure Open AI studio. Stay Tuned, much love and namaste 💓💓💓
*This post is locked for comments