


 22,324
 Like
Like Share
Share
 Report
Preview environments allow you to test upcoming major updates before they become generally available (GA). These environments are sandbox environments running a version marked (Preview).
Configure Environment Details
Fill in the required fields:

Click on Yes.
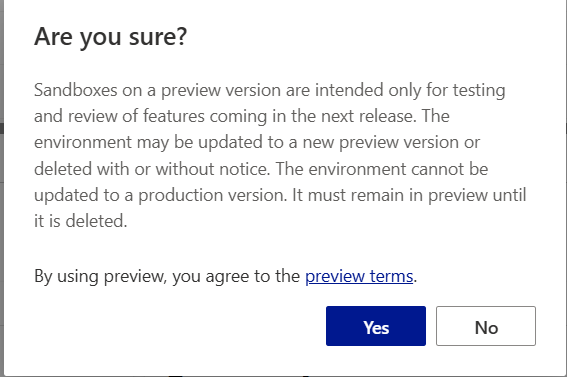
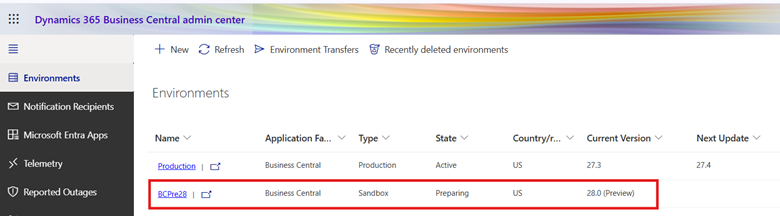
The system will begin provisioning the preview sandbox.
Once updated to preview:
Thanks For Reading…!!
Regards,
Khushbu Rajvi
Before You Start
Keep in mind:- Preview environments are sandbox only.
- They are automatically deleted 30 days after GA.
- You can’t upgrade a preview environment to another version.
- Always export important data or configurations before the preview period ends.
Steps to Create a New Preview Environment
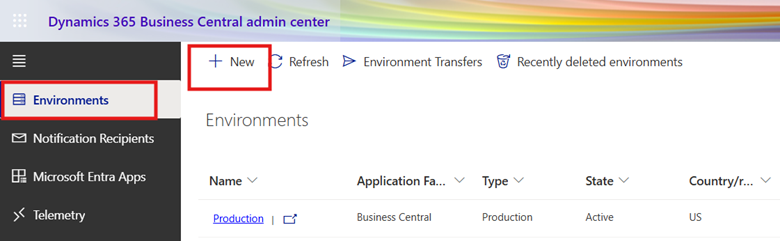
Go to the Business Central Administration Center.
In the navigation pane, select: Environments
Create New Environment Select: + New
In the navigation pane, select: Environments
Create New Environment Select: + New
Configure Environment Details
Fill in the required fields:
- Environment Name
- Environment Type → Select Sandbox
- Version → Choose a version marked (Preview)
Note: Preview versions are only visible once the preview period has started.
Confirm Creation Select Create (or Confirm).
Confirm Creation Select Create (or Confirm).
Click on Yes.
The system will begin provisioning the preview sandbox.
Alternative: Update an Existing Sandbox to Preview
Instead of creating a new one, you can update an existing sandbox:- Select an existing Sandbox environment.
- Choose Schedule Update.
- Select a version marked (Preview) as the target version.
- Confirm the update.
Once updated to preview:
- The sandbox will automatically update with every new preview build.
- If the update fails, the environment will be deleted.
- Updates cannot be rescheduled during early access preview.
Thanks For Reading…!!
Regards,
Khushbu Rajvi
*This post is locked for comments