Summary
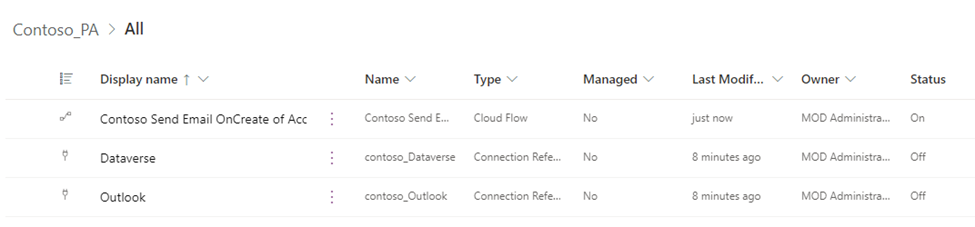
Step-by-step instructions from ZERO to move Power Automate flow from Dev to QA via Azure DevOps Pipeline without user interaction. The flow uses Microsoft Dataverse and Office 365 Outlook connector, as the following shows.
Steps including:
- Create Service Principal (Azure AD Application).
- Create a Dataverse Application User.
- Create Azure DevOps Service Connection to connect to Dataverse.
- Share connections with Service Principal.
- Deployment setting to link connection reference with connection in the target environment.
- Deploy the solution via Azure Pipeline.
Service Principal Configurations
Create Service Principal (Azure AD Application)
- Navigate to Azure Portal, and Azure Active Directory.
- Click “App registrations” then “New registration.”
- Input a Name, select a supported account type then “Register.”
- Click “API permissions” to add Dynamics CRM.
Tutorial: Register an app with Azure Active Directory (Microsoft Dataverse)
Create Dataverse Application User
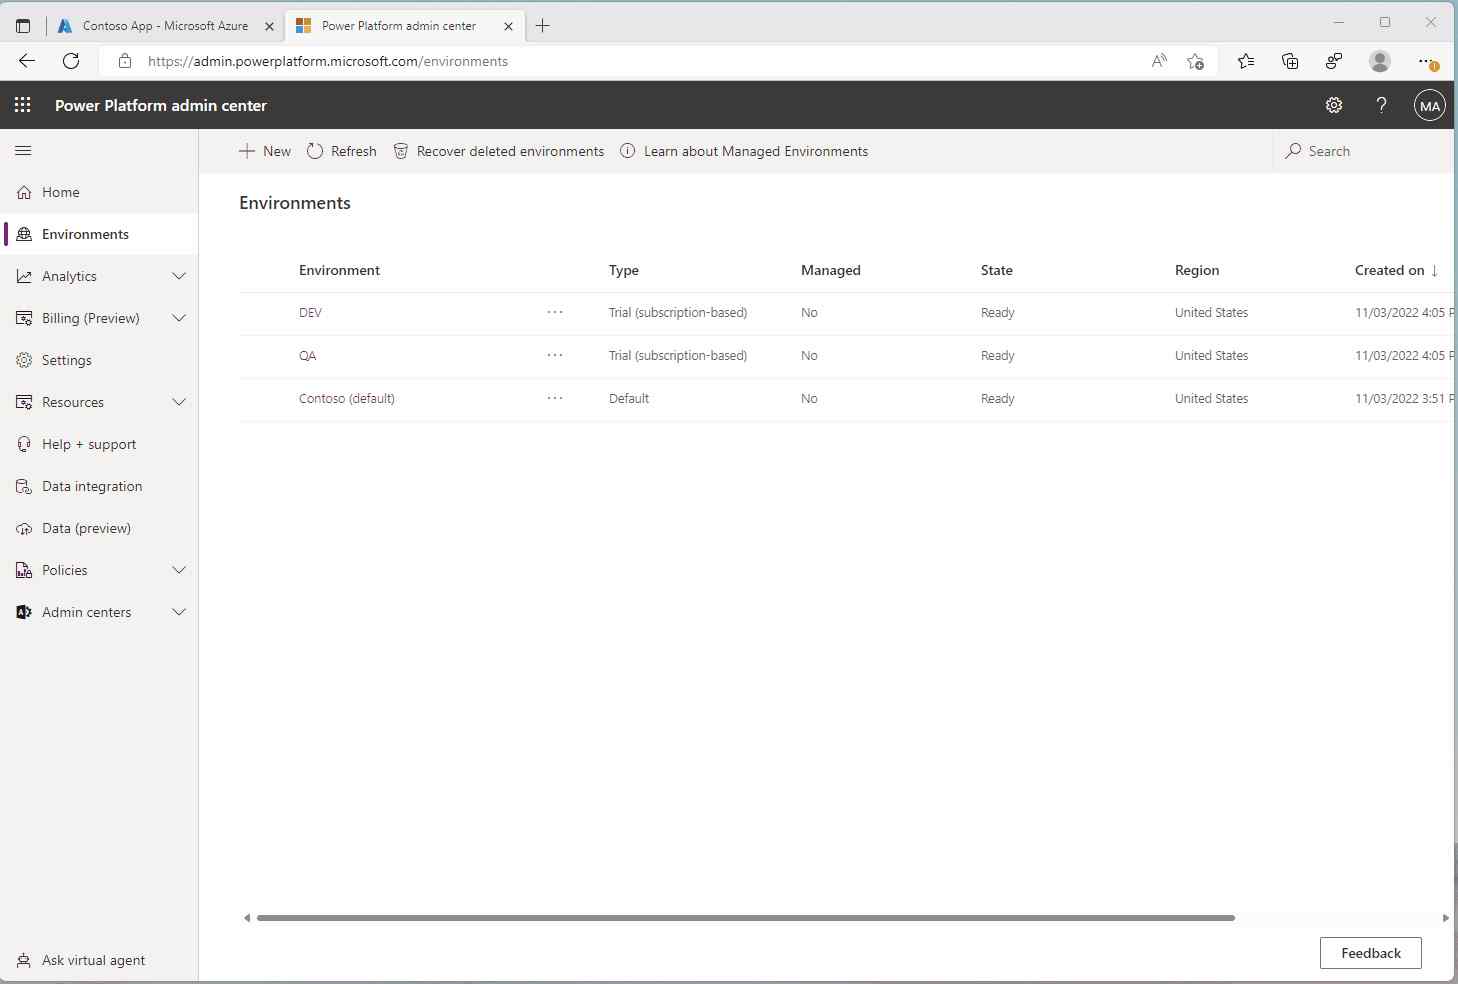
- Navigate to the Power Platform admin center then select the environment.
- Click “Settings” on the ribbon then search for “Application users.”
- Click “New app user” on the ribbon then create the Application user.
- Add the App registered.
- Select the top business unit.
- Add “System Administrator” role.
Manage application users in the Power Platform admin center - Power Platform
Azure DevOps Service connection
- Browser marketplace to install the Power Platform Build tool” if not already.
- Click “Project Settings” to add “Service connections.”
- Create the Power Platform service connection.
- Service URL: The environment URL.
- Tenant ID: Direct(tenant) ID in Azure App Overview.
- Application ID: Application (client) ID in Azure App Overview.
- Client secret: New or existing from Azure App Certificates & secrets
Microsoft Power Platform Build Tools for Azure DevOps - Power Platform
Connection in the target environment
To make connections visible to the Service Principal during solution deployment, Connections need to be created in advance and shared with the Service Principal. It is a one-time step-up for each connection.
Create a connection and share the connection with Service Principal
Azure DevOps Pipeline
Create deployment Setting.
Deployment setting can be used to link the connection references with the connections in the target environment during the deployment.
- Export solution from the Dev environment.
- Use PAC CLI to create a deployment setting for the QA environment.
- “pac solution export” to export the solution from your dev.
- “pac solution create-settings” to create a deployment setting file.
- Fill in “ConnectionId” for each connection.
Refer here for details steps: Pre-populate connection references and environment variables for automated deployments using Power Platform Build Tools
pac commands used in this step:
Microsoft Power Platform CLI auth command group
Microsoft Power Platform CLI solution command group
Git Configuration
Set up a Git repository to source control the unpacked Power Automate flows with its deployment setting. Later Azure Pipeline definition (Yamal file) will also be added to the source control.
- Initial a git repository.
- Navigate to Azure DevOps and click “Repos.”
- Click “Initialize” to create a new Repo for the DevOps Project.
- Export then unpacks the solution.
- “pac solution export” to export the solution from your dev.
- “pack solution unpack” to unpack the solution into files.
- Commit the source file for the Power Automate and Deployment setting file.
- Navigate to “Repos” and click “Clone” to get the command line for initialing the git.
- Execute the command line to initial the Repo locally under the same folder you unpack the solution.
- Committing the local changes to Azure DevOps Server using the preferred tool, Git extension for Visual Studio was used in the demo.
pac commands used in this step:
Microsoft Power Platform CLI solution command group
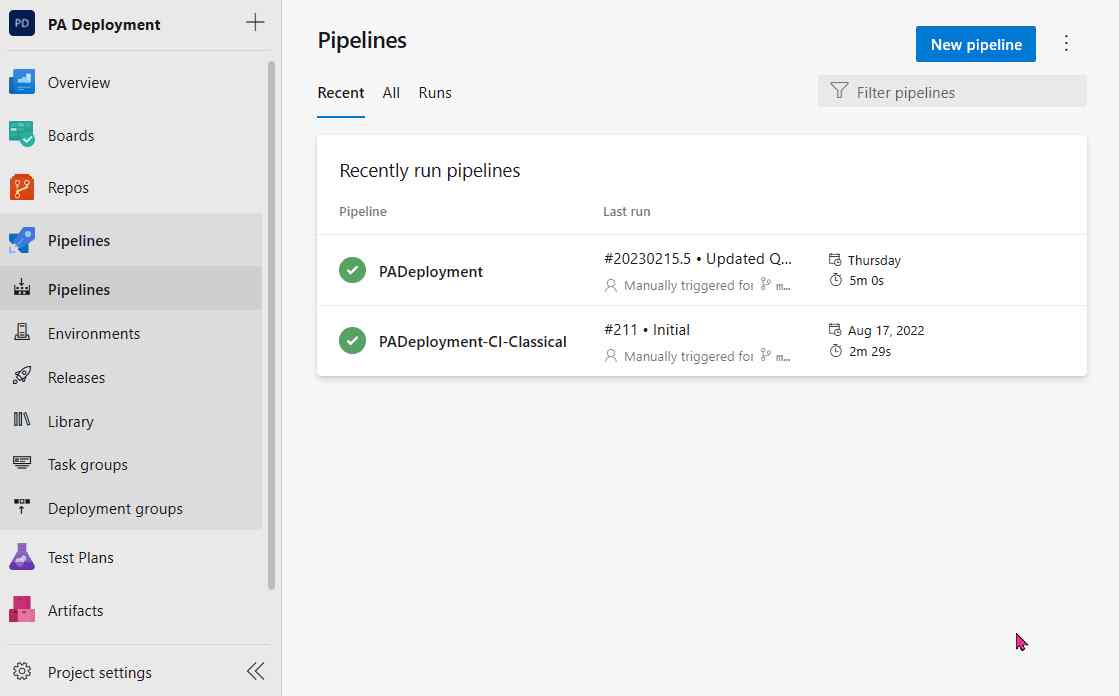
Azure Pipeline to release to QA.
Set up an Azure Pipeline to release the managed solution to the QA environment using the following tasks from the "Power Platform Build tool."
- Power Platform Tool Installer
- Power Platform Pack Solution
- Power Platform Import Solution
In Task #3, You can specify the deployment setting file used for the solution import. So, the connection reference in your solution will link to the connection in the target environment. Flows in the solution would stay active as in the previous step. We shared the connections with the Service Principal used by the Azure Service connection. Navigate to “Pipelines” under “Pipelines.”
- Click “New pipeline.”
- Select “Azure Repos Git.”
- Select the Repo setup for the source control.
- Select “Existing Azure Pipelines YAML file.
- Select the YAML file (YAML schema reference ) and click “Continue.”
- Click “Run” to save the pipeline.
If the project still uses the classic pipeline, we recommend referring to Migrate from Classic to YAML pipelines - Azure Pipelines to start using YAML pipelines. It allows the definition of the pipeline as a set of your source code to be version controlled.
Build took Tasks used in this step:
Build tool tasks - Power Platform


