

 23,927
 Like
Like Share
Share
 Report
As we know, Google’s re-CAPTCHA service incorporates various mechanisms, including advanced risk analysis and adaptive challenges, to differentiate between legitimate users and potential bots or malicious actors. By analysing user behaviour and various risk factors, captcha aims to provide a seamless experience for genuine users while effectively blocking automated bots and other abusive activities on websites.
This approach helps protect websites from a wide range of abusive behaviours, including spamming contact forms, creating fake accounts, performing fraudulent transactions, and other malicious activities. It enhances the overall security and integrity of online platforms, allowing legitimate users to interact with websites without unnecessary interruptions while thwarting potential threats posed by automated scripts or bots.
Recently, we had a client requirement where the client had mandated the integration of Google re-CAPTCHA into Power Pages, replacing the Out-of-the-Box (OOB) solution. This shift marks a pivotal moment in ensuring robust protection against malicious activities while streamlining user interactions. This blog outlines the systematic process of integrating Google re-CAPTCHA seamlessly into Power Pages, thereby fortifying the security framework and elevating user engagement.
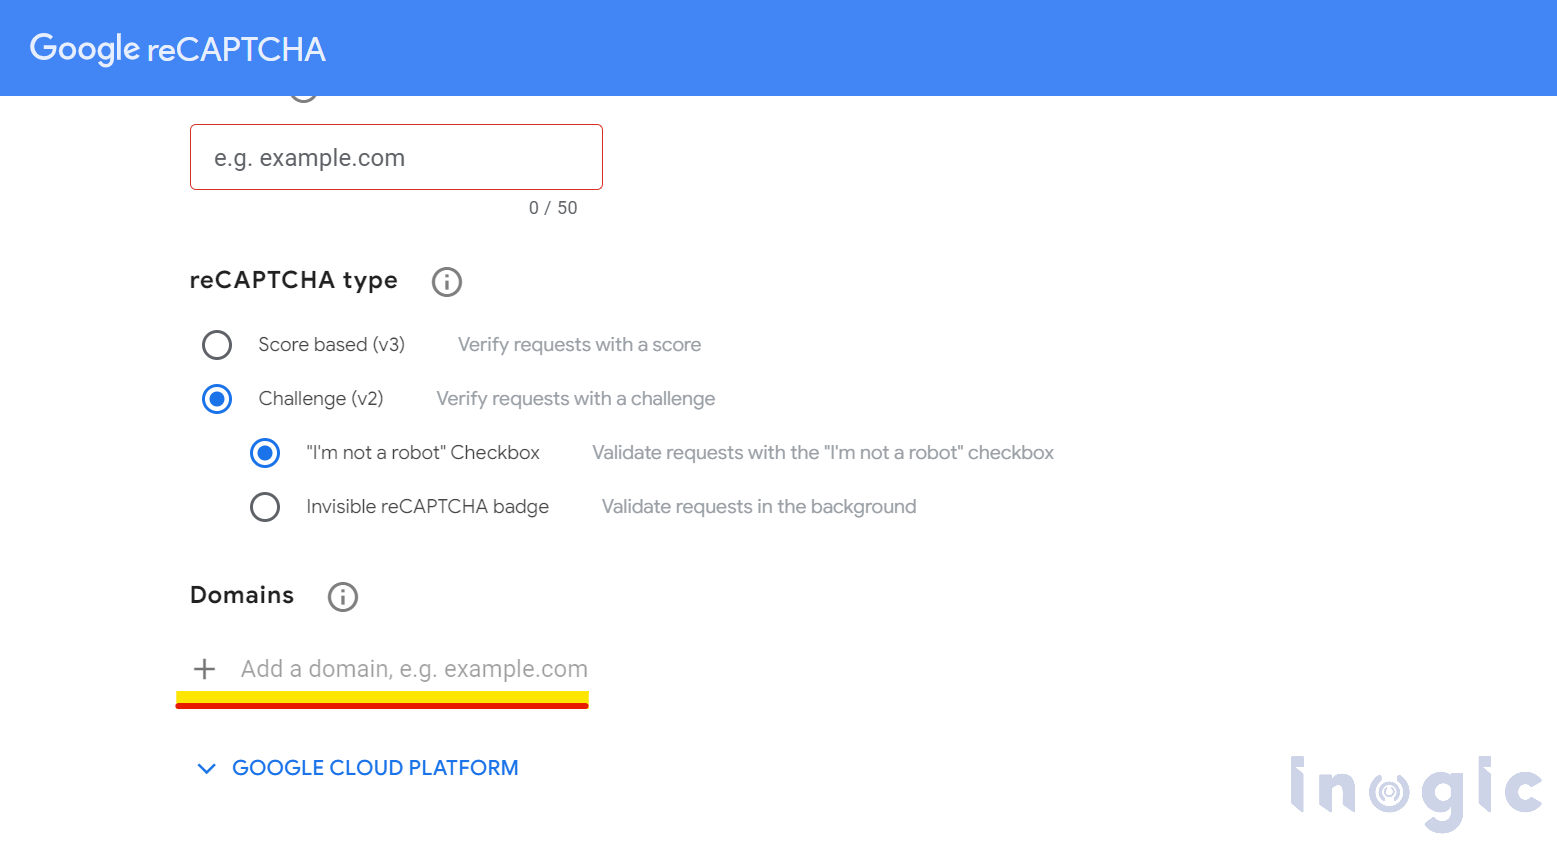
Step 1:
Firstly, to integrate the Google re-CAPTCHA, we need the site key. So, to get the site key, we have to register our site using this link. Add the domain name in the highlighted part.
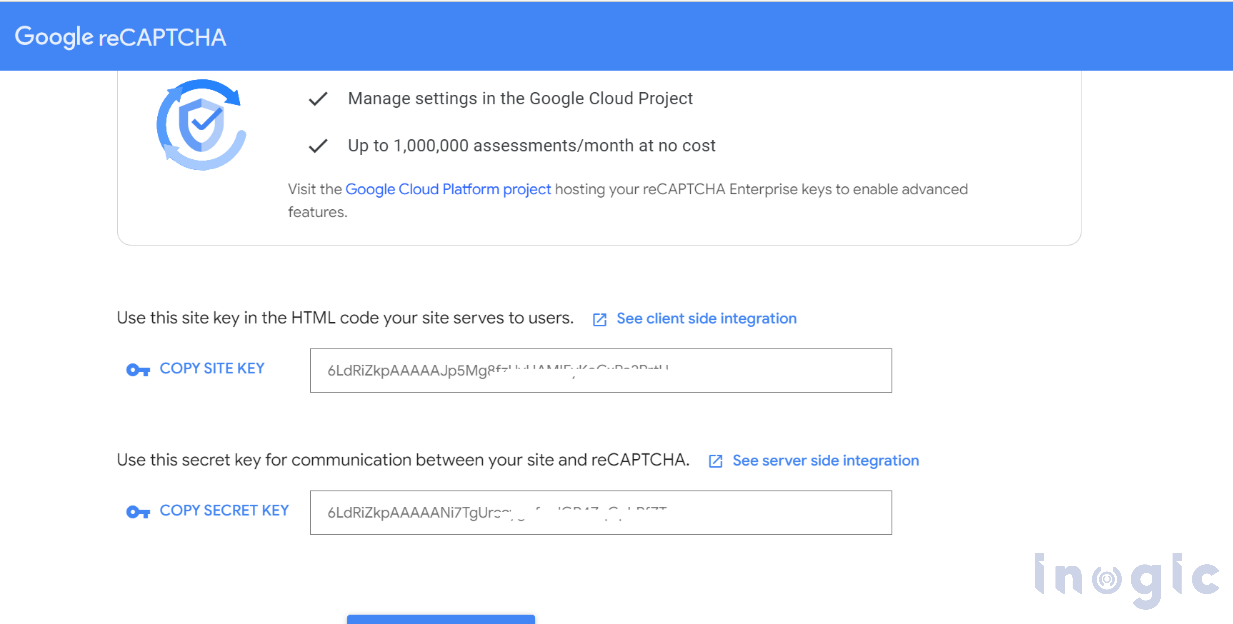
Once you add the domain, click on the ‘submit’ button, and you will be redirected to the page where you will be able to see the ‘site key’. Refer to the below screenshot
Step 2:
Now to add the Google re-CAPTCHA to our portal, we have to write some HTML code… Read More »
The post A Guide to Integrating Google re-Captcha in Power Pages first appeared on Microsoft Dynamics 365 CRM Tips and Tricks.
*This post is locked for comments