Hi,
There are a few links which helped a great deal, so I’ll just provide them here for your reference:
There were a couple of key concepts:
- SharePoint is not using Azure AD Application registrations for OAuth – there is a separate application registration process, and there is a separate token service
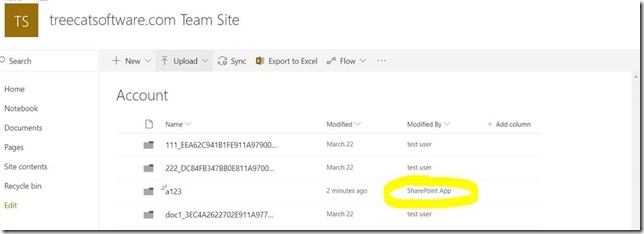
- When registering an app in SharePoint, we are getting a completely new security principal, as the second link above explains: “After you’ve registered your add-in, it is a security principal and has an identity just as users and groups do” . You can also see it on the screenshot below if you look at the “Modified By” column:
Either way, with all that said, we need to go over a few steps:
- Register an add-in
- Create the code that gets the token and calls Sharepoint REST API
- Write a plugin that is using the same code to create folders in Sharepoint and document locations in Dynamics as needed
Step 1: Registering an add-in
I’ve registered the add-in using <site>/_layouts/15/AppRegNew.aspx page as described here:
https://docs.microsoft.com/en-us/sharepoint/dev/sp-add-ins/register-sharepoint-add-ins
Keep in mind that, later on, you’ll be giving permissions to this add-in, so, depending on where you have installed it(site collection / site), you might be able to limit those permissions to the specific site.
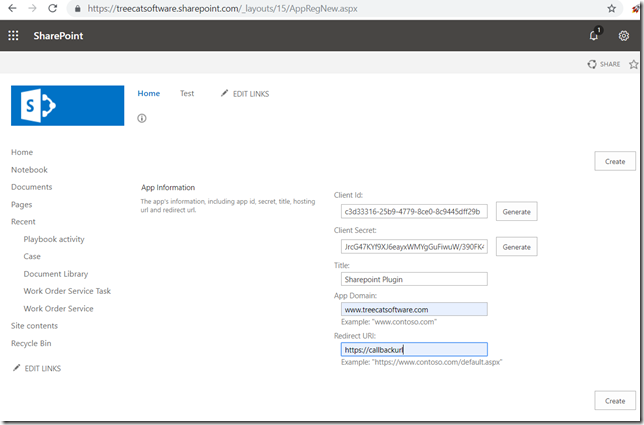
Make sure to copy the client secret and the client id – you’ll need those later.
***********************************************************************************************
Also, as strange as it is, there seem to be no easy way to browse through the add-ins registered this way, but you can use PowerShell as described here:
https://docs.microsoft.com/en-us/sharepoint/dev/sp-add-ins/replace-an-expiring-client-secret-in-a-sharepoint-add-in
First of all, this link mentions something that you may want to keep in mind:
Client secrets for SharePoint Add-ins that are registered by using the AppRegNew.aspx page expire after one year
Not sure how exactly that is supposed to be managed, but let’s leave it for later (have a feeling this is a common problem, so either there is a common solution somewhere, or this is a well-known pain, so a reminder has to be implemented and some manual steps have to be taken periodically)
Either way, to get Connect-MsoService working, also make sure to follow the instructions here:
https://docs.microsoft.com/en-us/office365/enterprise/powershell/connect-to-office-365-powershell
***********************************************************************************************
Now that we have the add-in, it’s time for
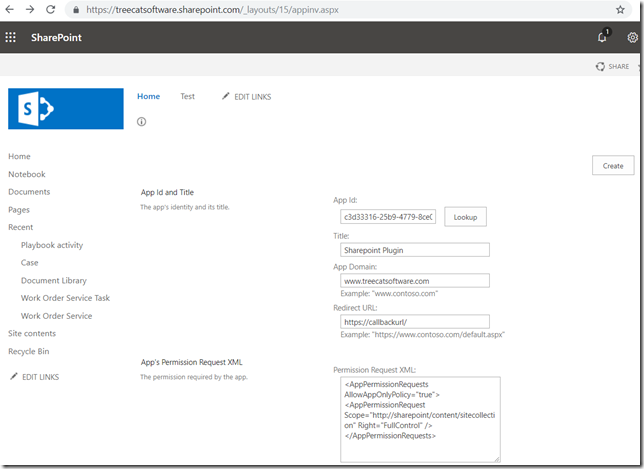
Step 2: Setting up add-in permissions
Have a look at the article below:
https://docs.microsoft.com/en-us/sharepoint/dev/sp-add-ins/add-in-permissions-in-sharepoint
For the add-in we are creating, we will need read/write permissions on the site, so here we go:
Permissions for the next screenshot:
<AppPermissionRequests AllowAppOnlyPolicy=”true”>
<AppPermissionRequest Scope=”http://sharepoint/content/sitecollection” Right=”FullControl” />
</AppPermissionRequests>
Why is it for the sitecollection? Not 100% sure.. I would think tenant should work, but it did not (kept getting “access denied” errors down below when trying to run api queries)
Navigate to the <site_url>/_layouts/15/appinv.aspx
Paste App Id (copied from Step 1) and lookup the app, then paste permissions from above, then click “Create”
Step 3: Creating a Plugin
For this and the following steps, you will need to find out your sharepoint tenant id. Follow the steps here:
https://stackoverflow.com/questions/38097668/how-do-i-find-the-tenant-id-of-my-sharepoint-online-account
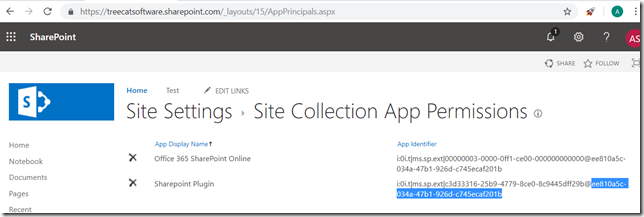
In short, open this url:
http:// <SharePointWebsite> /_layouts/15/AppPrincipals.aspx
You will see tenant id there:
By this moment you should have the following 4 parameters:
- Client id
- Client Key
- Tenant Id
- And you should definitely know your sharepoint url
You will find the source code for the first version of the plugin on GitHub here:
https://github.com/ashlega/ItAintBoring.SharePointPlugin
It definitely deserves a separate post, and there are a few things to do there to improve the code/make it more flexible, but, for now, here is how it works:
- Build the solution
- Register the plugin on create of the Lead entity (could be any other document-enabled entity), post-operation, synchronous
- Add secure configuration to the step

For the secure configuration, use the following XML:
<settings>
<clientId>YOUR CLIENT ID</clientId>
<clientKey>YOUR KEY</clientKey>
<tenantId>YOUR TENANT ID</tenantId>
<siteRoot>treecatsoftware.sharepoint.com(REPLACE WITH YOURS)</siteRoot>
</settings>
Now prepare SharePoint and Dynamics:
- Create a document library in Sharepoint, call it “DynamicsDocs” (right in the root)
- Assuming “Default Site” refers to the SharePoint root, create a document location in Dynamics like this:
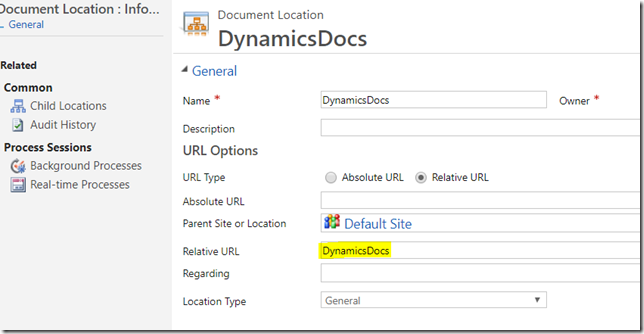
With that done, if you create a lead in Dynamics, here is what will happen:
- The plugin will create new folder under DynamicsDocs (using new lead ID for the folder name)
- And it will create a document location in Dynamics to link that folder to the lead entity
Hope this helps!
Venkatesh N


