


 3,569
3,569 Like
Like Share
Share
 Report
Working with Web resources without planning and organizing could lead to many difficulties related to development, maintenance and troubleshooting.
This post will show you how to structure and organize your web resources not only in your Visual Studio solution, but as well in CRM so you will easily work with and maintain them.
This allows them to be organized into directories both in Visual Studio projects, and can be easily managed and used in the Webresources Manager plugin in XrmToolBox.
Working in Visual Studio
In this chapter, I will explain how to create and organize Web Resources project in Visual Studio
1. Create a new Class Library (.Net Framework) project and enter its name. I Mainly follow this format: <ClientName>.Xrm.WebResources
2. Add a new folder under the project and name it with the prefix you are using for the client (I will use cak_)

3. Add a new sub-folder under the prefix folder (cak_) and name it Scripts. This folder will contain all the JavaScript files used on the form and the ribbon

4. Add a new sub-folder under Scripts and name it Form
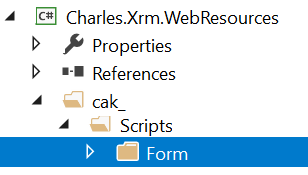
5. Under the Form folder, start adding your JavaScript files by creating one file per entity (Account.js, Contact.js...)
6. (Optional) Add a new sub-folder under Scripts and name it Ribbon in case you have ribbon buttons, so it will contain all the functions called from the ribbon button(s)
7. (Optional) Add a new sub-folder under Scripts and name it Shared that will contain the shared and common files used in the different JavaScript files
8. (Optional) Add a new sub-folder under the prefix folder (cak_) and name it Pages that will contain the html web resources (with its own js and css files) added to your solution
9. (Optional) Add a new sub-folder under the prefix folder (cak_) and name it Images that will contain the images added to your solution (you can also add sub-folders for images used for entities, ribbon, sitemap...)
10. Finally the Visual Studio project for the WebResources will look like below

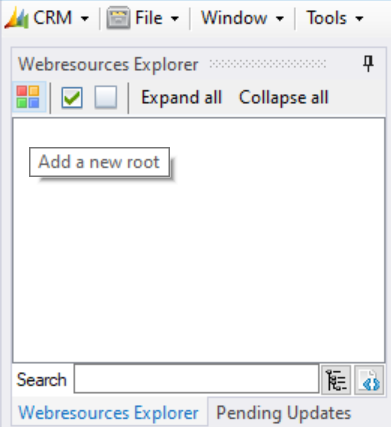
Working in Webresources Manager (XrmToolBox)
In this chapter, I will explain how to create and organize Web Resources using the Webresources Manager plugin in the XrmToolBox and Add them to the CRM solution.
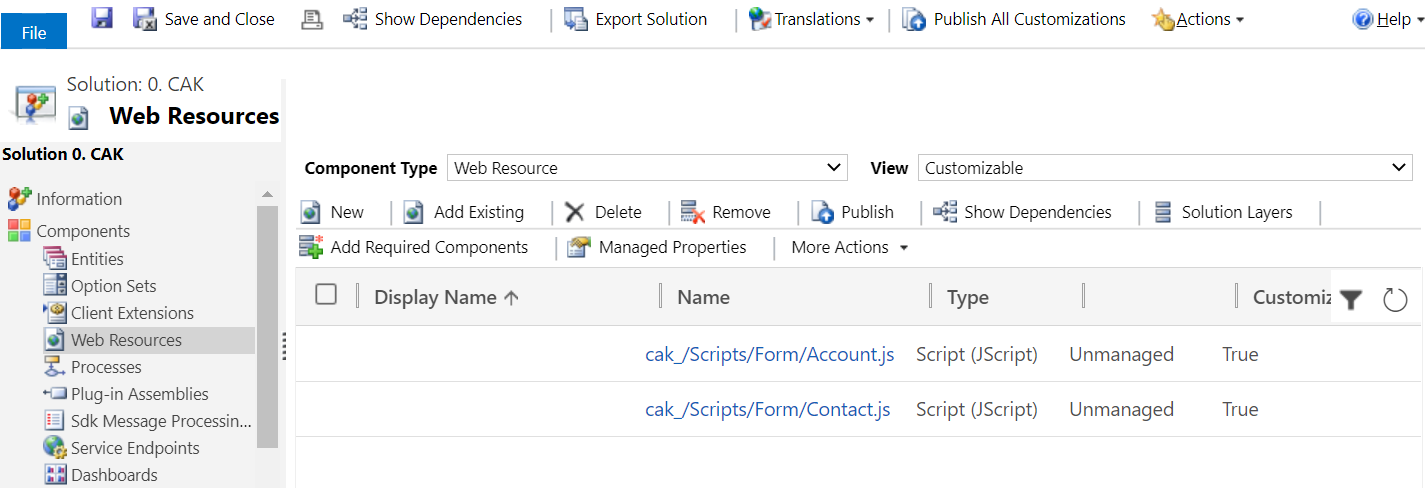
You have to follow the same structure as done in the Visual Studio project by creating the root and sub-folders using names representing virtual directories with the "/" character and adding an extension corresponding to the type of the file.
I will do it for the Form folder and its files only, but it will be the same as for the others.
1. Open the XrmToolBox and connect to your Organisation
2. Click Add a new Root and enter the same prefix (cak_) entered in the Visual Studio project
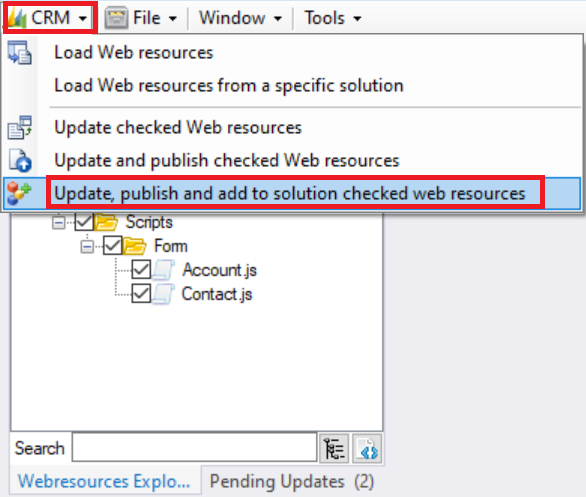
3. Add a new sub-folder under the root (cak_) and name it Scripts
4. Add a new sub-folder under the Scripts and name it Form

Hope this Helps!
*This post is locked for comments