


 21
21 Like
Like Share
Share
 Report
Hey guys, here comes another amazing feature of Azure AI serfvices. If you are worried about sending your invoice to your finance team, who understands only Spanish (or don't understand English much), here comes a cool solution for the same. The Azure Microsoft Translator API is an awesome service that can interpret any document to any desired language and you know what? You don't need to recreate the document again -- the translator can go and dump the translated document to any desired destination as well. This document can give you an insight of doing the same.
Step 1: Create the translator service
Crawl upto https://portal.azure.com >> new service >> search for AI services >> Translator:
Fill out the form as shown --

Select Pricing tier as Free, however it all depends on the Region you have selected, and obviously on your subscription.
Click Review + Create >> Create. It will take few moments to create the service for you.
The resultant translator service looks like this:
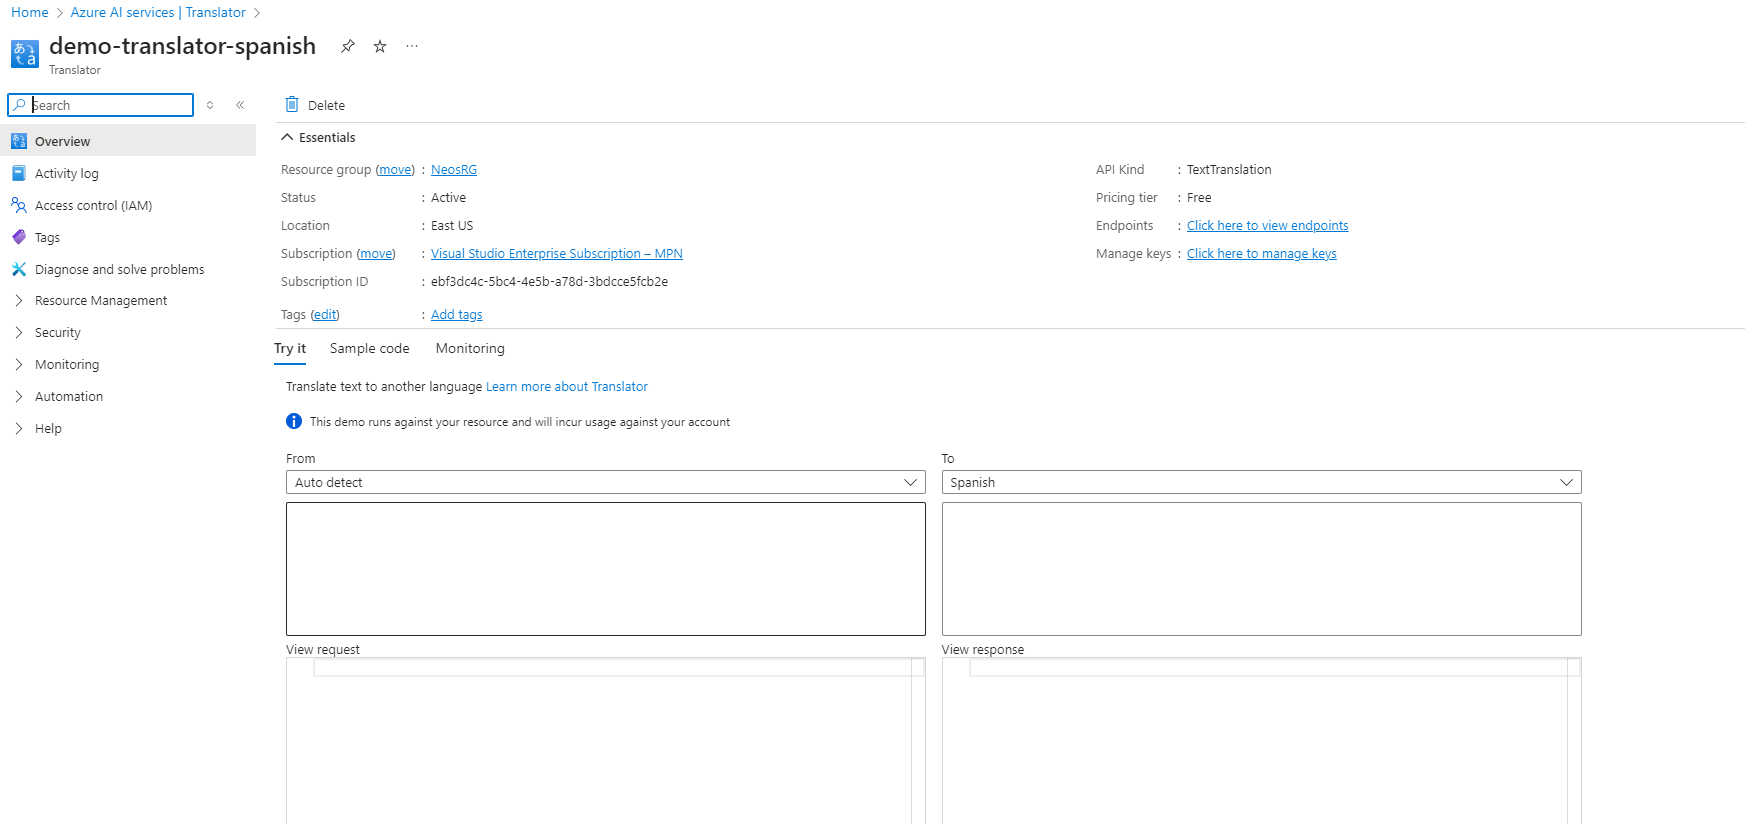
Type on search for 'Identity' and turn on the highlighted toggle:

With this step, we are good to consume our Translator.
Step2: Configure storage accounts:
Now that our translator is ready, let us configure our containers, where we can expect the translator to dump the translated file. You can create a new Storage account, by the process highlightd below:
https://learn.microsoft.com/en-us/azure/storage/common/storage-account-create
I created a storage account called: "subhadatalakestorage1" and along with it I created two containers inside:

Idea is to keep our Invoice inside VSN1 folder and should let our translator API translate and save inside 'translated-doc' folder. To allow the translator to achieve this, go to IAM >> Click on Add role assignment:

In the following screen, search for 'Storage blob data container':

Go to Members tab, choose 'Managed entity' and click on 'Select members':

This will let us connect our Translator service with our container service. From the popup that comes, select Translator as shown, from Managed Identity drop down and then select the translator service that comes:

Click select to continue. The pop up will close. In the main screen, click on Next and complete the wizard. This has added your translator service to storage account. You can check the access, by clicking on the highlighted:

And then the following popup will show you the access has been granted succefully.

Step 3: In the logic app, you can start by the trigger when a new blob is added/modified.

And then you add a translator step like this, by searching for 'Start Document Translation':

Give a proper name, enter the name of the resource that you created in step1. And give the resource key, which you can find from your created Translator resource:

Click on the highlighted. The following scren will open:

Click on the highlighted icon to copy the key and paste it in the 'Create connection' step of the Logic app.
The last step is easy. I am using a variable called itemName, which contains the name of the blob being added. And then I am using a concat function to tell the Translator to dump the file as under the container 'Translated-docs'


Keep target language = Spanish, and source language = auto-detect.
I am using a simple PDF file like this to drop into my source container (vsn1):

Which the translator picks and creates a folder as follows:

And then inside 'es' folder, we can see our translated doc has got dumped:

Which after opening shows up like this:

A perfect translation of the input document given.
A really nice feat from Azure AI services. So much for today, would come back with more such cool hacks soon -- stay tuned and Namaste 💓💓💓
*This post is locked for comments