Welcome back to another interesting blog. Today, we will understand how to add Custom Logo and User's Display Name in the Navigation Bar in Business Central -
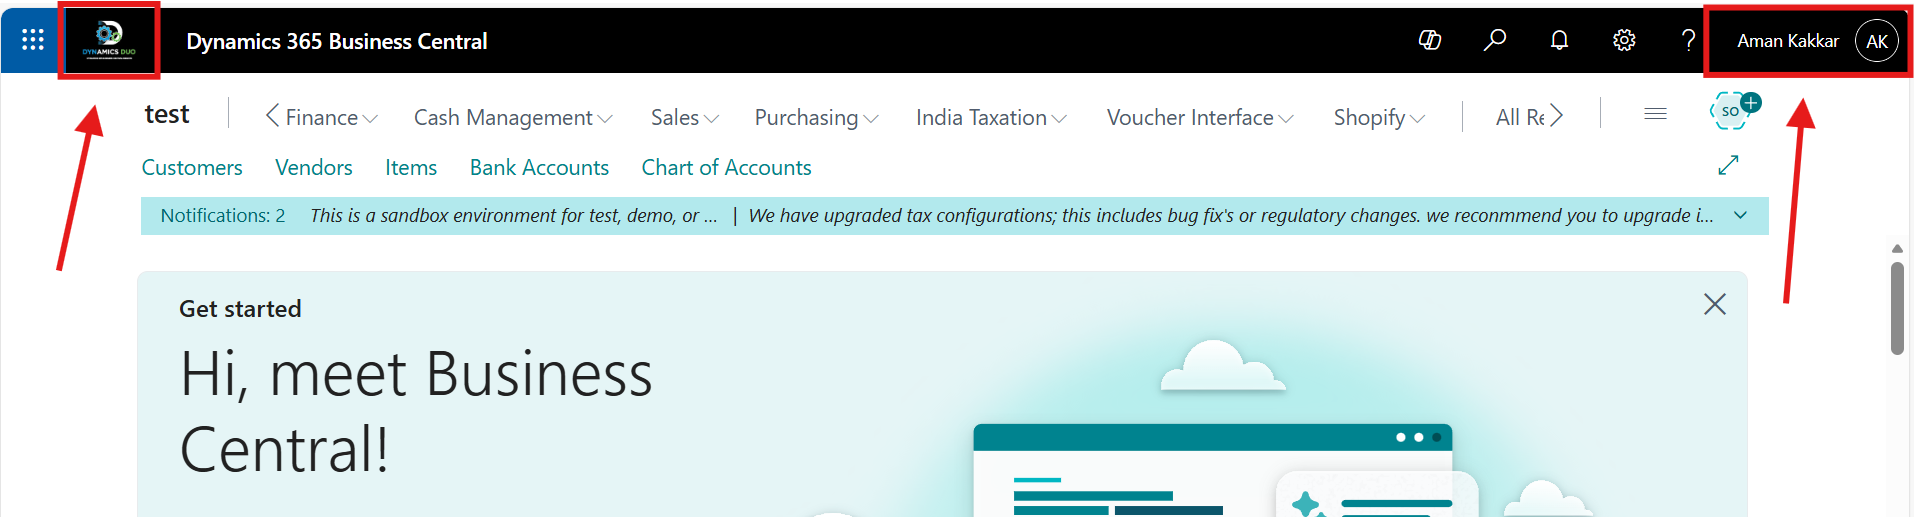
Business Central uses the Microsoft 365 header framework.
So when you apply organization branding in Microsoft 365, it automatically reflects in Business Central.
🛠 Step-by-Step: Add Custom Logo and Show User's Display Name in Navigation Bar
1️⃣ Sign in to Microsoft 365 Admin Center
Go to👉: https://admin.microsoft.com
You must be a Global Administrator to access the URL.
2️⃣ Navigate to Custom Themes
Click on Show All in the side bar -
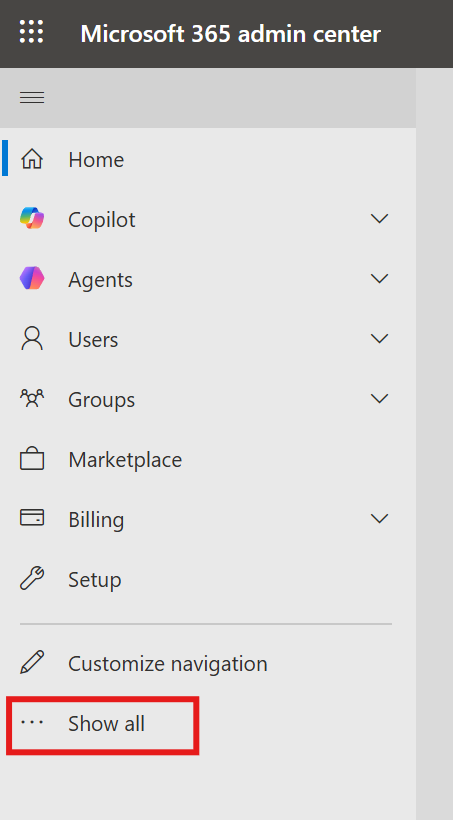
Go to: Settings → Org Settings → Organization Profile → Custom themes → Add theme
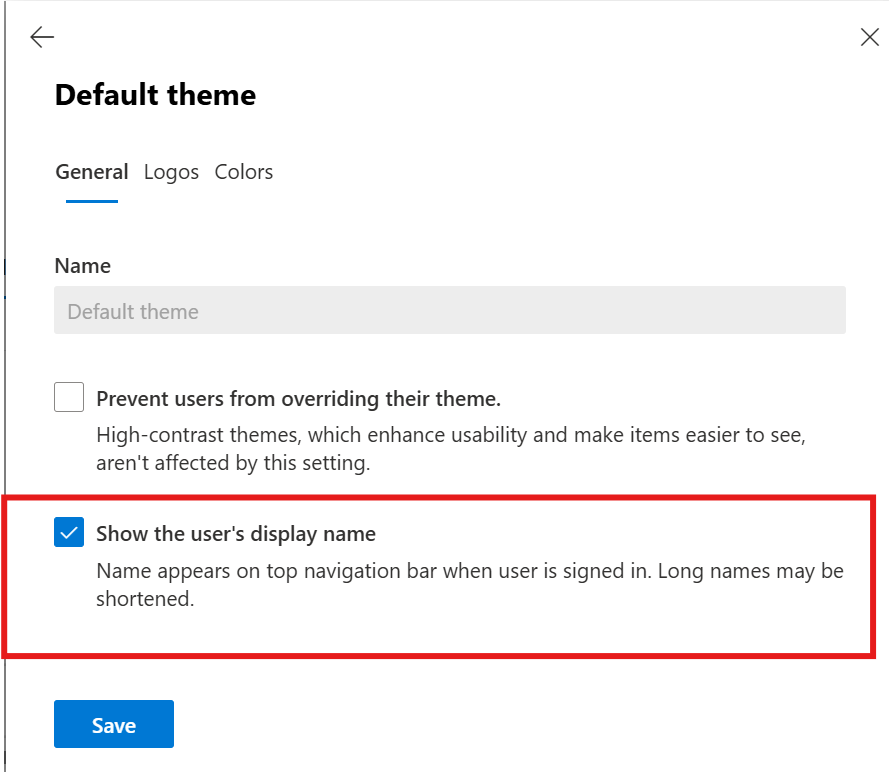
3️⃣ Show User's Name and Upload Your Branding
You can configure:
To show or hide User's Display Name
To Add Organization logo

To Add Company's website to be redirected to when clicked on the Logo.
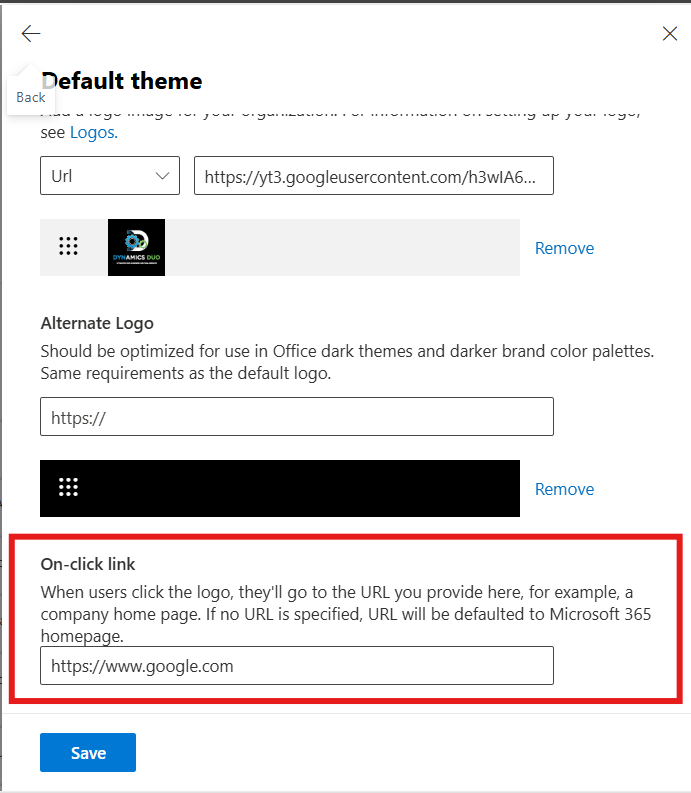
To Changing the Navigation bar color, Text color, Accent color

Once saved, the theme applies across Microsoft 365 apps — including Admin Center and Business Central.
🚀 Final Thoughts
If your goal is branding the Business Central navigation bar, Microsoft already provides a clean, centralized way to handle branding — use it.
👉 Microsoft 365 Admin Center → Custom Themes
If you like this blog then let me know by hitting the like button on the top. If you have any doubts, don't hesitate to ask them in the comments down below.
Do subscribe to my Blog to get notifications whenever a new blog is uploaded - Blogs | Small and medium business | Business Central, NAV, RMS


