


 412
412 Like
Like Share
Share
 Report
Dynamics 365 Customer voice helps us to capture, analyze and act on customer and employee feedback. Dynamics 365 Customer voice surveys contains several types of questions: choice, date, Likert, ranking, rating, text, and Net Promoter Score (NPS). In our blog we will explain how to create and send survey invites to customers.
Navigation
Go to Dynamics 365 Customer Voice and sign in with your credentials.
How to create customer survey project
- Click on ‘Get Started’ and then select project from existing template or you can click on blank to start from new.
2. If you are new to customer voice, then try to create projects from existing templates and then make changes to survey questions as per your requirement.
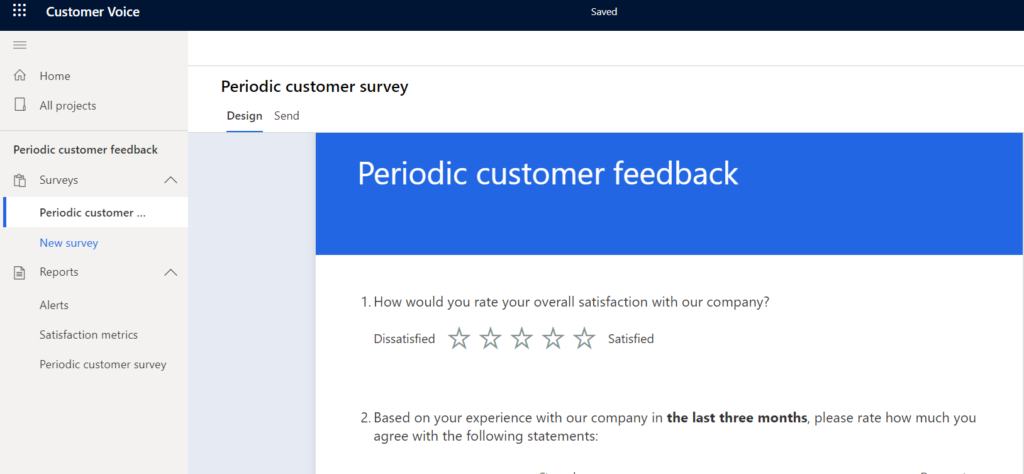
3. In this blog I will be using Periodic Customer Feedback template. Click on ‘Next’ and select then select your environment. Now click on ‘Select and close’ and then click on ‘Create’.
4. Your project will look as shown in the figure below.
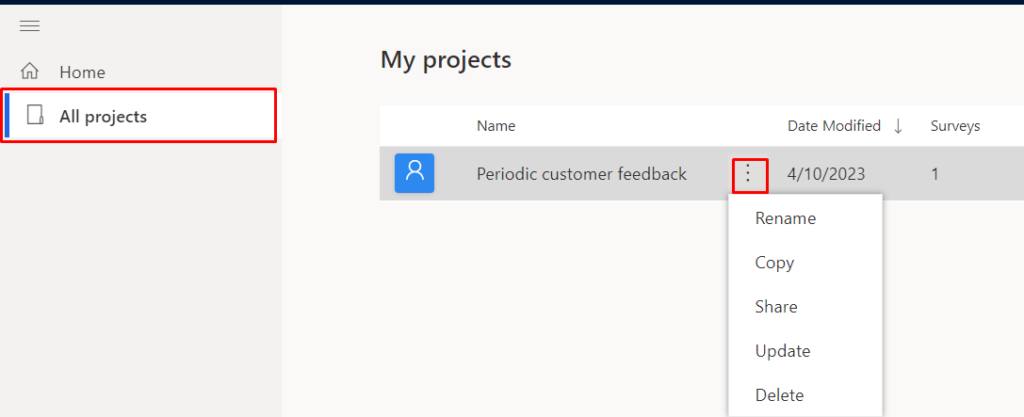
5. You can rename, copy, share, update and delete the created project by clicking on ‘All projects’ from the left pane and then click on ellipsis as shown below.
Adding and editing survey questions
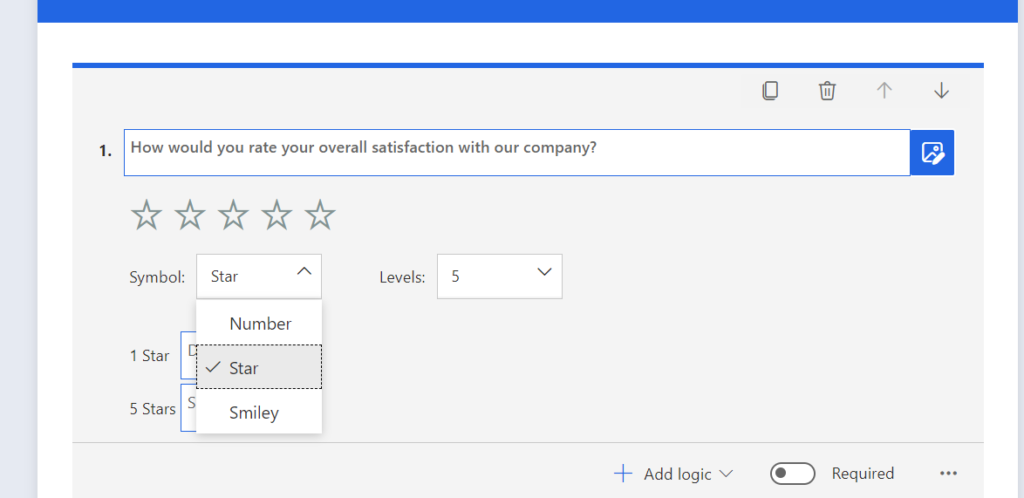
- Open your survey and click on the survey question that you want to edit as shown below.
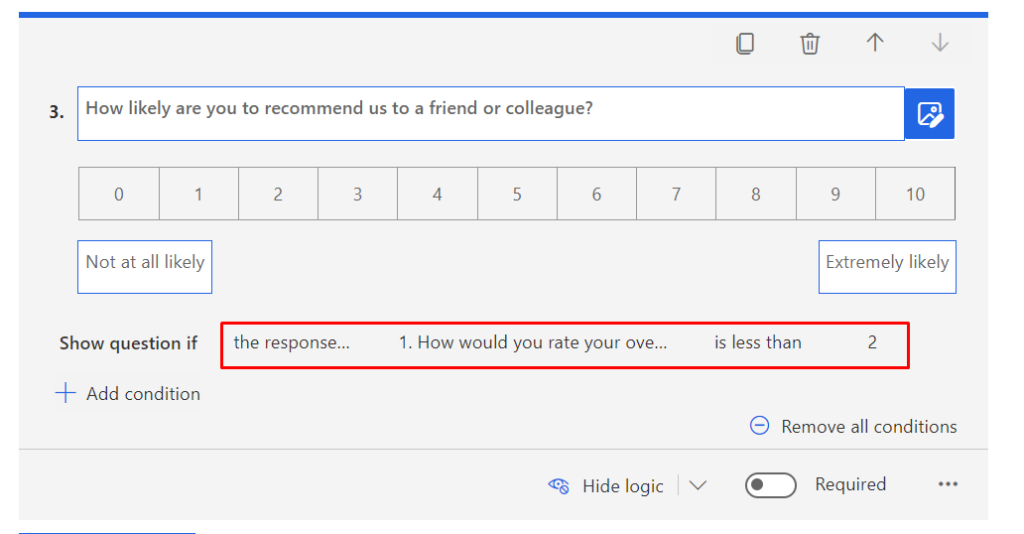
2. You can even add your survey question by clicking on ‘+Add New’. I have added new NPS (Net Promoter Score) survey question and added logic to display this survey question only when the overall satisfaction rating is less than 2.
Adding customer satisfaction metric questions
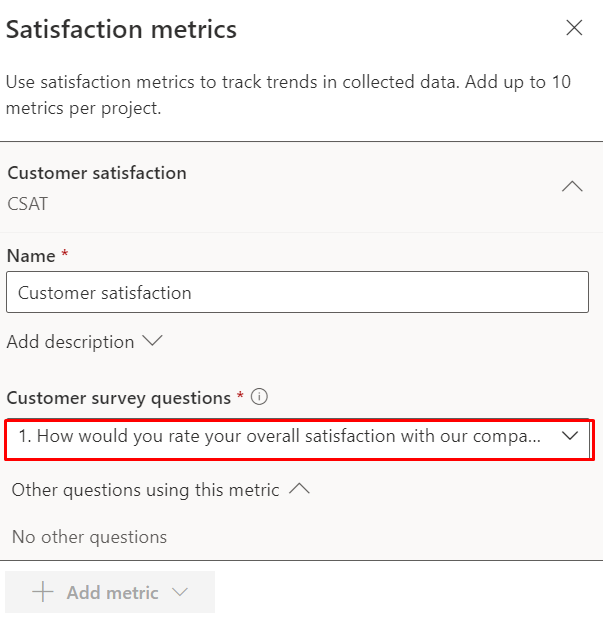
- Customer satisfaction metric can be tracked when you specify the satisfaction metrics by clicking on ‘Satisfaction metrics’ from the customizations tab on right hand side.
2. You can review the satisfaction metrics for the responses received from the customers from the ‘Reports’ area on the left side pane.
Personalize survey forms
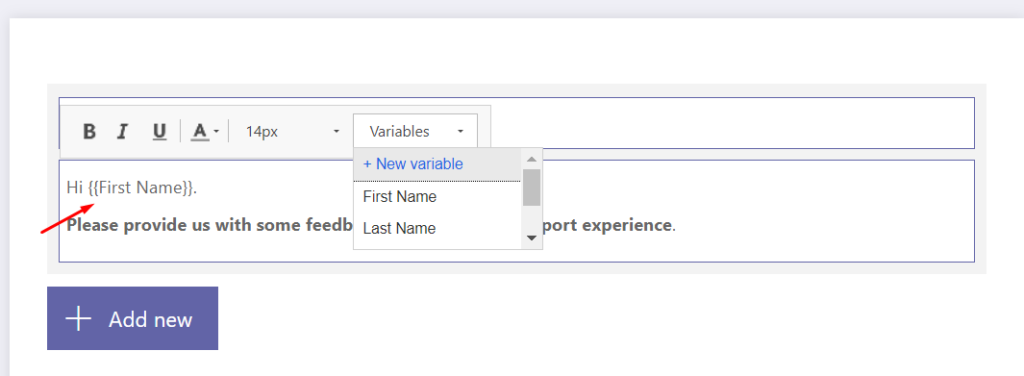
You can personalize the survey forms by clicking on the survey title and then select description column. Now, select the variable that needs to be replaced by the customer first name as shown below.
Send survey forms
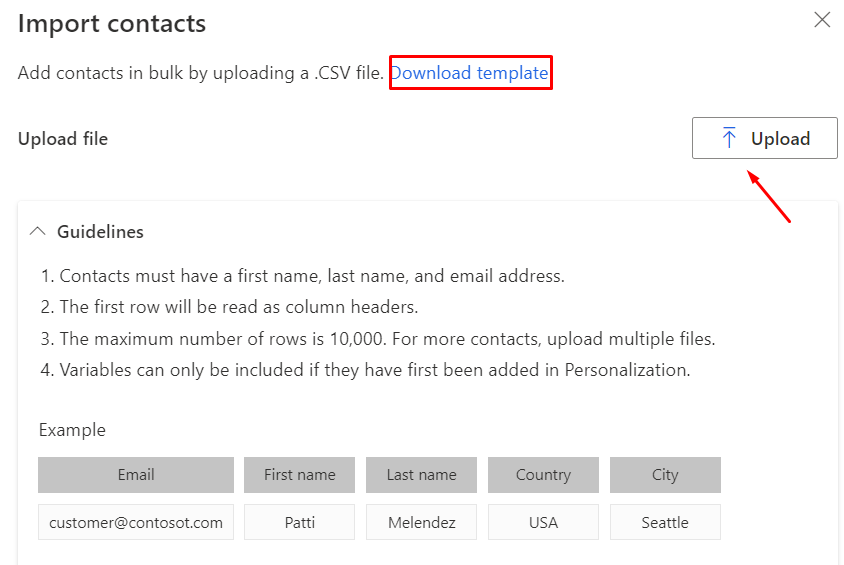
- After completing your survey questions, you should click on ‘Send’ tab to configure the recipients for whom the survey should be sent. You can import the contacts by uploading the contacts. You can download the template for importing contacts as shown below.
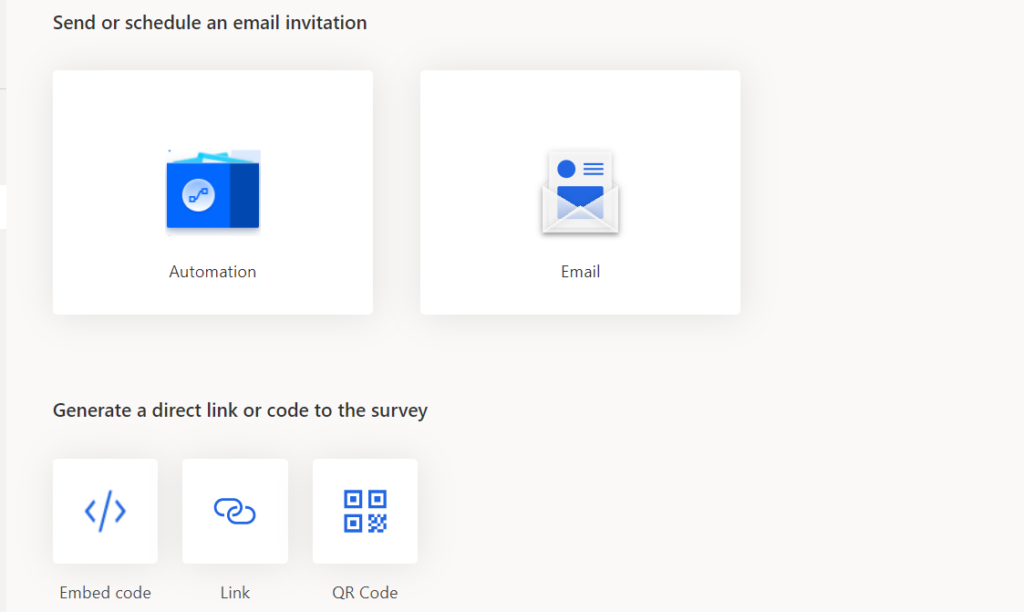
2. You can schedule your survey using power automate by clicking on ‘Automation’ or you can directly send emails to the contacts imported by clicking on the ‘Email’. While sending survey you can directly add QR Code in your email or link to the survey.
3. After customizing your email click on ‘Send’ to send the survey to the imported contacts. Email will be sent to selected contacts.
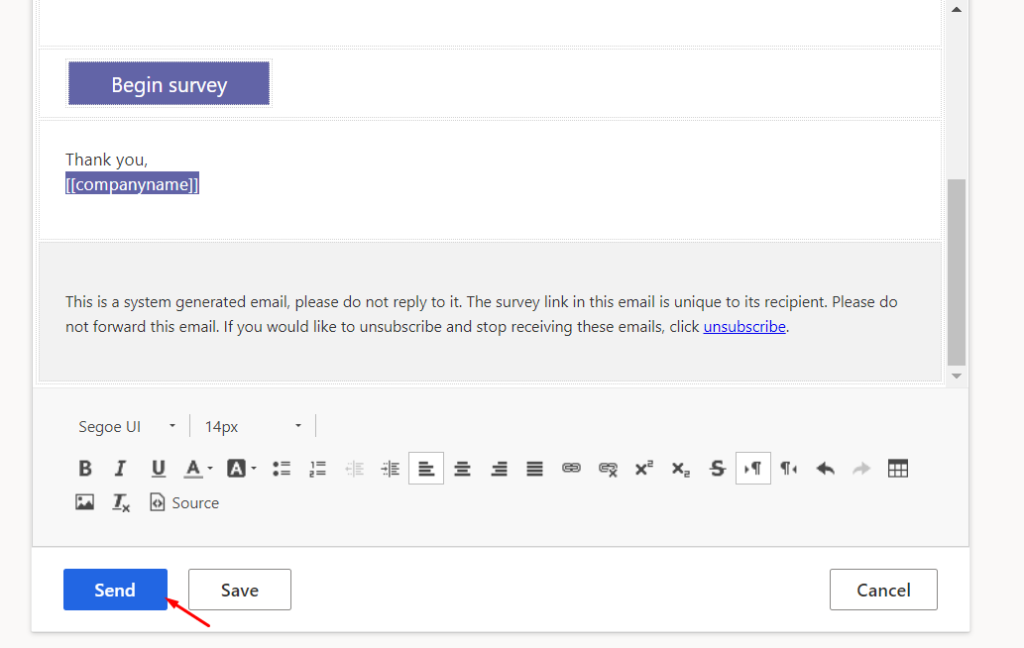
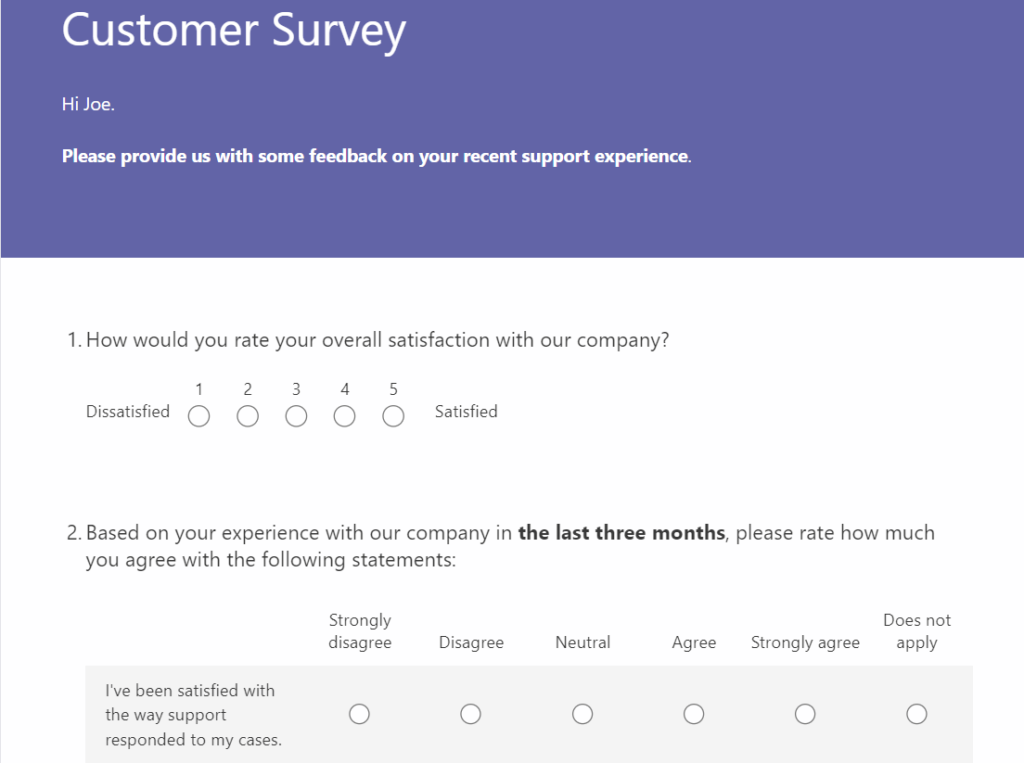
4. On the email received it will have a button named ‘Begin survey’. Clicking the survey button opens the survey form.
Survey responses
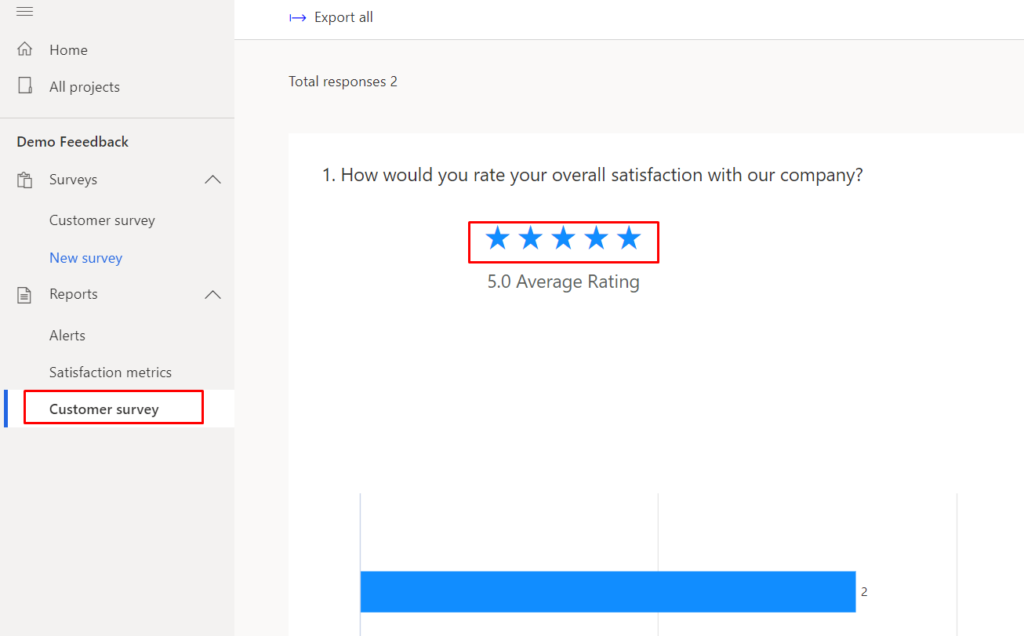
- Reports will get generated based on overall rating of the customer survey responses received as shown below.
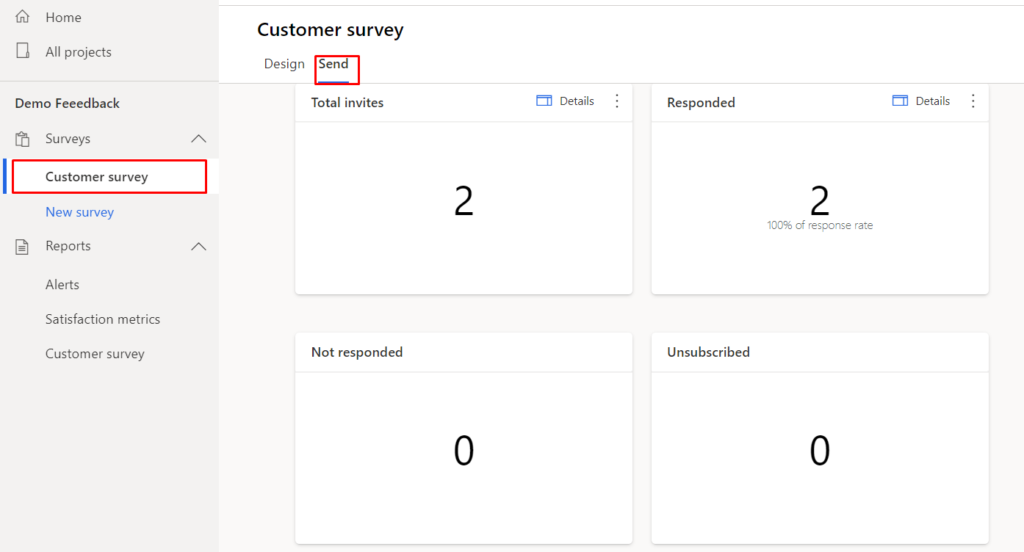
2. Created customer survey contains details like how many invited have been sent, respondents who responded to the survey form and submitted their survey, customers who unsubscribed using unsubscribe button.
Hope this blog helps…
The post Create surveys using Customer Voice appeared first on Nebulaa IT Solutions.
*This post is locked for comments