


 412
412 Like
Like Share
Share
 Report
Introduction: In this blog we will discuss how to import data using different file types. Dynamics 365 will allow us to import data using different file types. Now we will see how to import data using each file type.
IMPORTING DATA TO DYNAMICS 365:
Dynamics 365 will allow us to import data using different file types. We will now discuss how to import data to Dynamics 365. We have five supported file types for importing data.
The below mentioned are the supported file types for importing data into Dynamics 365.
- Excel Spreadsheet 2003 (.xml)
- Comma-separated values(.csv)
- Text(.txt)
- Excel Workbook(.xlsx)
- Compressed(.zip)
Note:
- The maximum size allowed for .zip files is 32 MB and for other file formats the maximum size allowed is 8 MB.
- You can find complex scenarios where you can face issues while importing data is clearly explained at the end of this blog.

The above provided image is from Dynamics 365 data import wizard that displays all the supported files types that we can use to import data.
1. Excel Spreadsheet 2003(.xml): We can use Microsoft Excel to create XML Spreadsheet 2003 and save as XML Spreadsheet 2003(.xml) file.
Step 1:
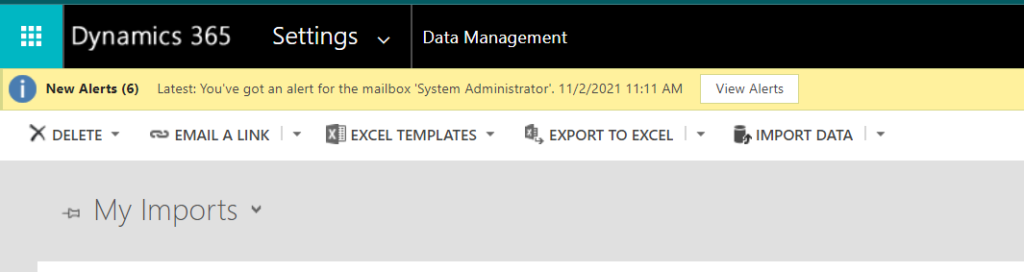
- Open Dynamics Sales Hub App and then click on Settings on the top right corner.
- From the Settings drop down click on Advanced settings.
- Next click on Data management from Settings and then select Import.
- Select IMPORT DATA from the command bar.
- On click on IMPORT DATA a new window opens.
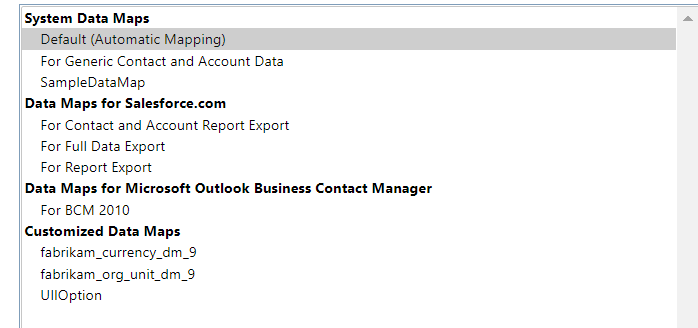
Step 2: Now click on “choose file” and then select the xml file that you want to import or you can directly drag your file into the “Drag your file here” area. Review your file upload summary and then click on “Next“. Now you can let the system map your data automatically or you can select a data map to specify how your data will be imported. By default “Default(Automatic Mapping)” is selected.
Step 3: Map the Record type with source data file and then click on “Next“. Now you can map the fields for the Record type with the source file and then click on “Next“. To allow duplicates click on yes if not select no. You can now review and click on “Submit” and then click on “Finish” to complete the import. You can click on your xml file to check the status of the imported data.

2. Comma-separated values(.csv): We use csv(Comma delimited) file type to save the Microsoft Excel sheet as csv file.
Step 1:
- Open Dynamics Sales Hub App and then click on Settings on the top right corner.
- From the Settings drop down click on Advanced settings.
- Next click on Data management from Settings and then select Import.
- Select IMPORT DATA from the command bar.
- On click on IMPORT DATA a new window opens.
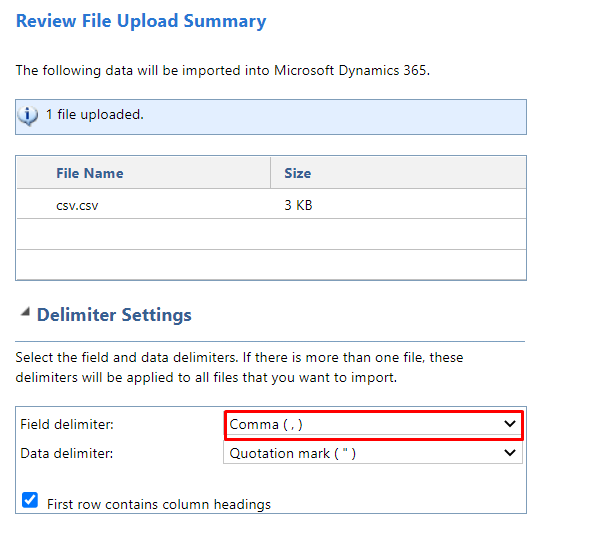
Step 2: Now click on “choose file” and then select the csv file that you want to import or you can directly drag your file into the “Drag your file here” area. While reviewing your file upload summary we need to select field and data delimiter in delimiter settings.
Delimiters are the characters that are used to separate the content of fields and pieces of data. There are different delimiters supported for data import. We can use any one of them.
Step 3: Now you can let the system map your data automatically, or you can select a data map to specify how your data will be imported. By default “Default(Automatic Mapping)” is selected.
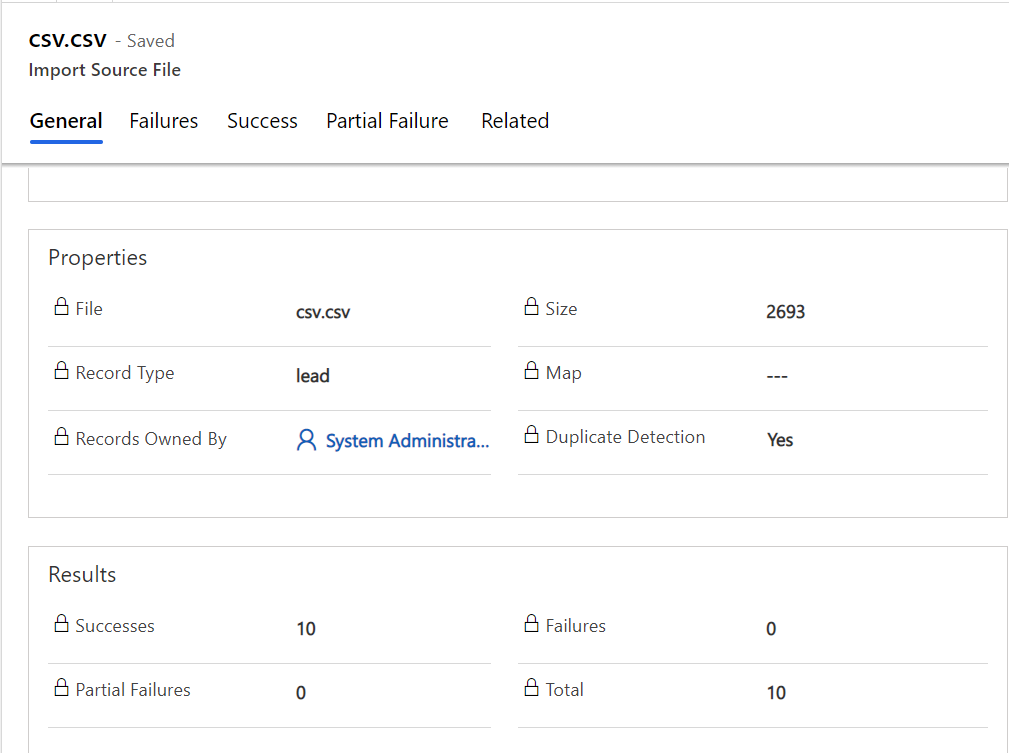
Step 4: Map the record type with the source file and then click on “Next“. Map the fields and to allow duplicates click on yes if not select no. and then click on “Submit” to submit the import and then click on “Finish” to complete the import. You can click on your csv file to check the status for the imported data.
3. Text(.txt): We use Unicode Text(.txt) file type to save the Microsoft Excel sheet as txt file.
Step 1:
- Open Dynamics Sales Hub App and then click on Settings on the top right corner.
- From the Settings drop down click on Advanced settings.
- Next click on Data management from Settings and then select Import.
- Select IMPORT DATA from the command bar.
- On click on IMPORT DATA a new window opens.
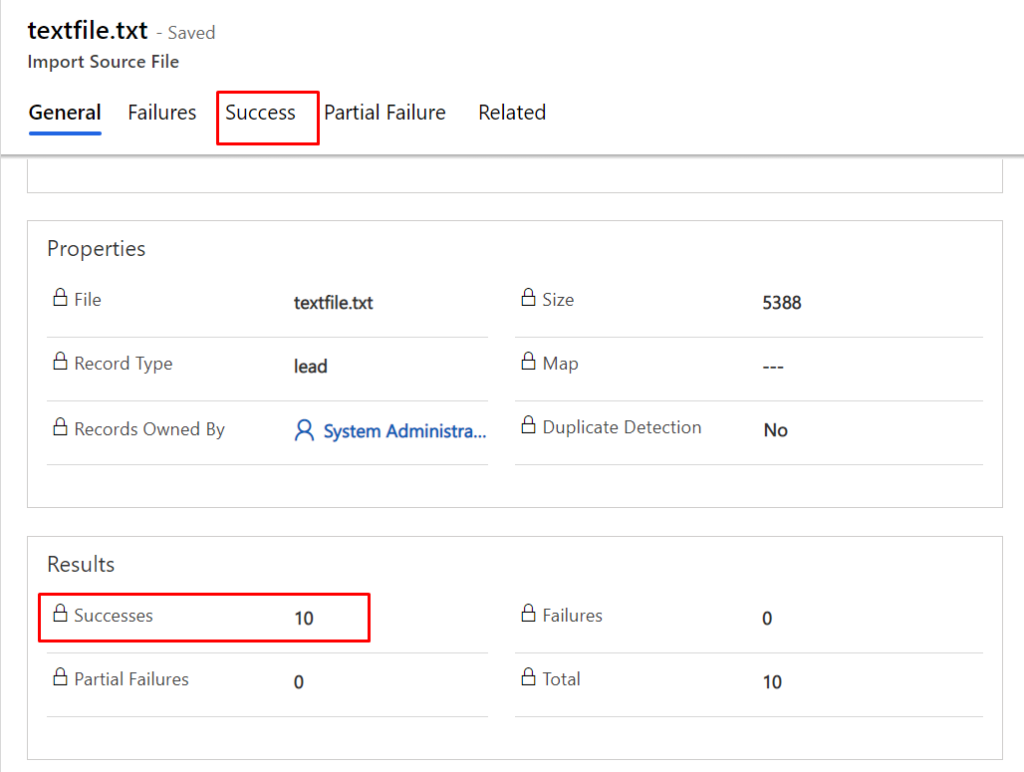
Step 2: Now click on “choose file” and then select the txt file that you want to import or you can directly drag your file into the “Drag your file here” area. While reviewing your file upload summary we need to select field and data delimiter in delimiter settings and then click on Next. By default “Default(Automatic Mapping)” is selected for data mapping.
Step 3: Map the record type with the source file and click on “Next“. After mapping the fields select “Submit” to submit the text file and click on “Finish” to complete the import.
4. Excel Workbook(.xlsx): We use Excel Workbook(.xlsx) file type to save the Microsoft Excel sheet as xlsx file.
Step 1:
- Open Dynamics Sales Hub App and then click on Settings on the top right corner.
- From the Settings drop down click on Advanced settings.
- Next click on Data management from Settings and then select Import.
- Select IMPORT DATA from the command bar.
- On click on IMPORT DATA a new window opens.
Step 2: Now click on “choose file” and then select the xlsx file that you want to import. Next map the record type and then map fields and click on “Submit” to submit the import and click on “Finish” to complete the import.
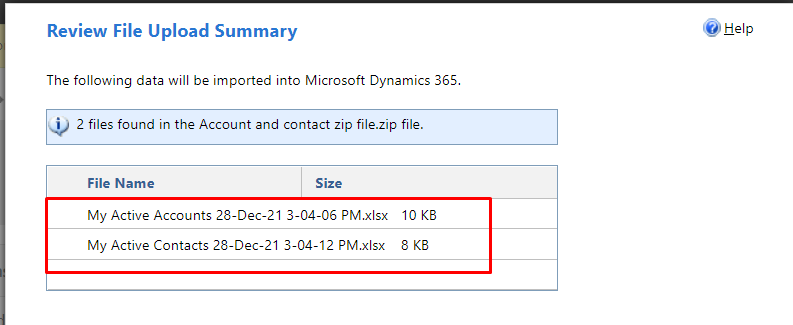
5. Compressed(.zip): This is one of the file type supported for importing data in Dynamics. Zip file is a single compressed file that is a collection of more than one file or folder. We can zip multiple file types into compressed zip. Here we can take an example of compressing Account and Contact (.xlsx) files into zip file and then try importing them in Dynamics.
Step 1:
- Open Dynamics Sales Hub App and then click on Settings on the top right corner.
- From the Settings drop down click on Advanced settings.
- Next click on Data management from Settings and then select Import.
- Select IMPORT DATA from the command bar.
- On click on IMPORT DATA a new window opens.
Step 2: Now click on “choose file” and then select the zip file that you want to import. on click of “Next” you will find two files accounts and contacts that are zipped and now click on “Next“. Select “Default(Automatic Mapping)” and then map fields for both account and contact files and click on “Next“.
Step 3: You will find that the data got successfully imported for both the files for accounts and contacts.

Complex/Unique scenarios for importing data:
- Importing Lookup fields.
- Importing Date type fields.
- Importing text with trailing 0’s.
1. Importing Lookup fields:
- Always remember that whenever we want to import data that has lookup fields, first we need to zip both the tables that is the table that we want to import and the table for which we have lookup.
- Next we have to compress both the tables as Zip and try importing them as a zip file.
- You issue of importing lookup column will get resolved.
2. Importing Date type fields:
- Sometimes we get issue while importing date fields. We face this issue because the date format set and the required date format may not be equal.
- This can be resolved by setting the date format from Settings>Personalization Settings>Formats>Customize. From the regional options select “Date” and then set the date format as required and then click on “Apply” and then click “Ok“.
- Save the file and try importing date field, your issue of importing date field will get resolved.
3. Importing text with trailing 0’s:
- Whenever you try to import text field as csv file into dynamics it will remove trailing 0’s.
- This error will occur only when you try to import custom data.
- This error will not occur if you try importing data that is exported from dynamics.
Data Export: https://nebulaaitsolutions.com/how-to-export-data-from-dynamics-365/ this link in detail explains different scenarios for exporting data from Dynamics 365.
The post How to Import data into Dynamics 365 appeared first on Nebulaa IT Solutions.
*This post is locked for comments