


Adding custom controls in Invoice capture in D365
Views (185)
 21
User Group Leader
21
User Group Leader
 Like
Like Share
Share
 Report
Hi friends, you must have already been leveraging the immense capabilities of Invoice Capture in D365. If you are looking for capabilities to read from your invoice attachment from mailers, and process them to generate journals, then that’s the tool for you. Invoice Capture had already been in vogue for almost close to a couple of years now, and a lot of features have been added since then. For installation and troubleshooting you can always refer to my blog: https://community.dynamics.com/forums/thread/details/?threadid=07981fb5-e3d7-ee11-9079-000d3a8b3756. Additionally you can refer to the documentation from Microsoft learn for more insights: https://learn.microsoft.com/en-us/dynamics365/finance/accounts-payable/invoice-capture-overview
This document is aimed to help you out with setting up invoice capture customization. Imagine the business situation, where you would need to include your added fields to your Invoice Capture solution. Please read on, here is a step-by-step guideline for the same.
Let us assume that you have already added the fields in VendInvoiceInfoTable and corresponding data entity VendorInvoiceHeaderEntity:
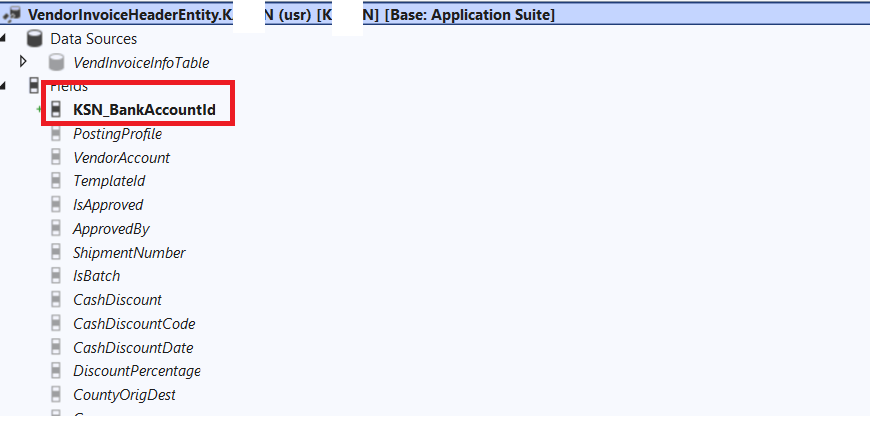
Add the same under your staging table, deploy to your online instance (of course don’t forget to refresh your data entity list.
Once this basic house-staffing is done, let us turn our attention to PowerApps.
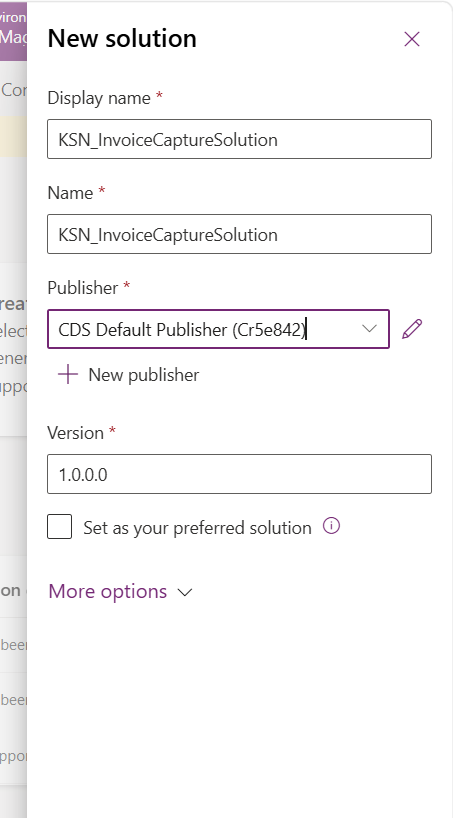
Fill out the necessary fields like Name, choosing the publisher (you can select CDS default publisher) and hit Create.
Once done, Go to Tables >> Add Existing >> Table:
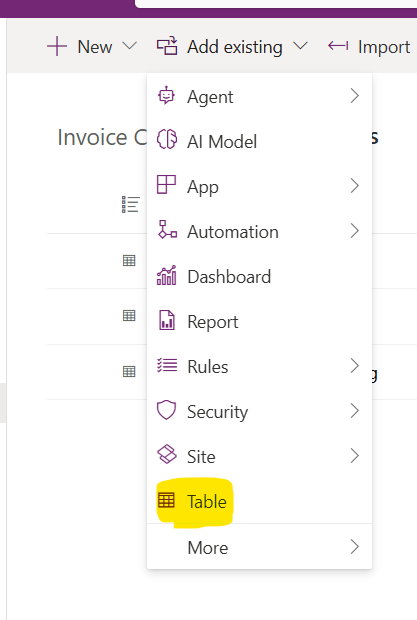
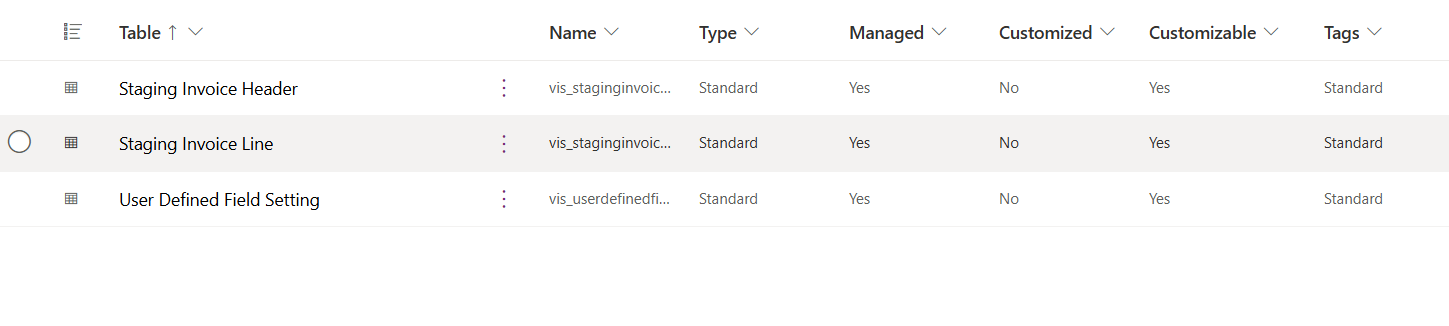
And add the following tables under your solution:
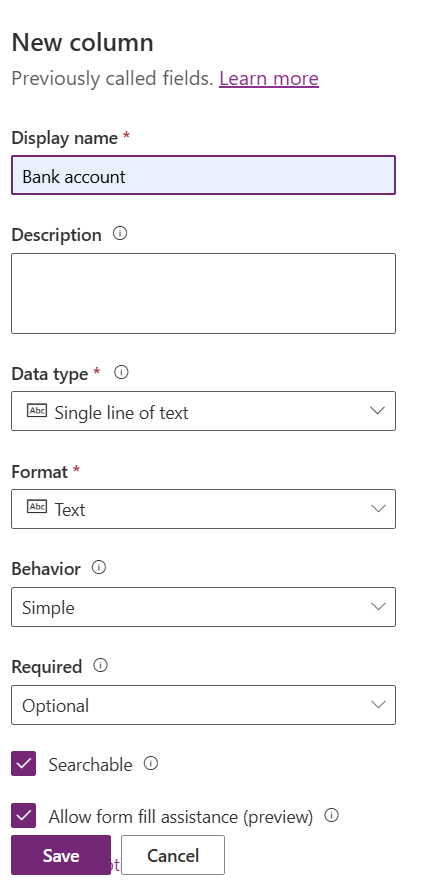
Give your details here:
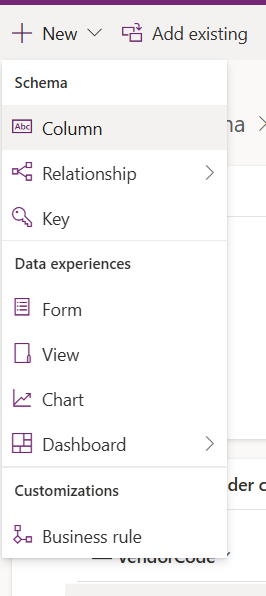
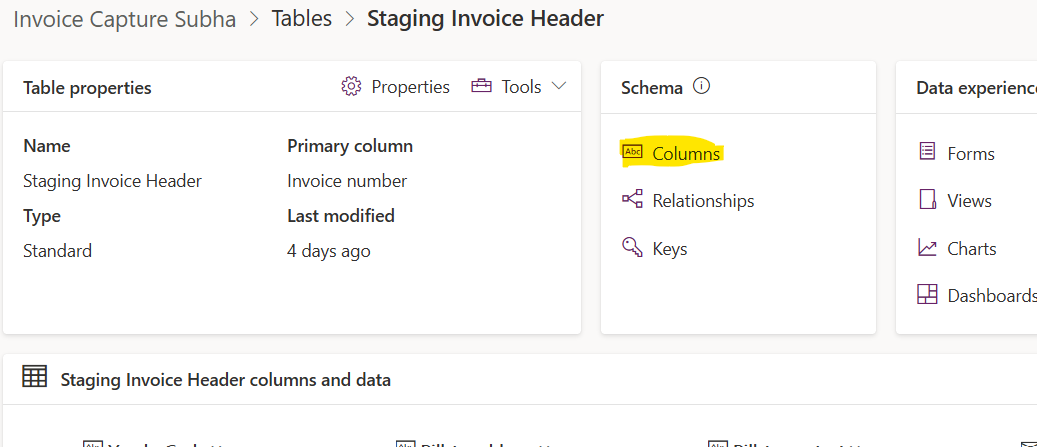
Once done hit Save. Click on Columns:
And go to your newly added column:
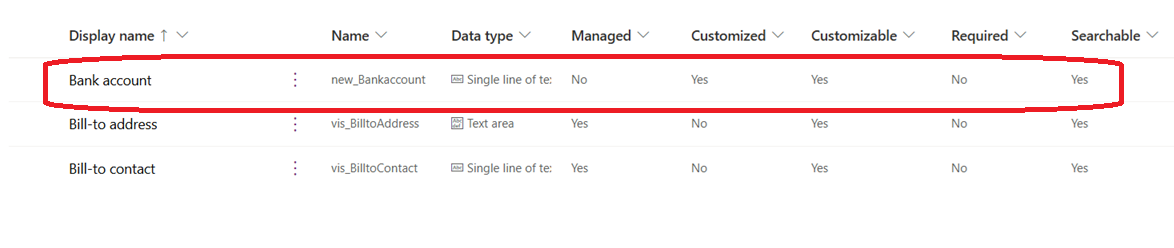
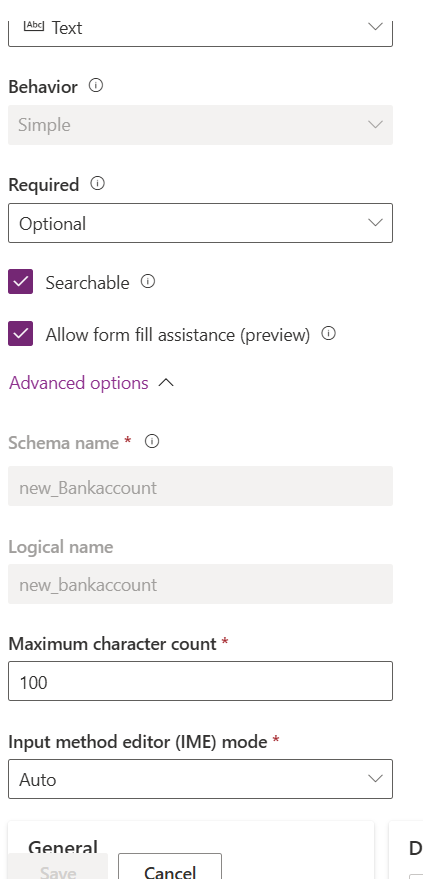
And then under the Advanced options, get the Logical name of the field just added:
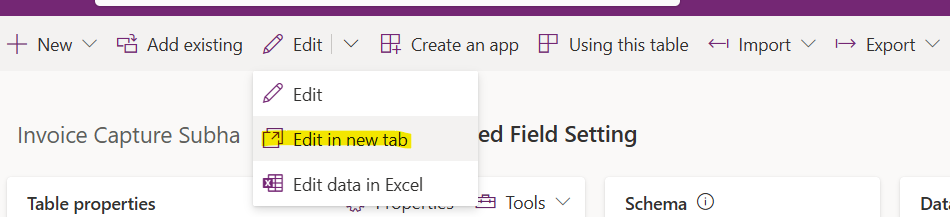
And then go back to Solution >> Tables >> “User Defined Setting” >> Click on Edit >> Edit on new tab:
And then when it opens in the new tab >> Select New row using form from the Action pane:

Here you fill in the details of your field:
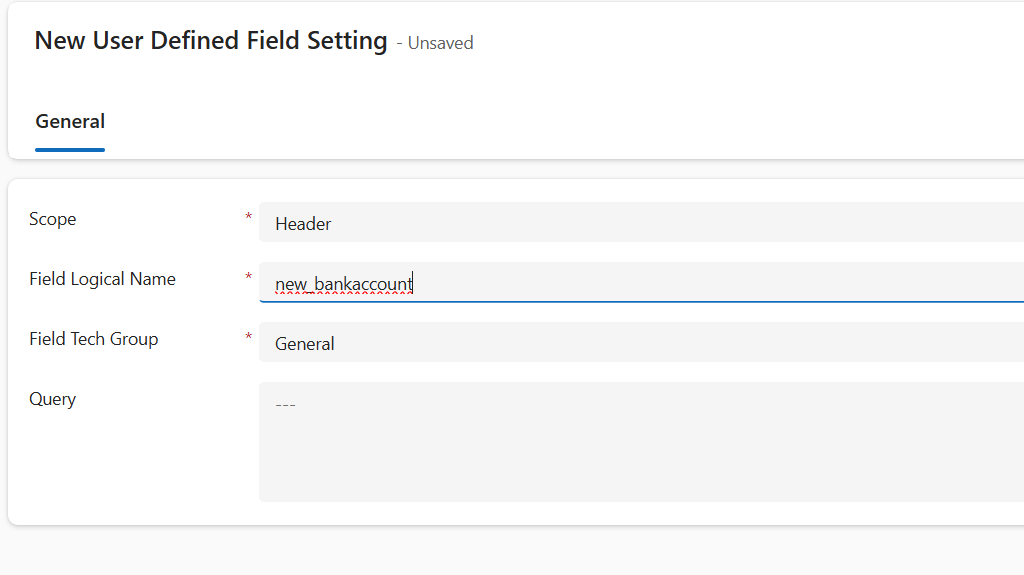
Logical name = the name that you copied from the above step. You can select Scope = Header/Line, depending on your business need:

Also you can choose which group do you want your field to be added, as described previously:

Click on Save and close.
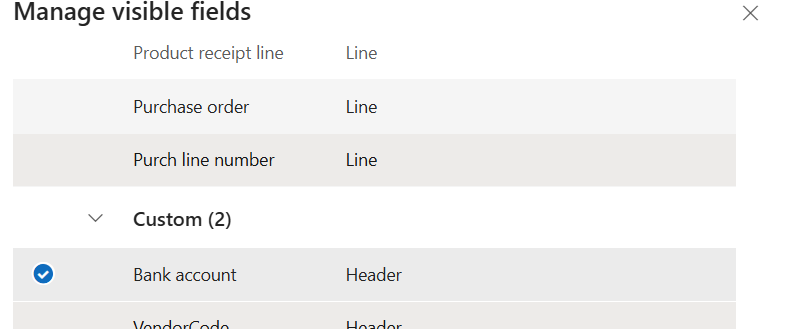
And then you can see your field being visible under the Custom Group:
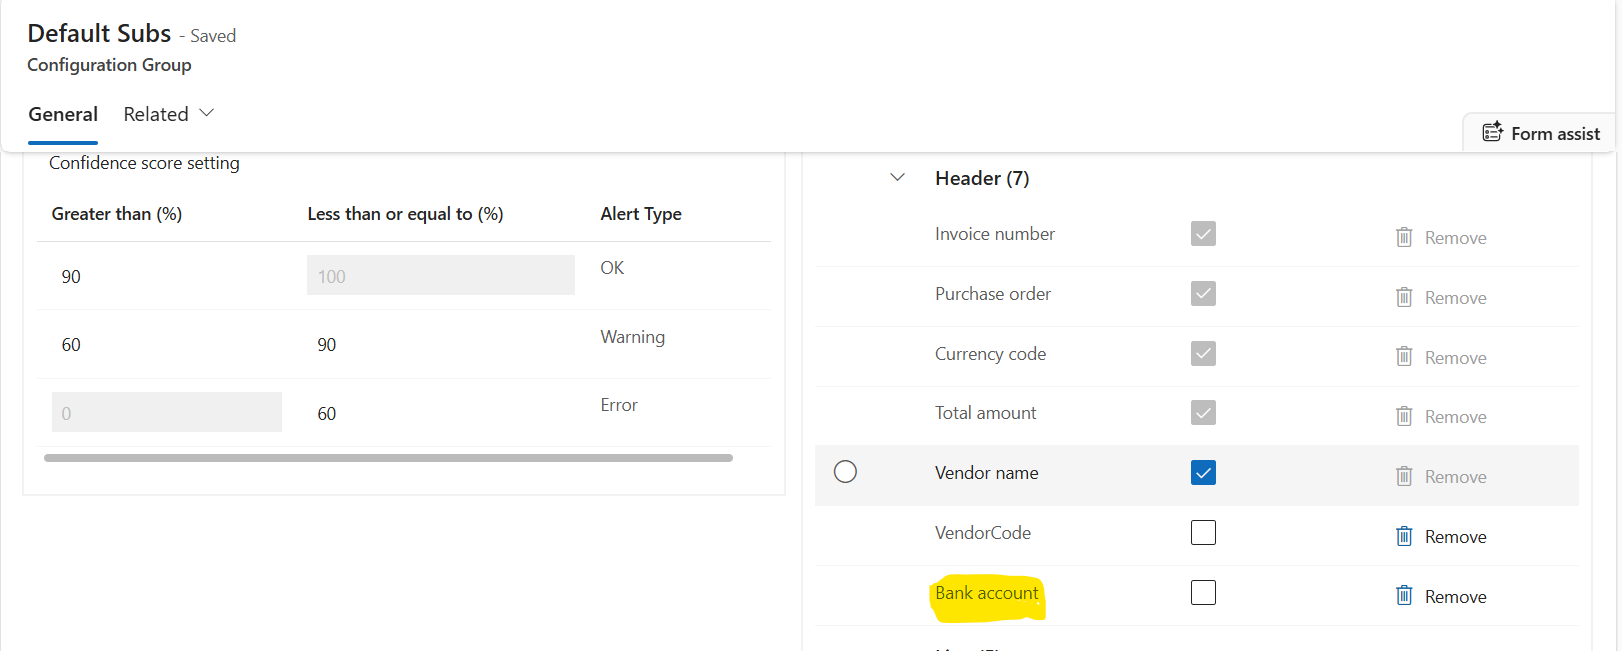
Click on Save. And the field in now visible on your visible fields’ list:
using Newtonsoft.Json.Linq;
[ExtensionOf(classStr(VendInvoiceCapInvDataUpdateHandler))]
internal final class VendInvoiceCapInvDataUpdateHandler_Extension
{
/// <summary>
/// Updates the invoice header with the eneterd details from BankAccount
/// </summary>
/// <param name = "_header">The data entity for <t>VendorInvoiceheaderEntity</t></param>
/// <param name = "_attributes">The collection of value coming on changes made</param>
/// <param name = "_invoiceType">Indicates if its a CostInvoice/POInvoice/HeaderOnlhy</param>
public static void updateInvoiceHeader(VendorInvoiceHeaderEntity _header, JArray _attributes, CapturedInvoiceType _invoiceType)
{
next updateInvoiceHeader(_header, _attributes, _invoiceType);
// extend logic based on invoice type
if (_invoiceType == CapturedInvoiceType::CostInvoice)
{
System.Collections.IEnumerator iterator = _attributes.GetEnumerator();
while (iterator.MoveNext())
{
JObject attribute = iterator.Current;
str propName = attribute.GetValue('Key').ToString();
str strValue = attribute.GetValue('Value').ToString();
switch (propName)
{
case "new_BankAccountCode":
_header.KSN_BankAccountId = strValue;
break;
}
}
_header.update();
}
}
}
Note the switch case. It contains the name of the field under question. Here you have to give your own field, that you would like to add here (both the names from the solution and D365F&O ends).
That’s it guyz. Your Invoice capture can now read new fields added to incoming invoice and do the needful. Taking your leave for now. Much love and Namaste, as always J
This document is aimed to help you out with setting up invoice capture customization. Imagine the business situation, where you would need to include your added fields to your Invoice Capture solution. Please read on, here is a step-by-step guideline for the same.
Step-1
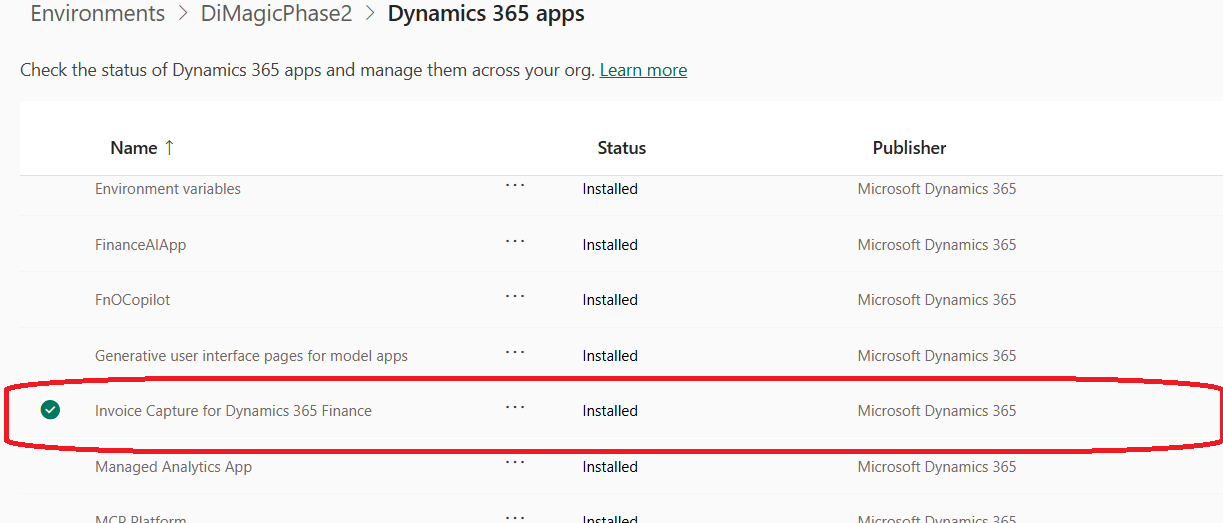
Please ensure that you have checked for any available updates and have already updated your Invoice Capture solution from PPAC:Let us assume that you have already added the fields in VendInvoiceInfoTable and corresponding data entity VendorInvoiceHeaderEntity:
Add the same under your staging table, deploy to your online instance (of course don’t forget to refresh your data entity list.
Once this basic house-staffing is done, let us turn our attention to PowerApps.
Step 2
In the PowerApps, go to solutions >> and create a new solution:Fill out the necessary fields like Name, choosing the publisher (you can select CDS default publisher) and hit Create.
Once done, Go to Tables >> Add Existing >> Table:
And add the following tables under your solution:
Step 3
Now we need to decide, where you would want your field to be added: at the header or at the line level. The above two tables are going to help you with that: “Staging Invoice Header” or “Staging Invoice Line”. Also another thing to consider is the group in which you expect your new field: General, Tax or Charge – they are the groups in which the fields are arranged in the Invoice Capture. In our example, we are going to add the same in our header. Hence we need to go into this Dataverse table and then add the same:Give your details here:
Once done hit Save. Click on Columns:
And go to your newly added column:
And then under the Advanced options, get the Logical name of the field just added:
And then go back to Solution >> Tables >> “User Defined Setting” >> Click on Edit >> Edit on new tab:
And then when it opens in the new tab >> Select New row using form from the Action pane:
Here you fill in the details of your field:
Logical name = the name that you copied from the above step. You can select Scope = Header/Line, depending on your business need:
Also you can choose which group do you want your field to be added, as described previously:
Click on Save and close.
Step 4:
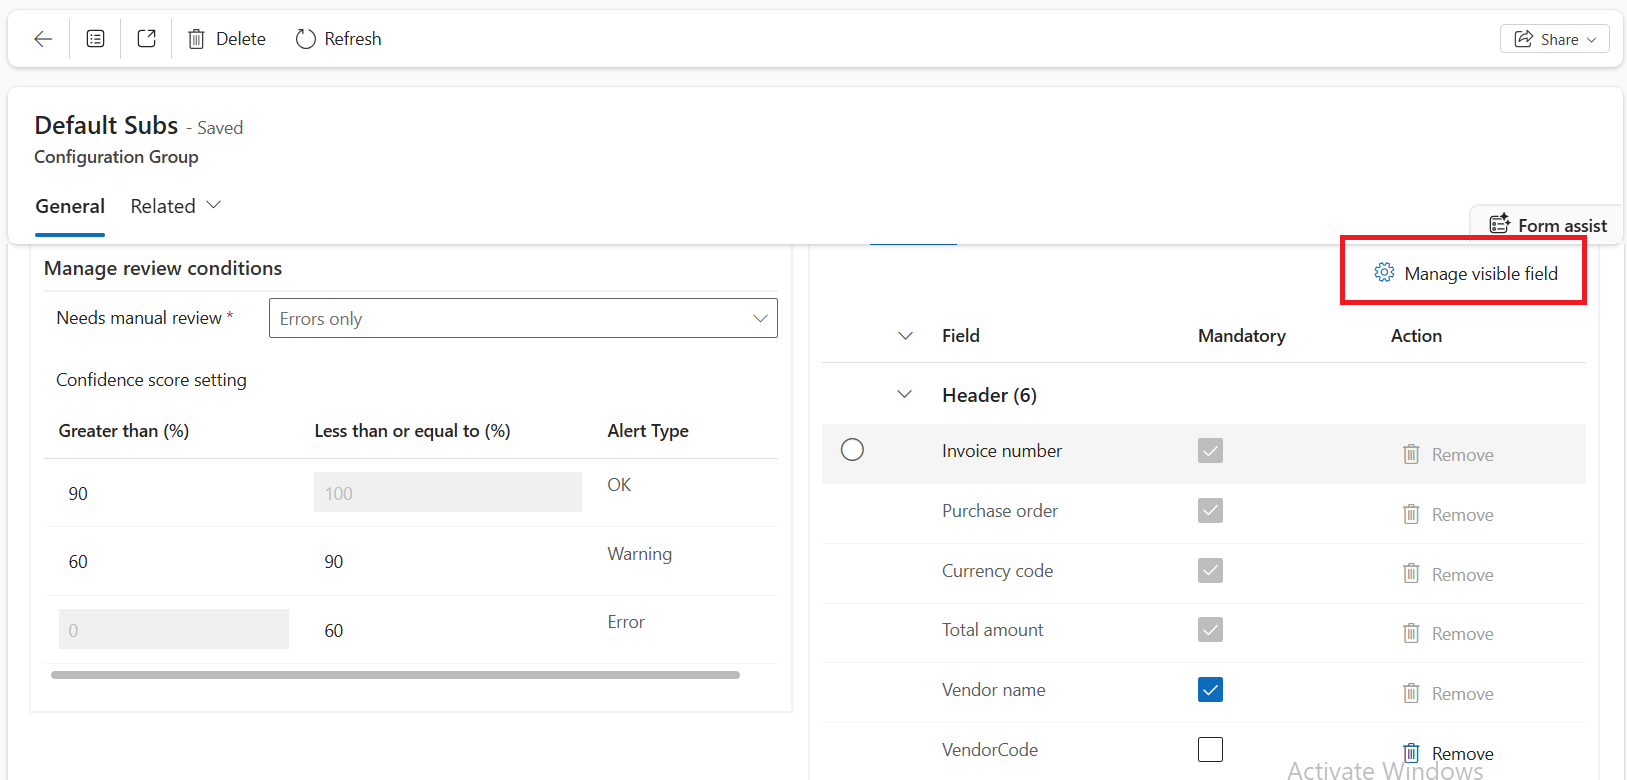
Now we need to visit our invoice capture solution. Go to Setup system >> Manage Configuration Groups >> and select your configuration group >> Click on Manage Visible Fields:And then you can see your field being visible under the Custom Group:
Click on Save. And the field in now visible on your visible fields’ list:
Step 5:
As a last step, you need to ascertain the field that is added in Invoice Capture, should also handshake in your D365F&O. hence you need to extend “VendInvoiceCapInvDataUpdateHandler” class with the following details:using Newtonsoft.Json.Linq;
[ExtensionOf(classStr(VendInvoiceCapInvDataUpdateHandler))]
internal final class VendInvoiceCapInvDataUpdateHandler_Extension
{
/// <summary>
/// Updates the invoice header with the eneterd details from BankAccount
/// </summary>
/// <param name = "_header">The data entity for <t>VendorInvoiceheaderEntity</t></param>
/// <param name = "_attributes">The collection of value coming on changes made</param>
/// <param name = "_invoiceType">Indicates if its a CostInvoice/POInvoice/HeaderOnlhy</param>
public static void updateInvoiceHeader(VendorInvoiceHeaderEntity _header, JArray _attributes, CapturedInvoiceType _invoiceType)
{
next updateInvoiceHeader(_header, _attributes, _invoiceType);
// extend logic based on invoice type
if (_invoiceType == CapturedInvoiceType::CostInvoice)
{
System.Collections.IEnumerator iterator = _attributes.GetEnumerator();
while (iterator.MoveNext())
{
JObject attribute = iterator.Current;
str propName = attribute.GetValue('Key').ToString();
str strValue = attribute.GetValue('Value').ToString();
switch (propName)
{
case "new_BankAccountCode":
_header.KSN_BankAccountId = strValue;
break;
}
}
_header.update();
}
}
}
Note the switch case. It contains the name of the field under question. Here you have to give your own field, that you would like to add here (both the names from the solution and D365F&O ends).
That’s it guyz. Your Invoice capture can now read new fields added to incoming invoice and do the needful. Taking your leave for now. Much love and Namaste, as always J
*This post is locked for comments